Session 1: April 12, 2016
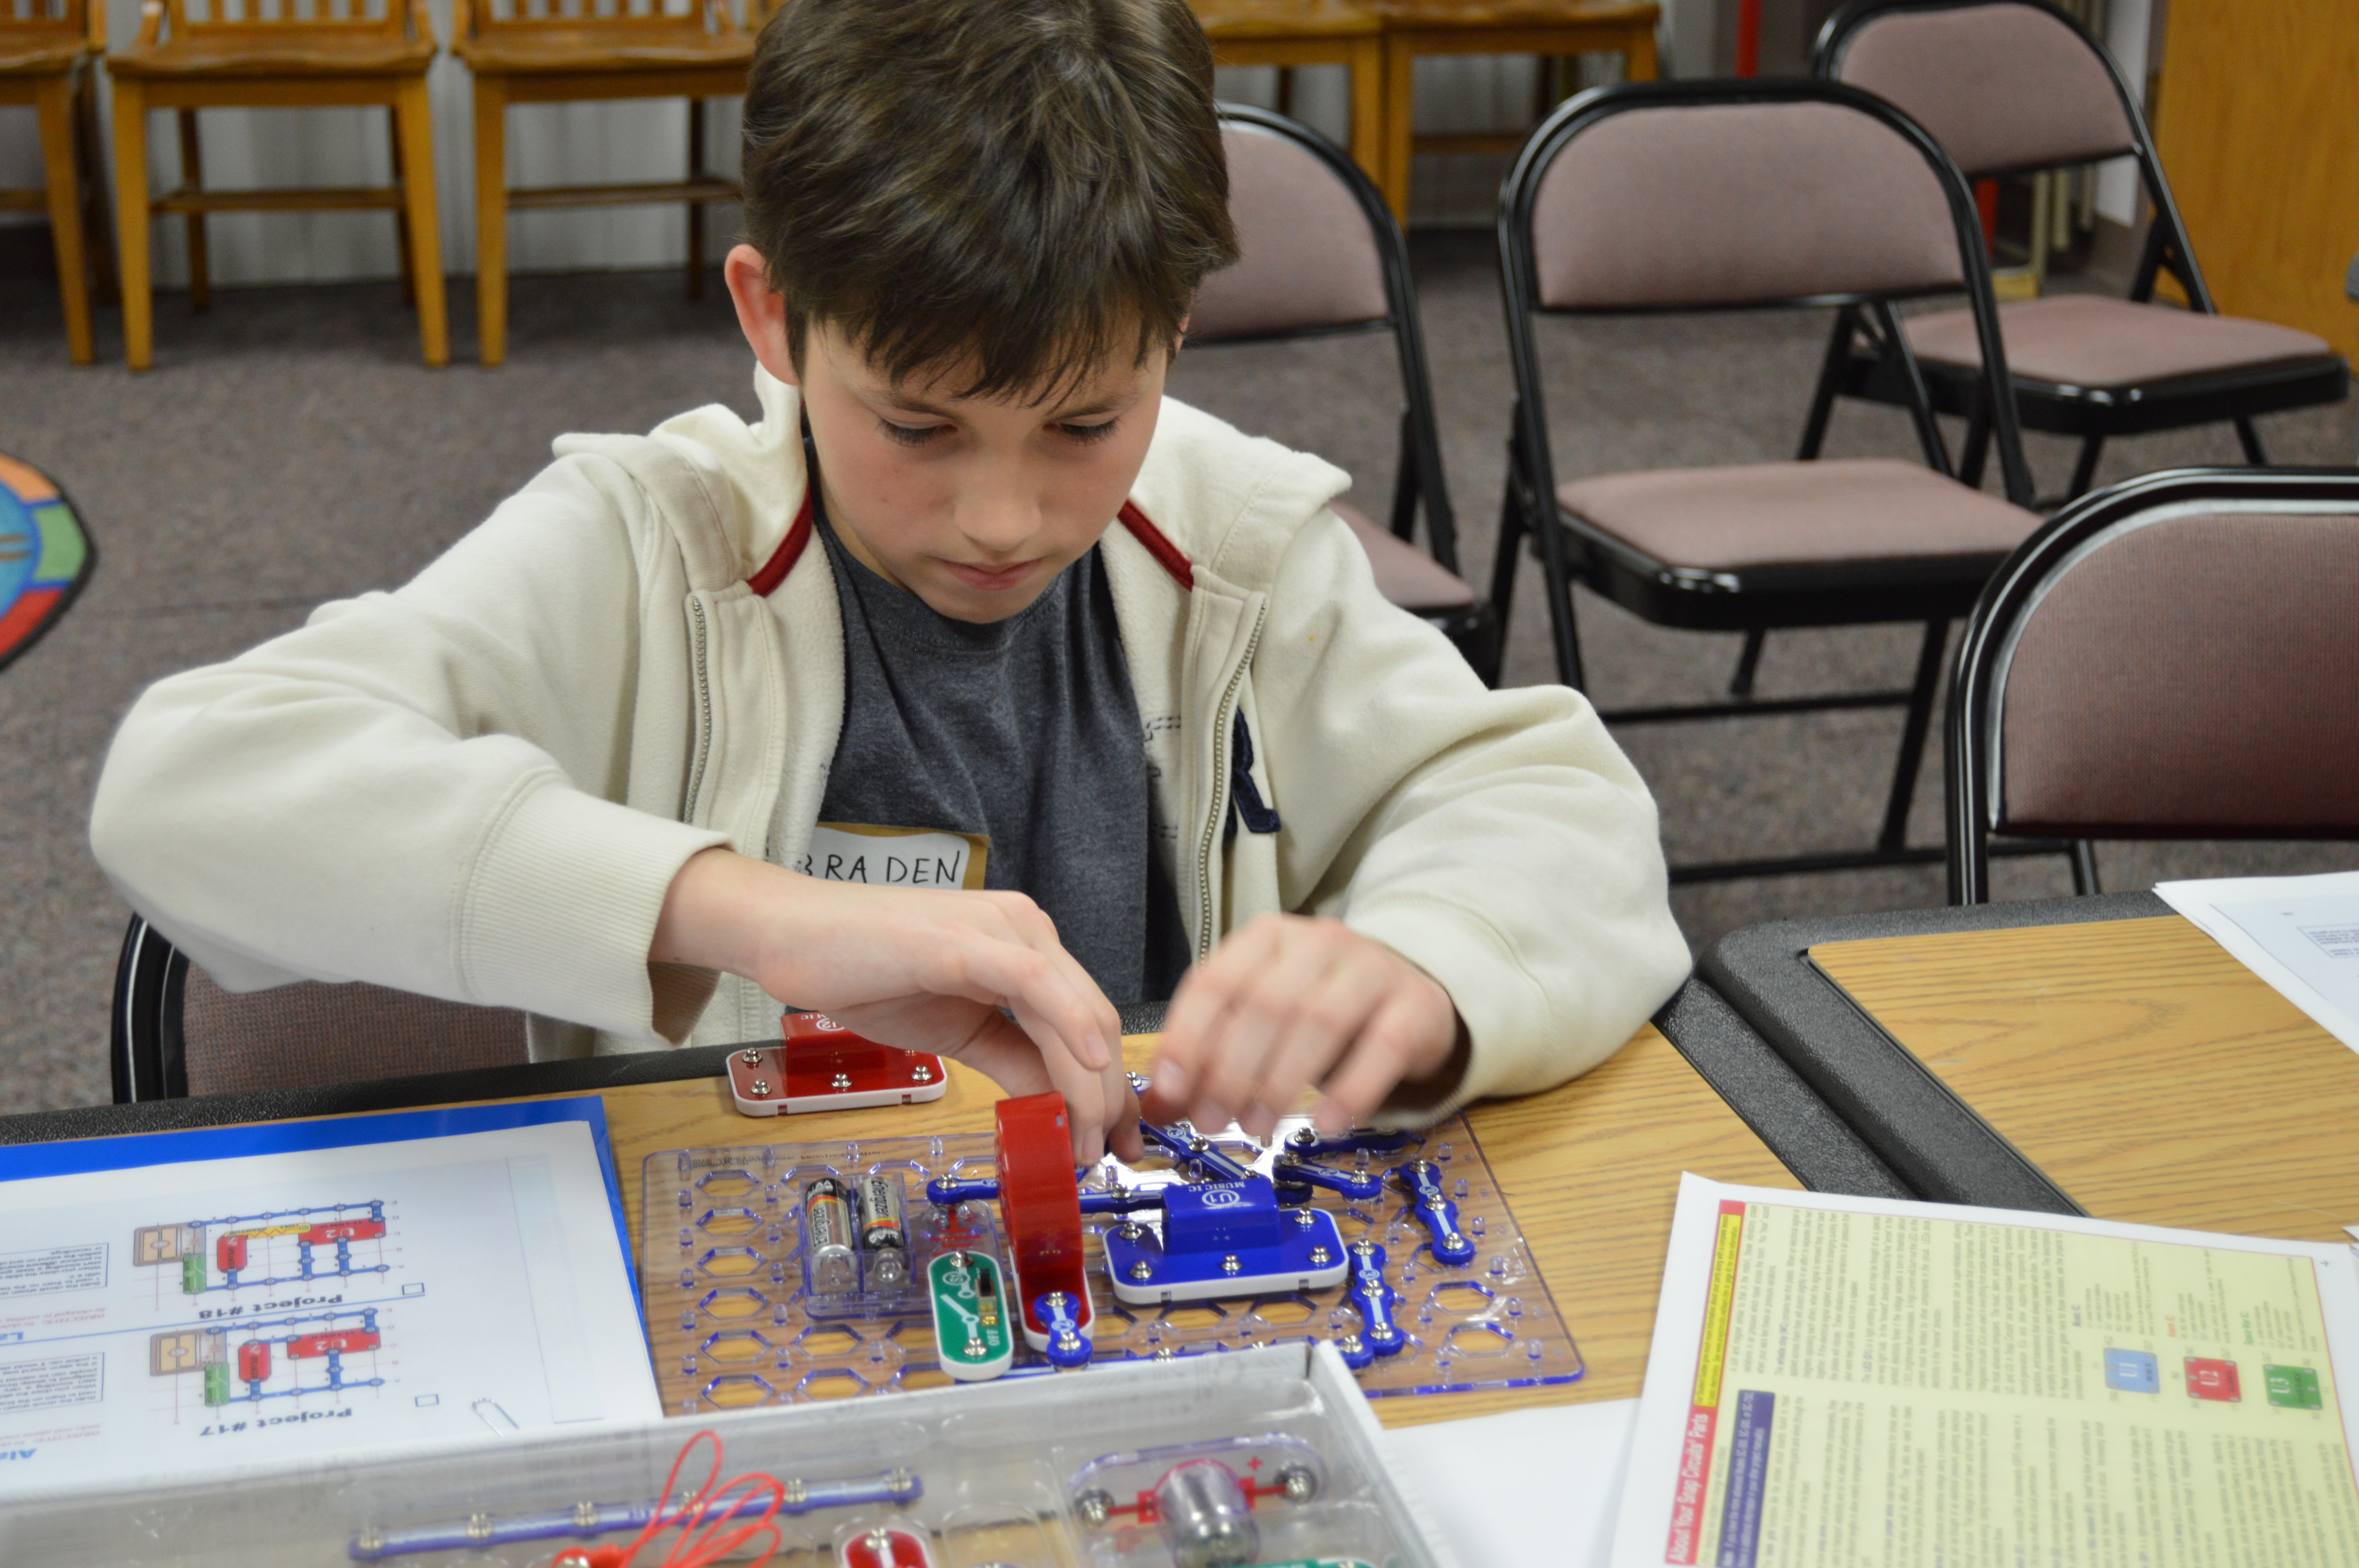
We met on April 12, 2016, at the Sparta Public Library, for our first Project Next Generation, Robotics University class. There were a total of five students in attendance to this session. We started by introducing the staff, and going over the code of conduct that all of the students signed.
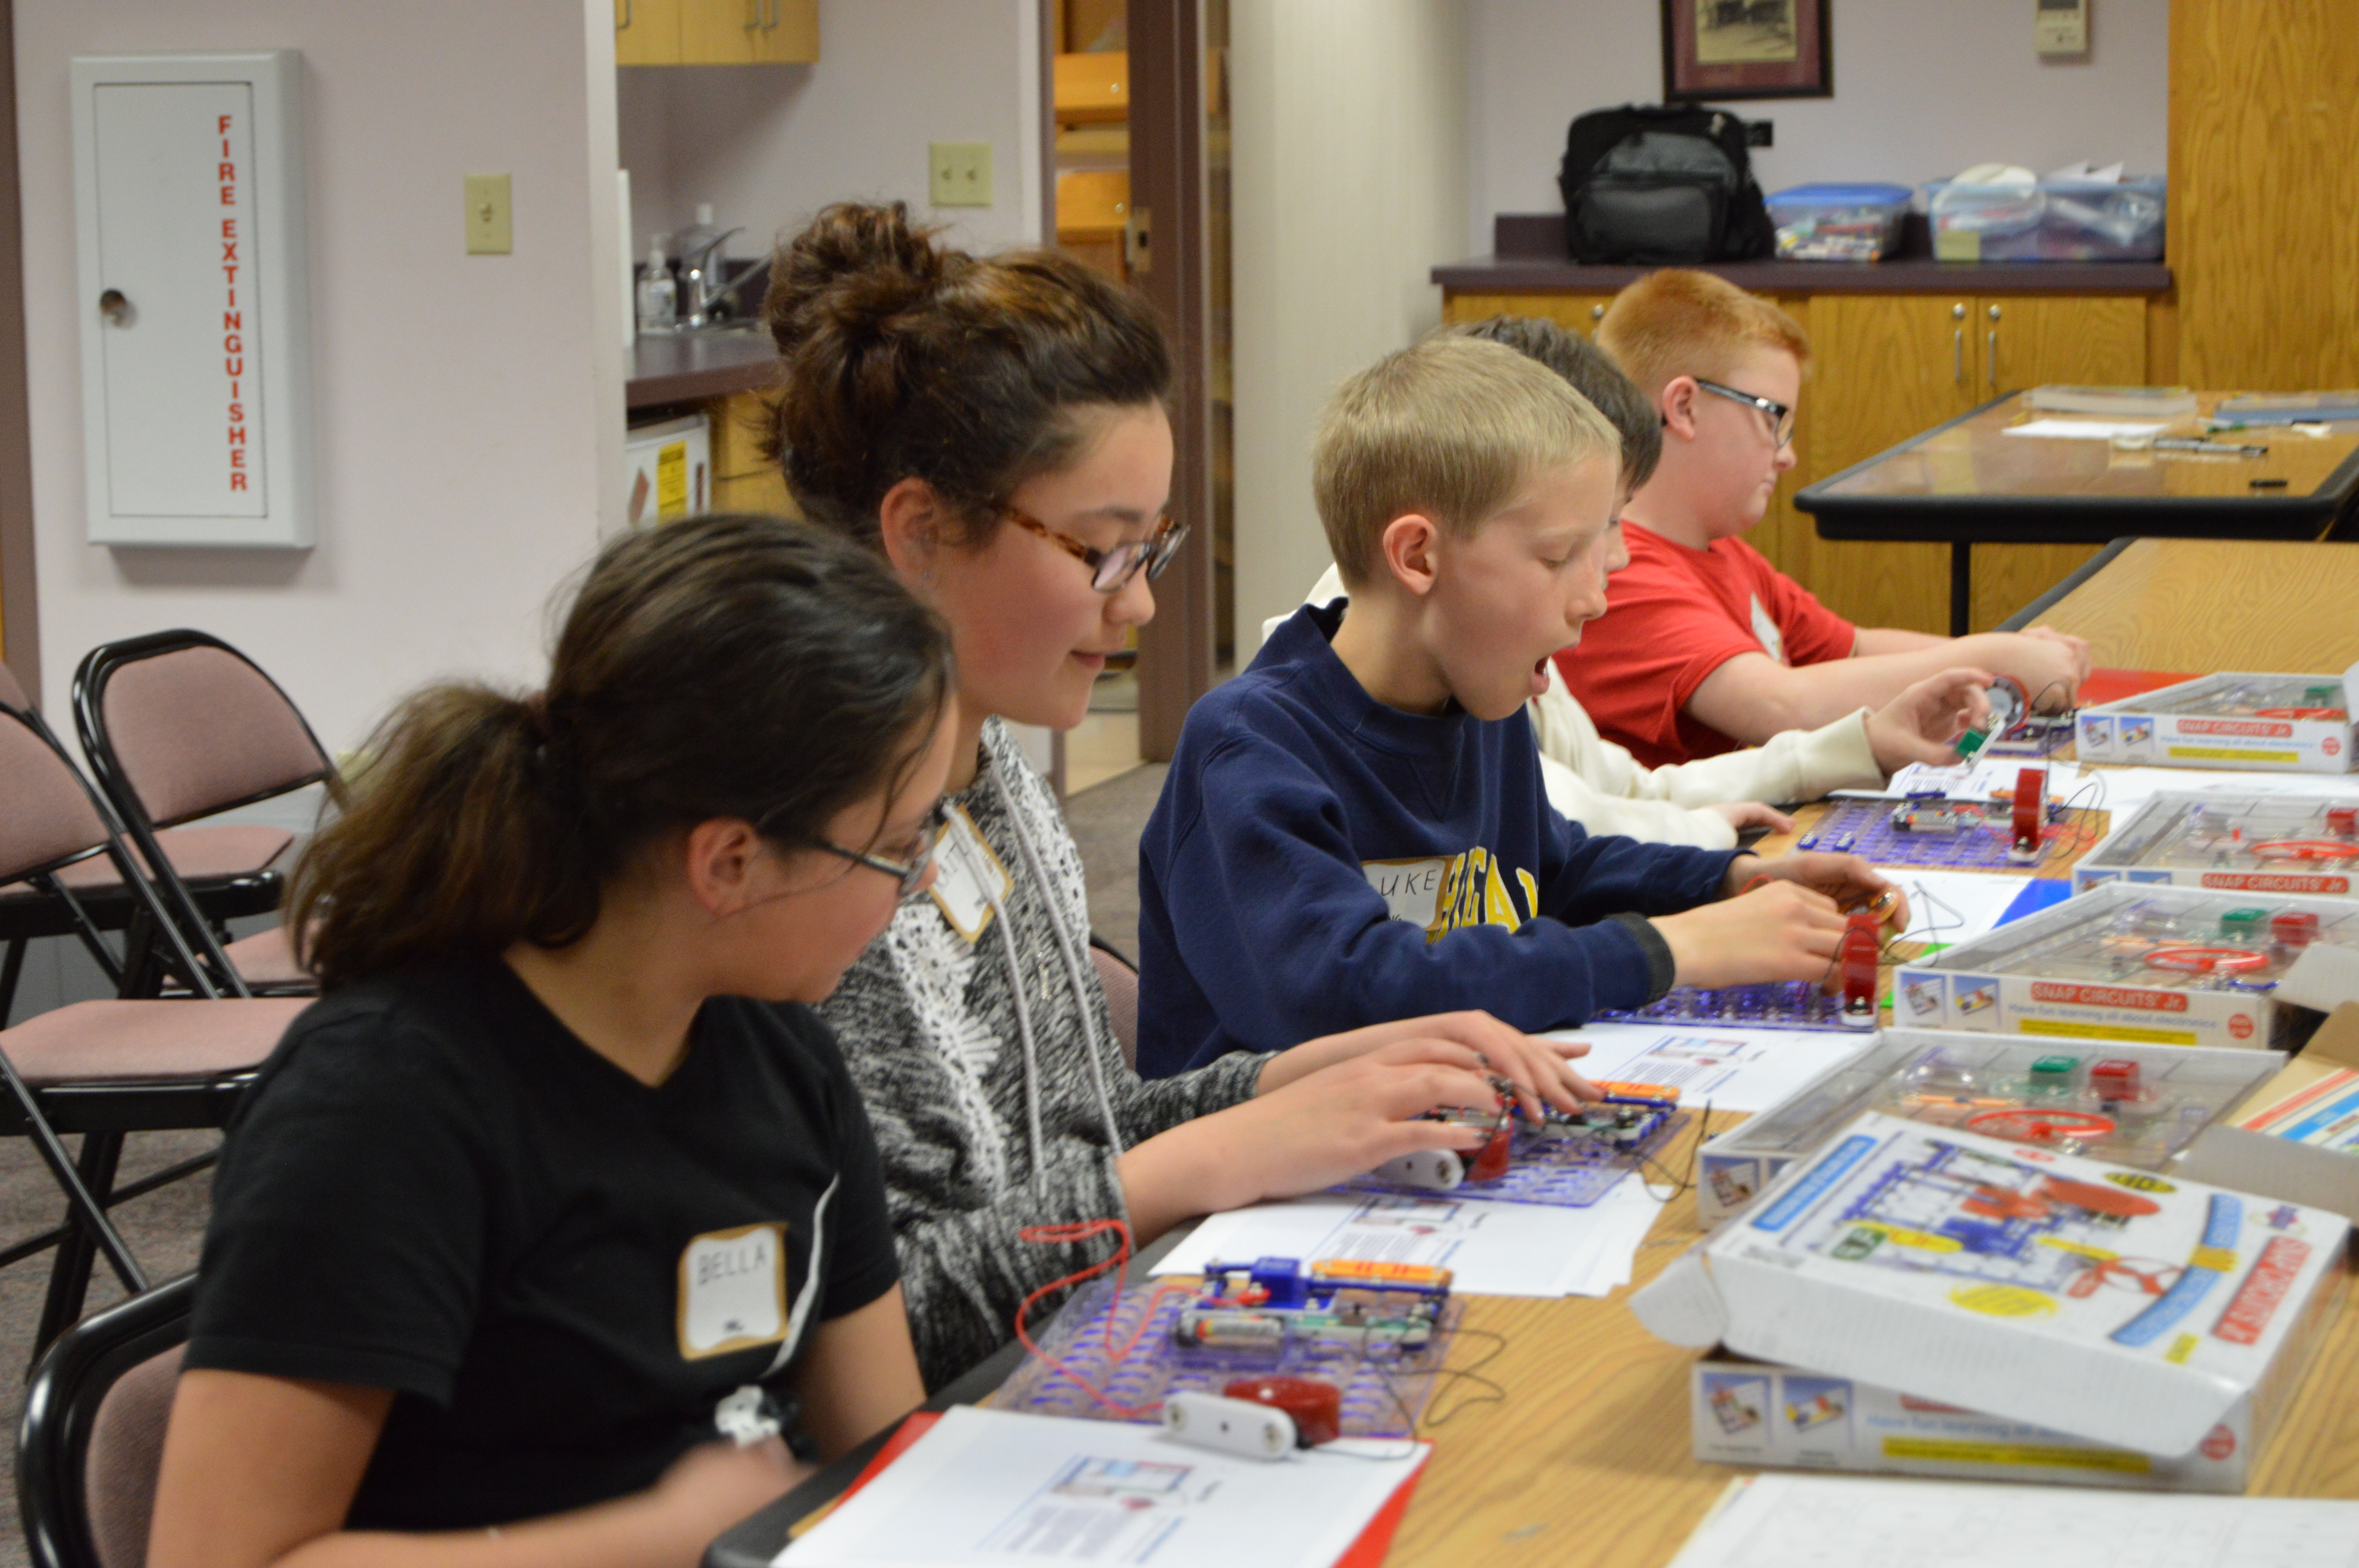
For our first class we used Snap circuits to teach the basics behind electronics in robots. We had eleven projects selected for the students to do, which took us about an hour to complete. Half of the class was already somewhat familiar with Snap Circuits, but a couple of our students had never used them before.
The class was a big success, and all of the students said they were eager to return next week, and begin work on the next project.


Session 2: April 19, 2016
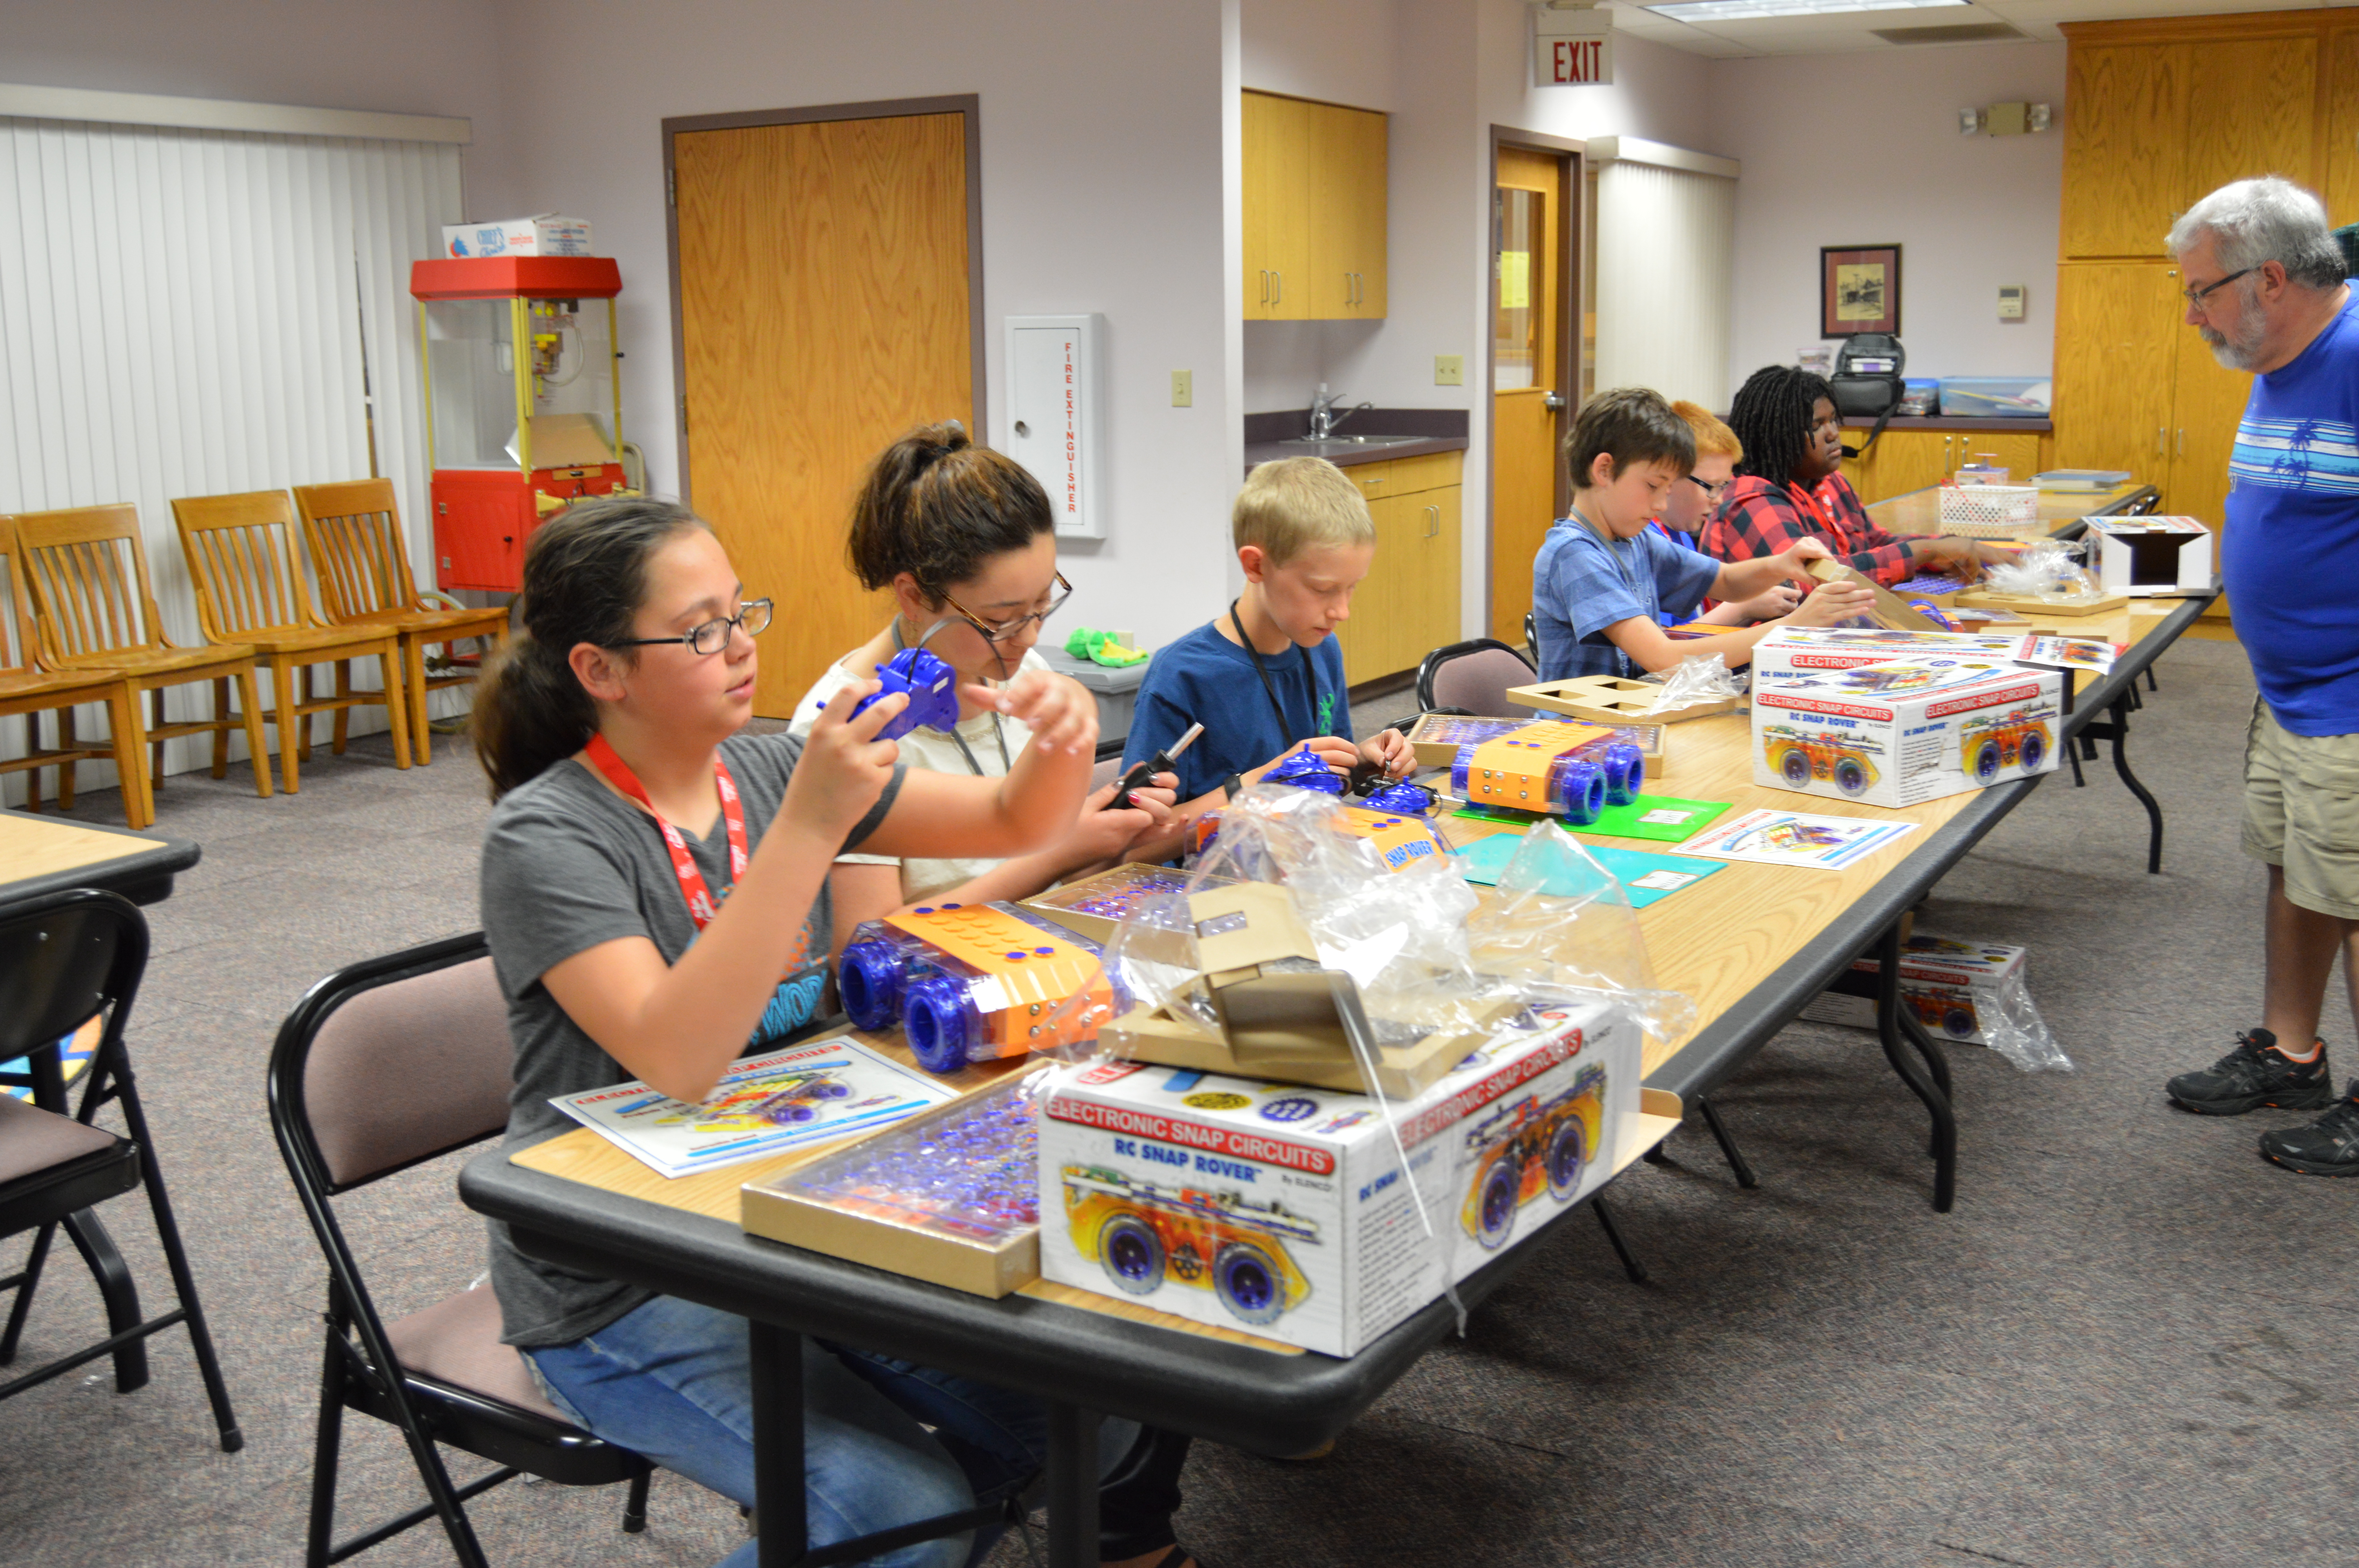
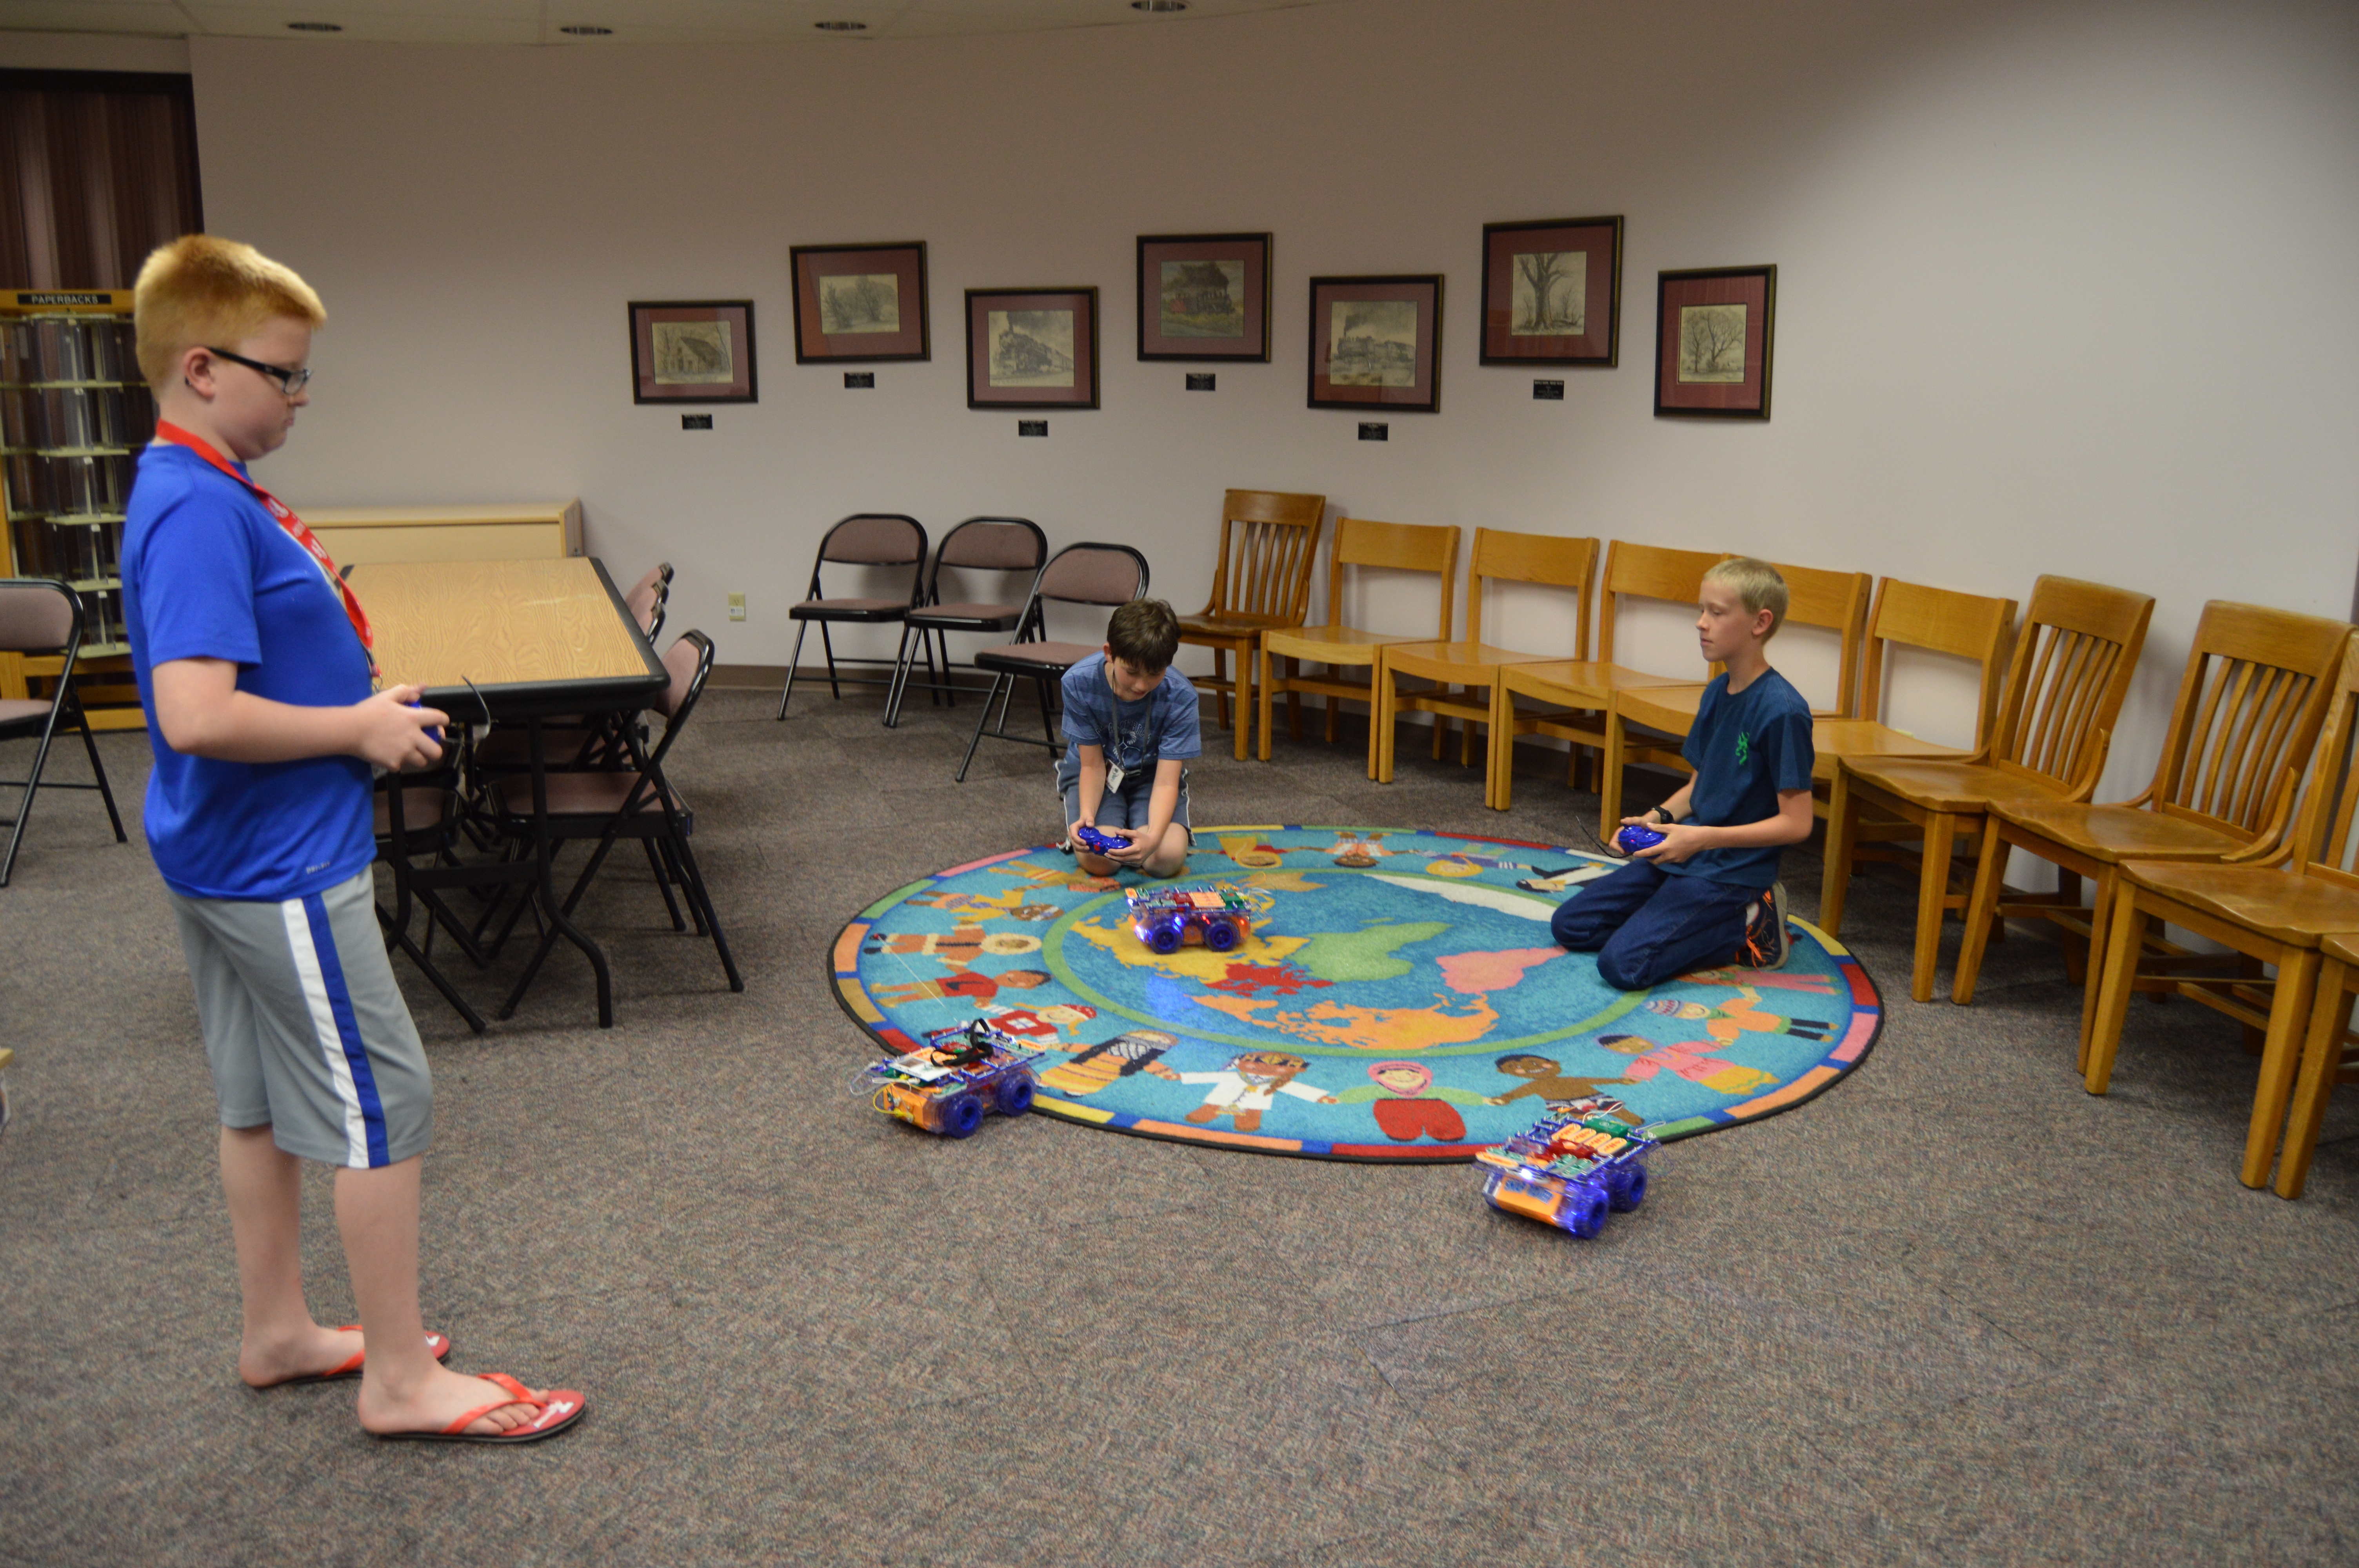
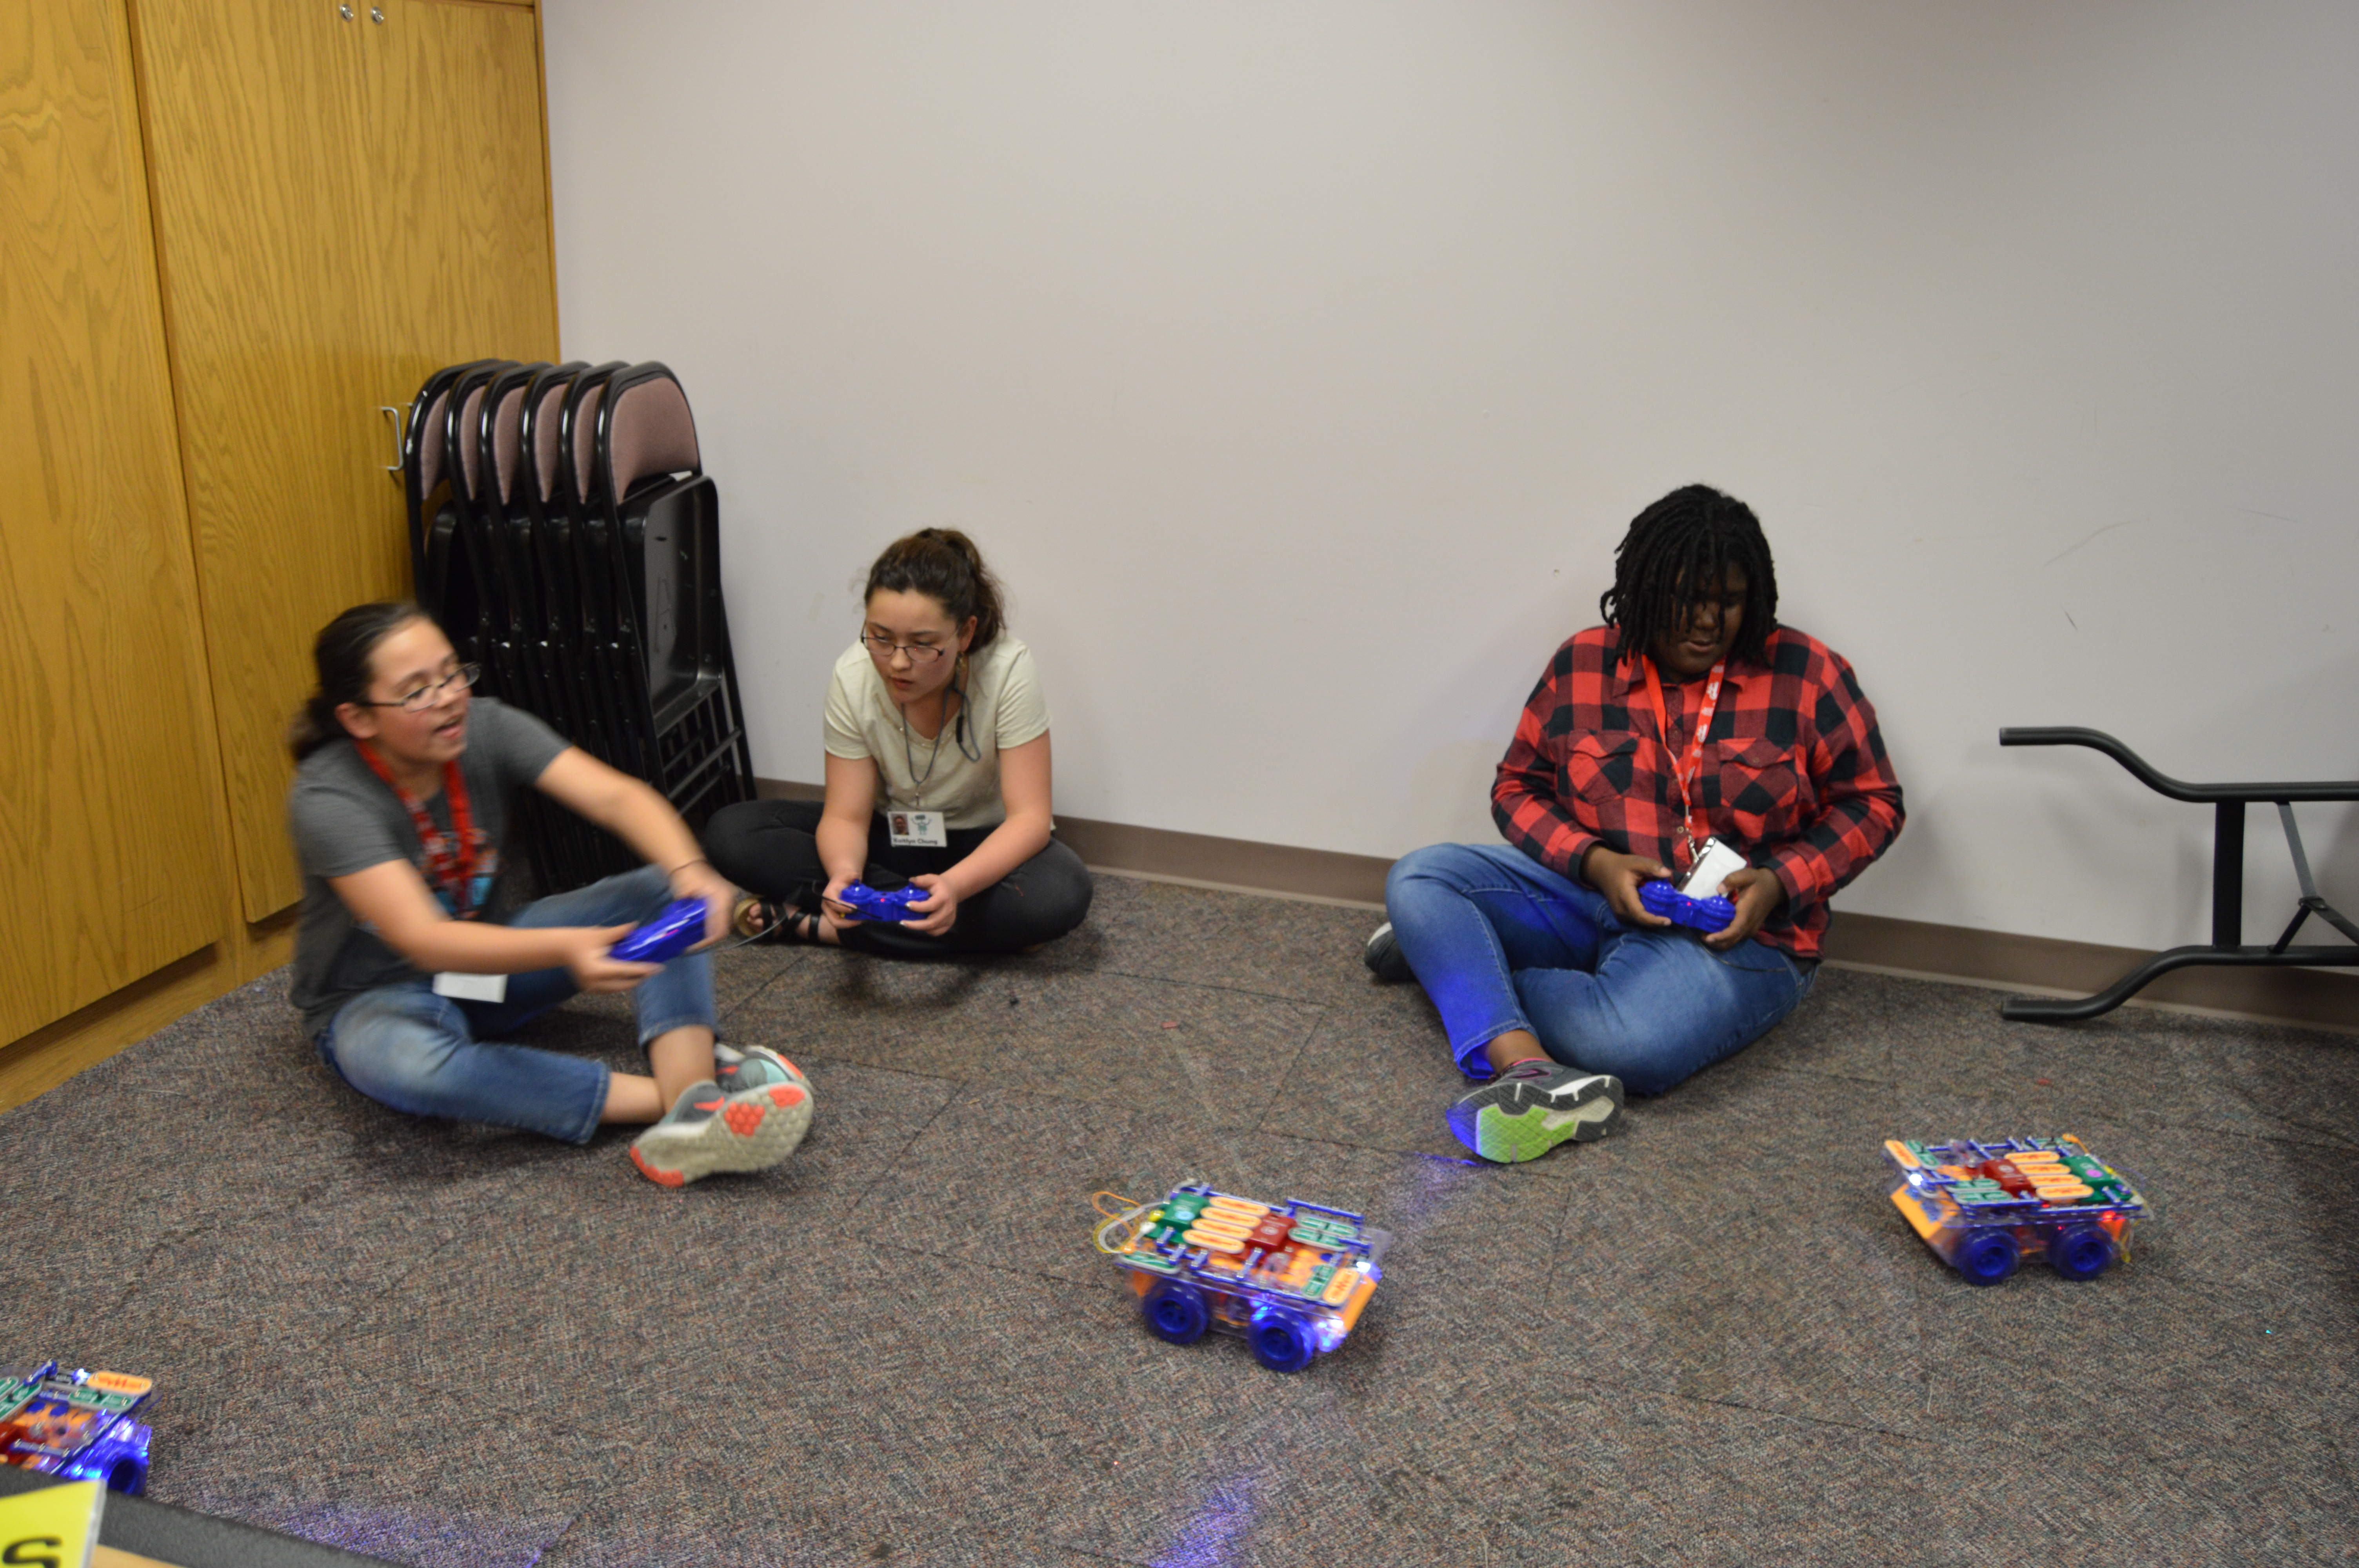
On April 19, 2016 we met for our second Robotics University session. We had 6 students in attendance to this session. For this session we worked with Snap Circuit Rovers, which are essentially Snap Circuits on wheels.
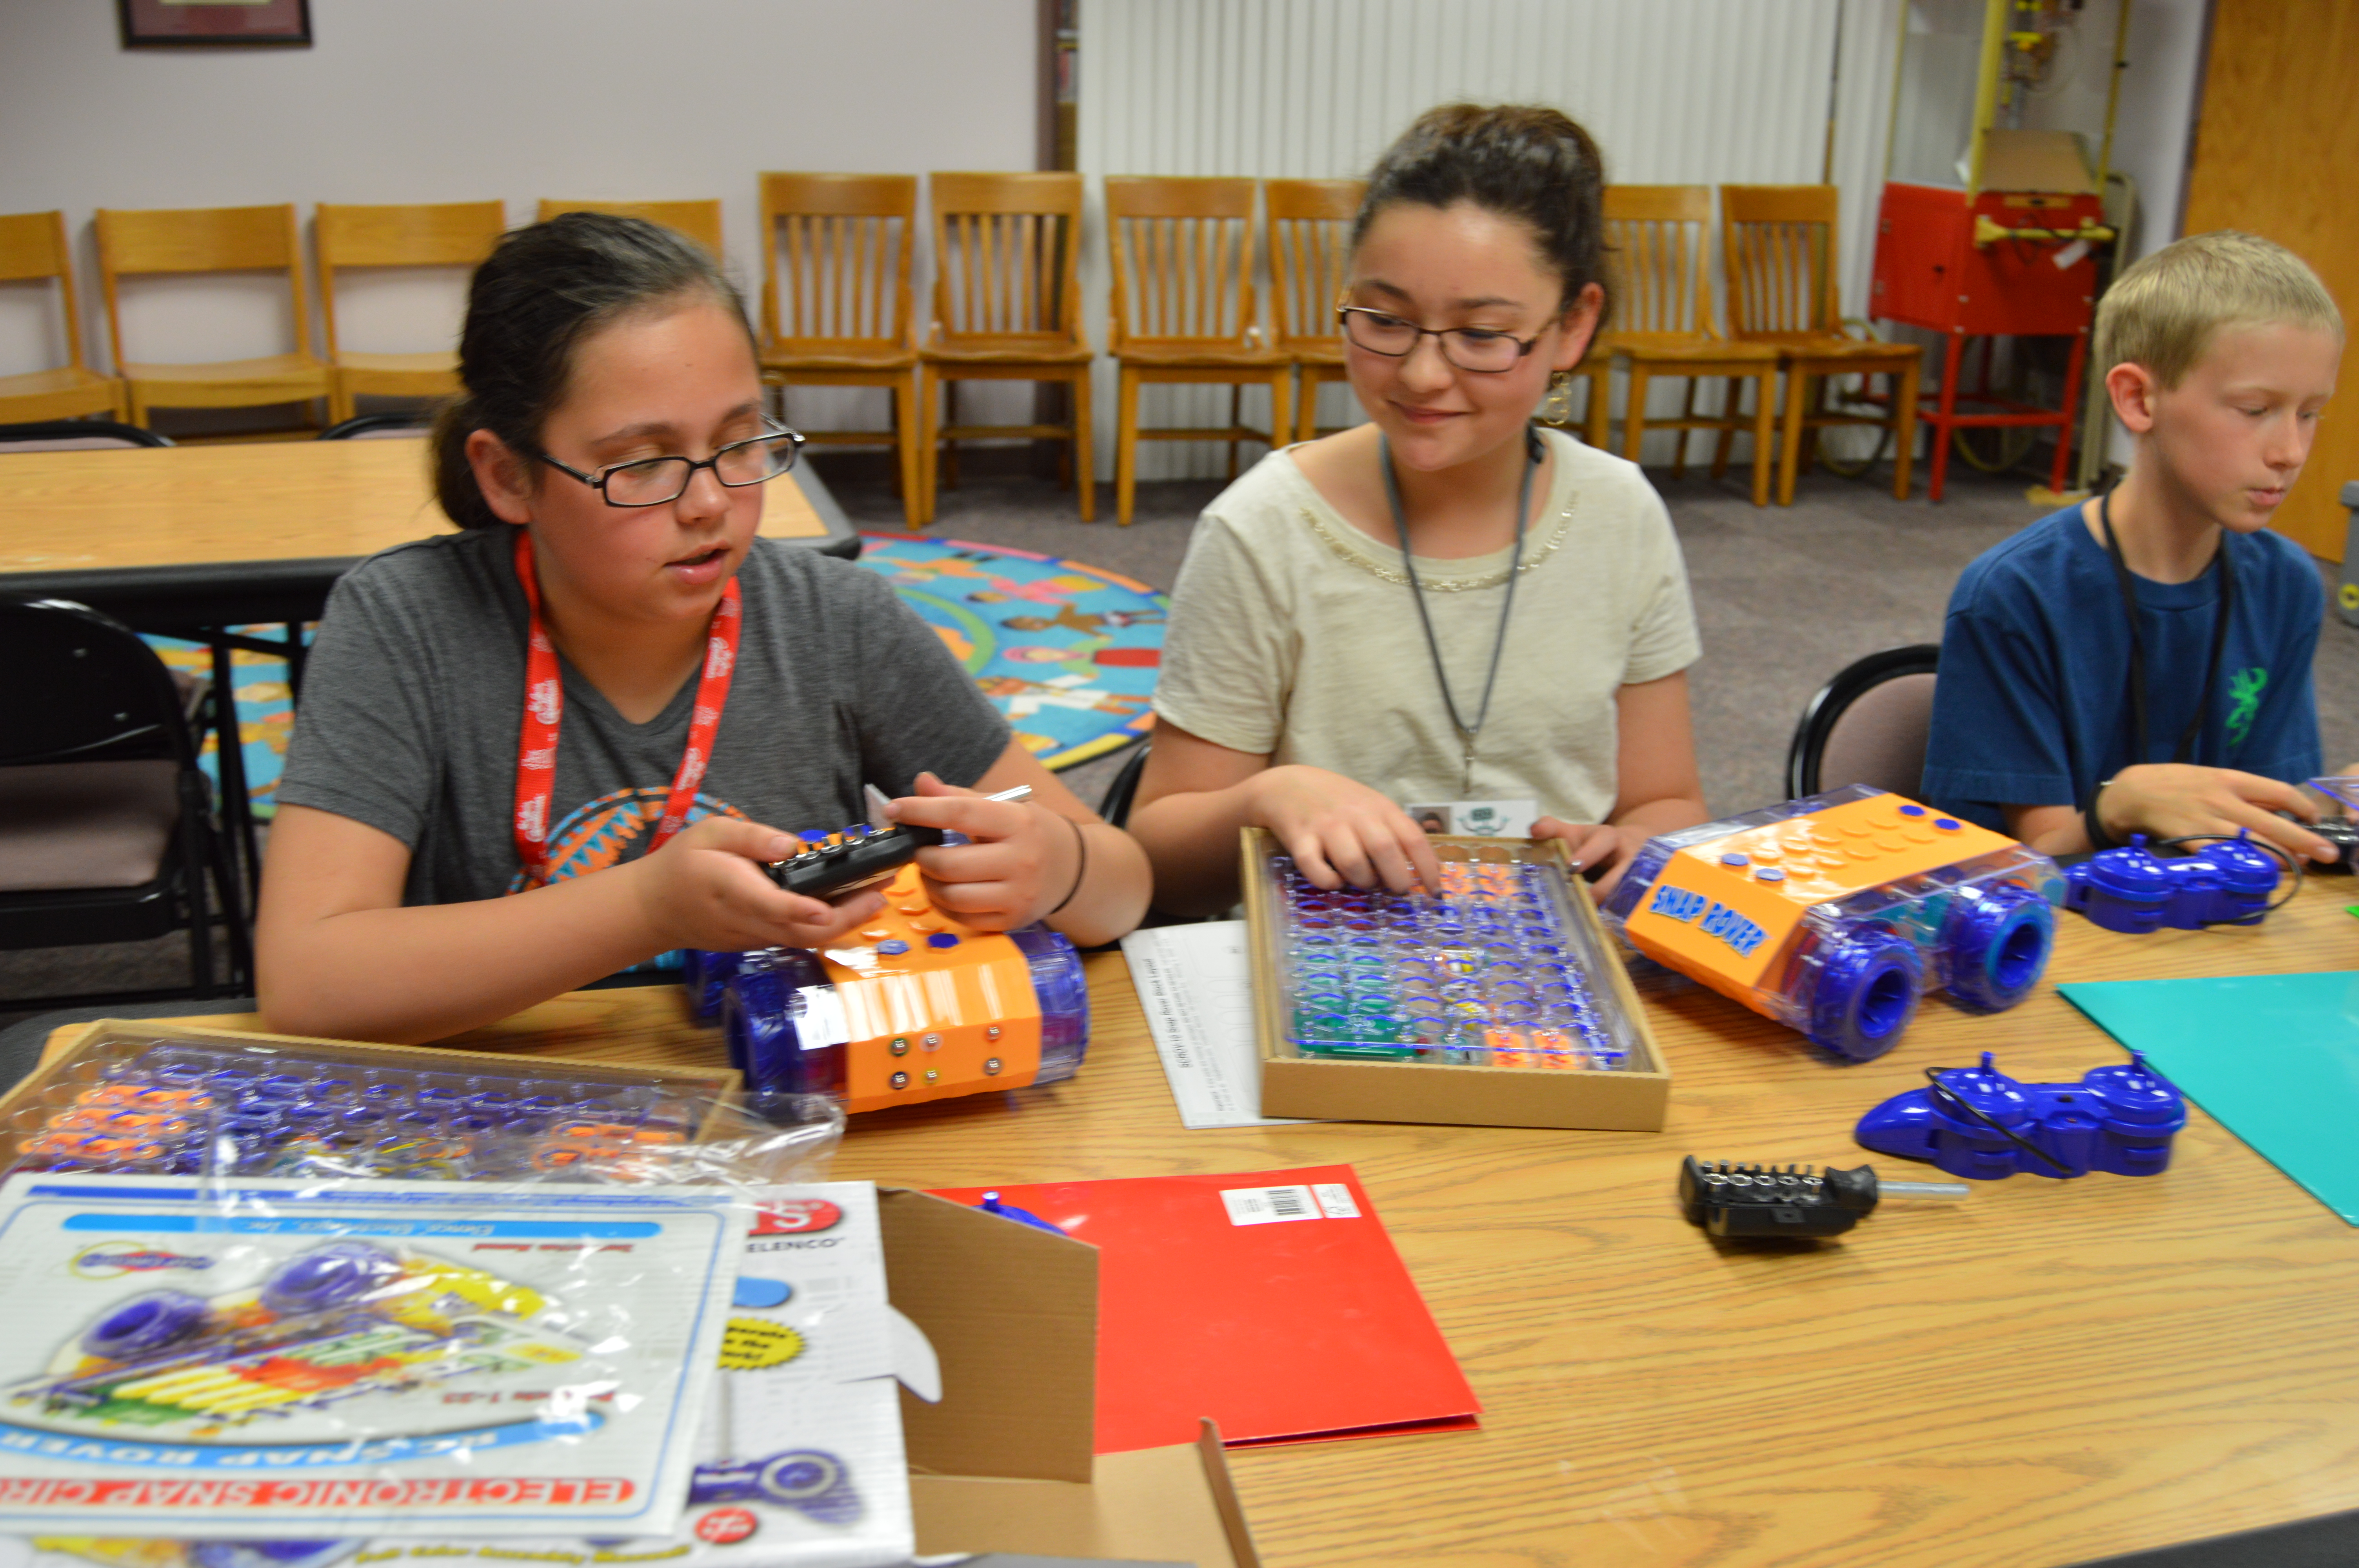
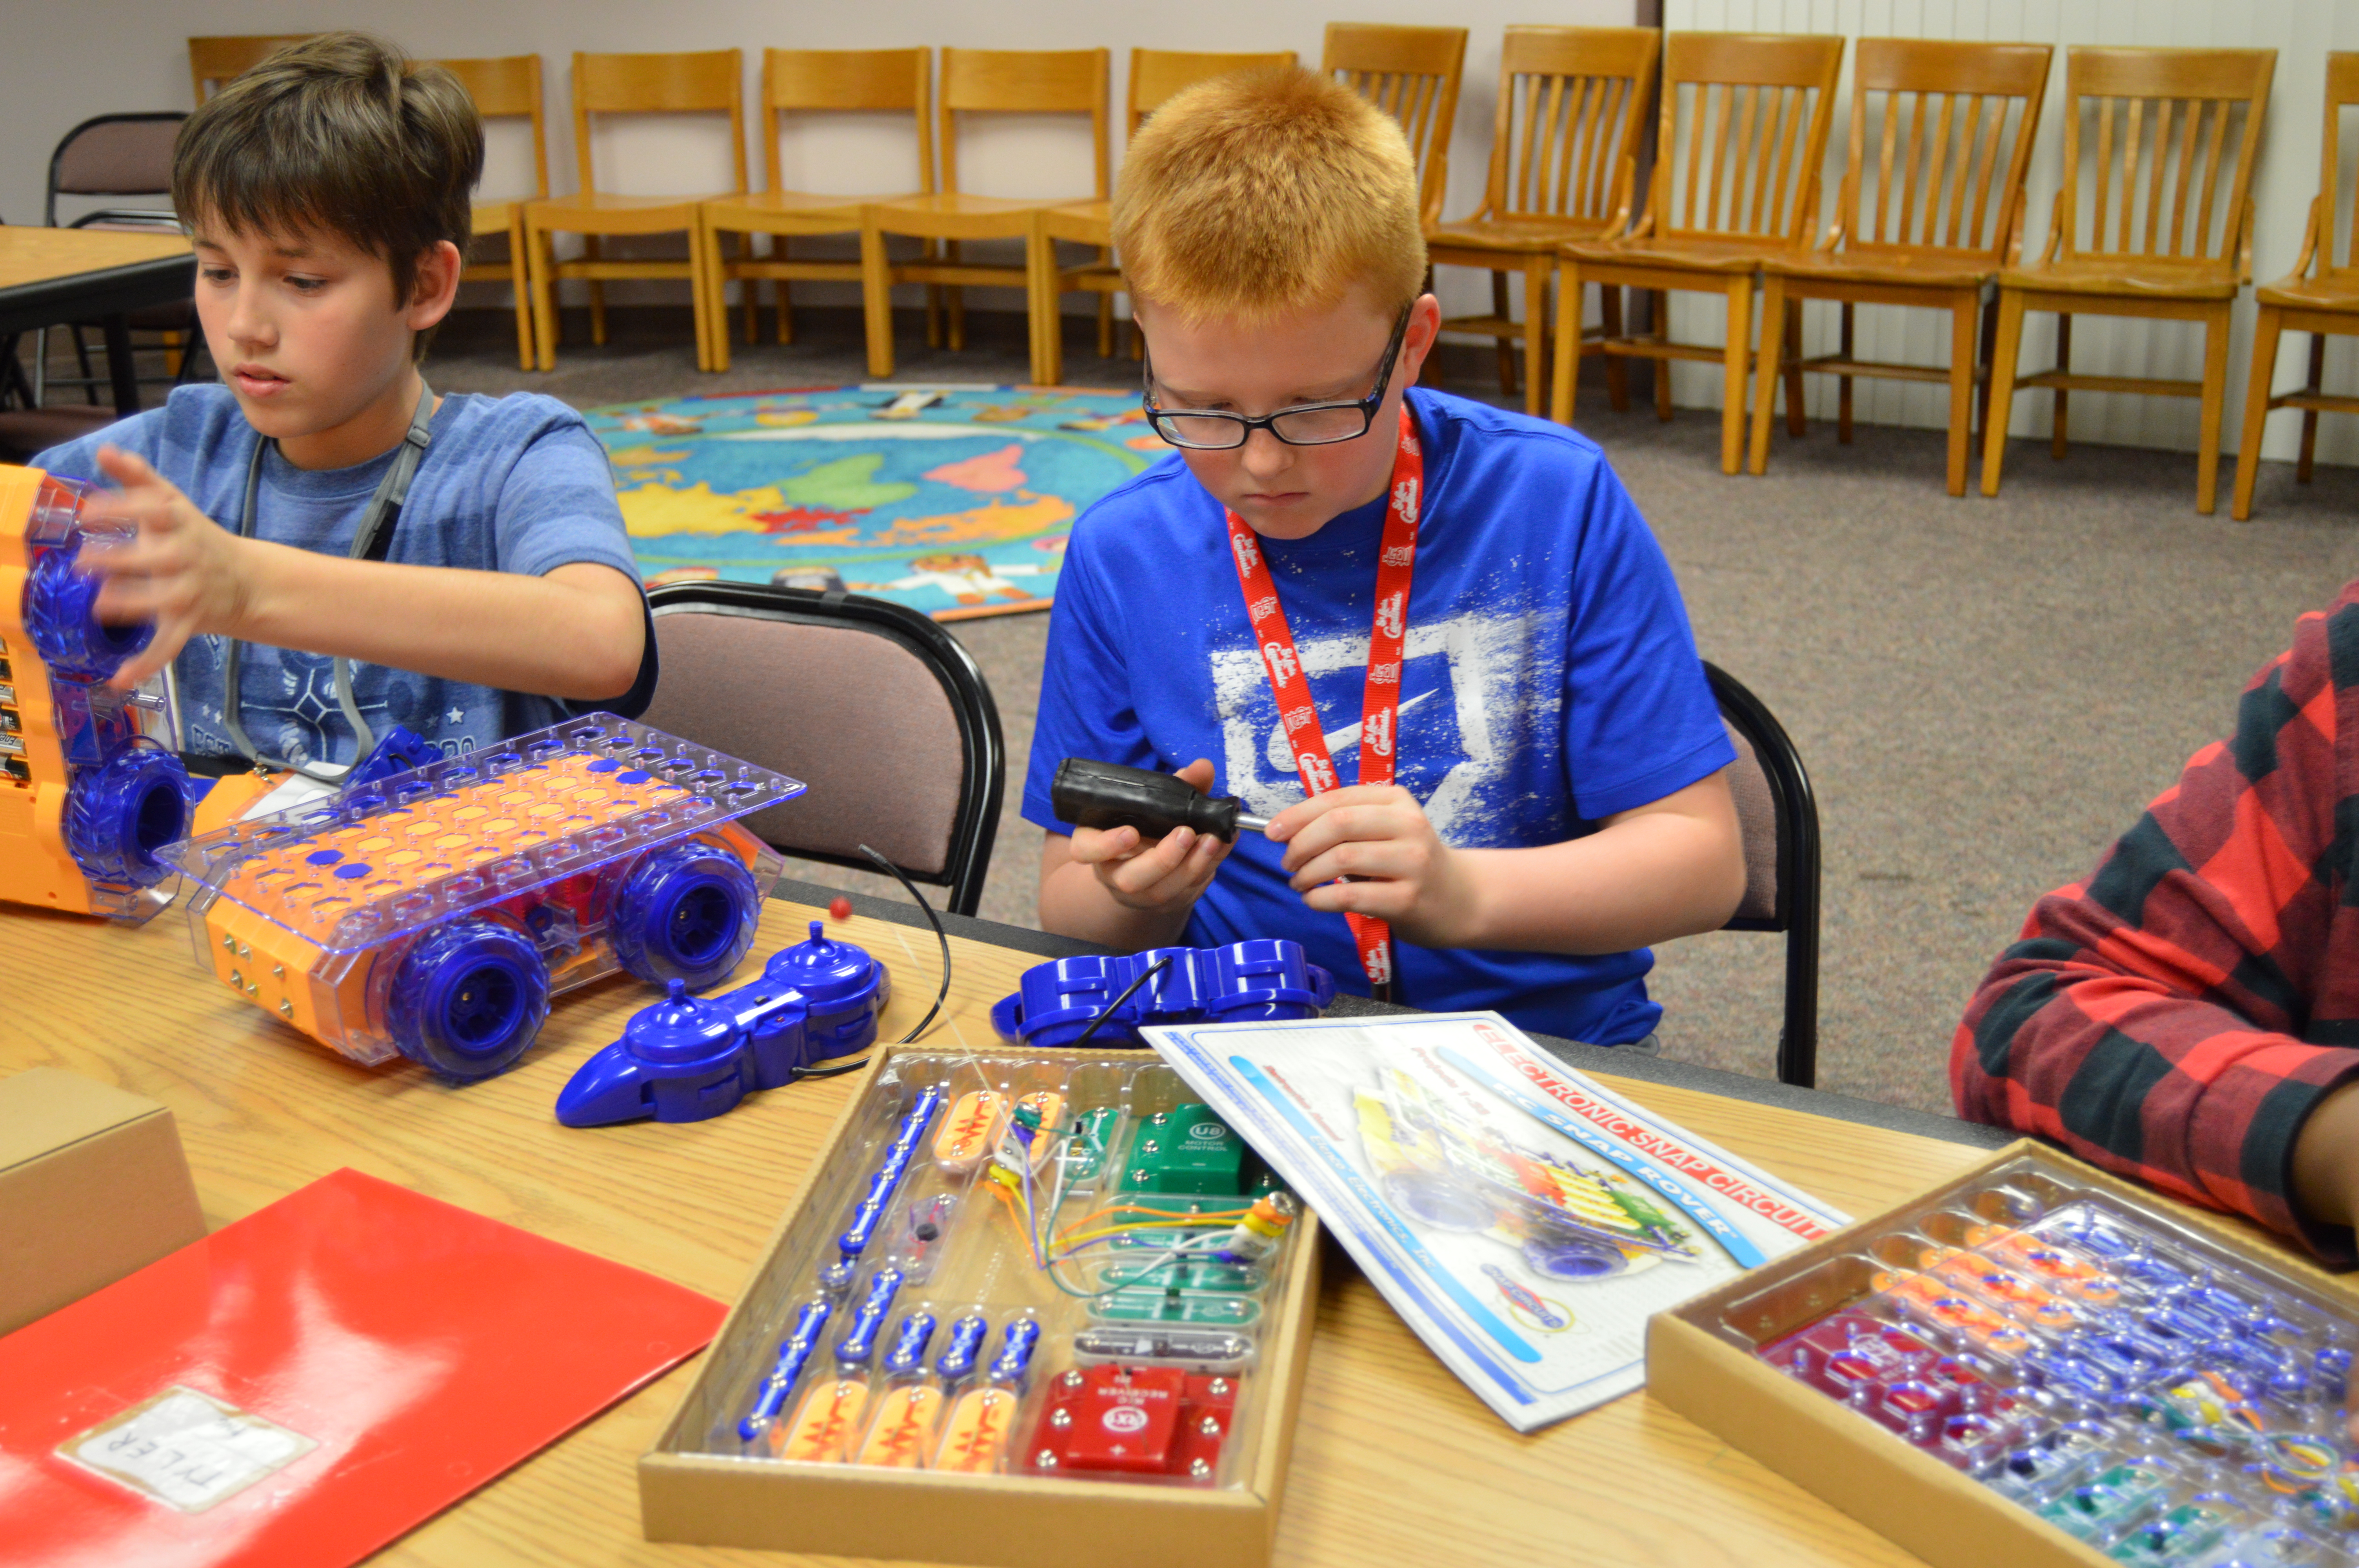
Building on what they learned last week they created remote controlled rovers that are built using snap circuits. Since all students now know what snap circuits are, the building process went smoothly. Once they were finished building they had a chance to drive their new creations around the room.
The students really enjoyed this session, especially driving the rovers around the room, and again were excited about our next project.
Here are some videos from Session 2:
Session 3: April 26, 2016
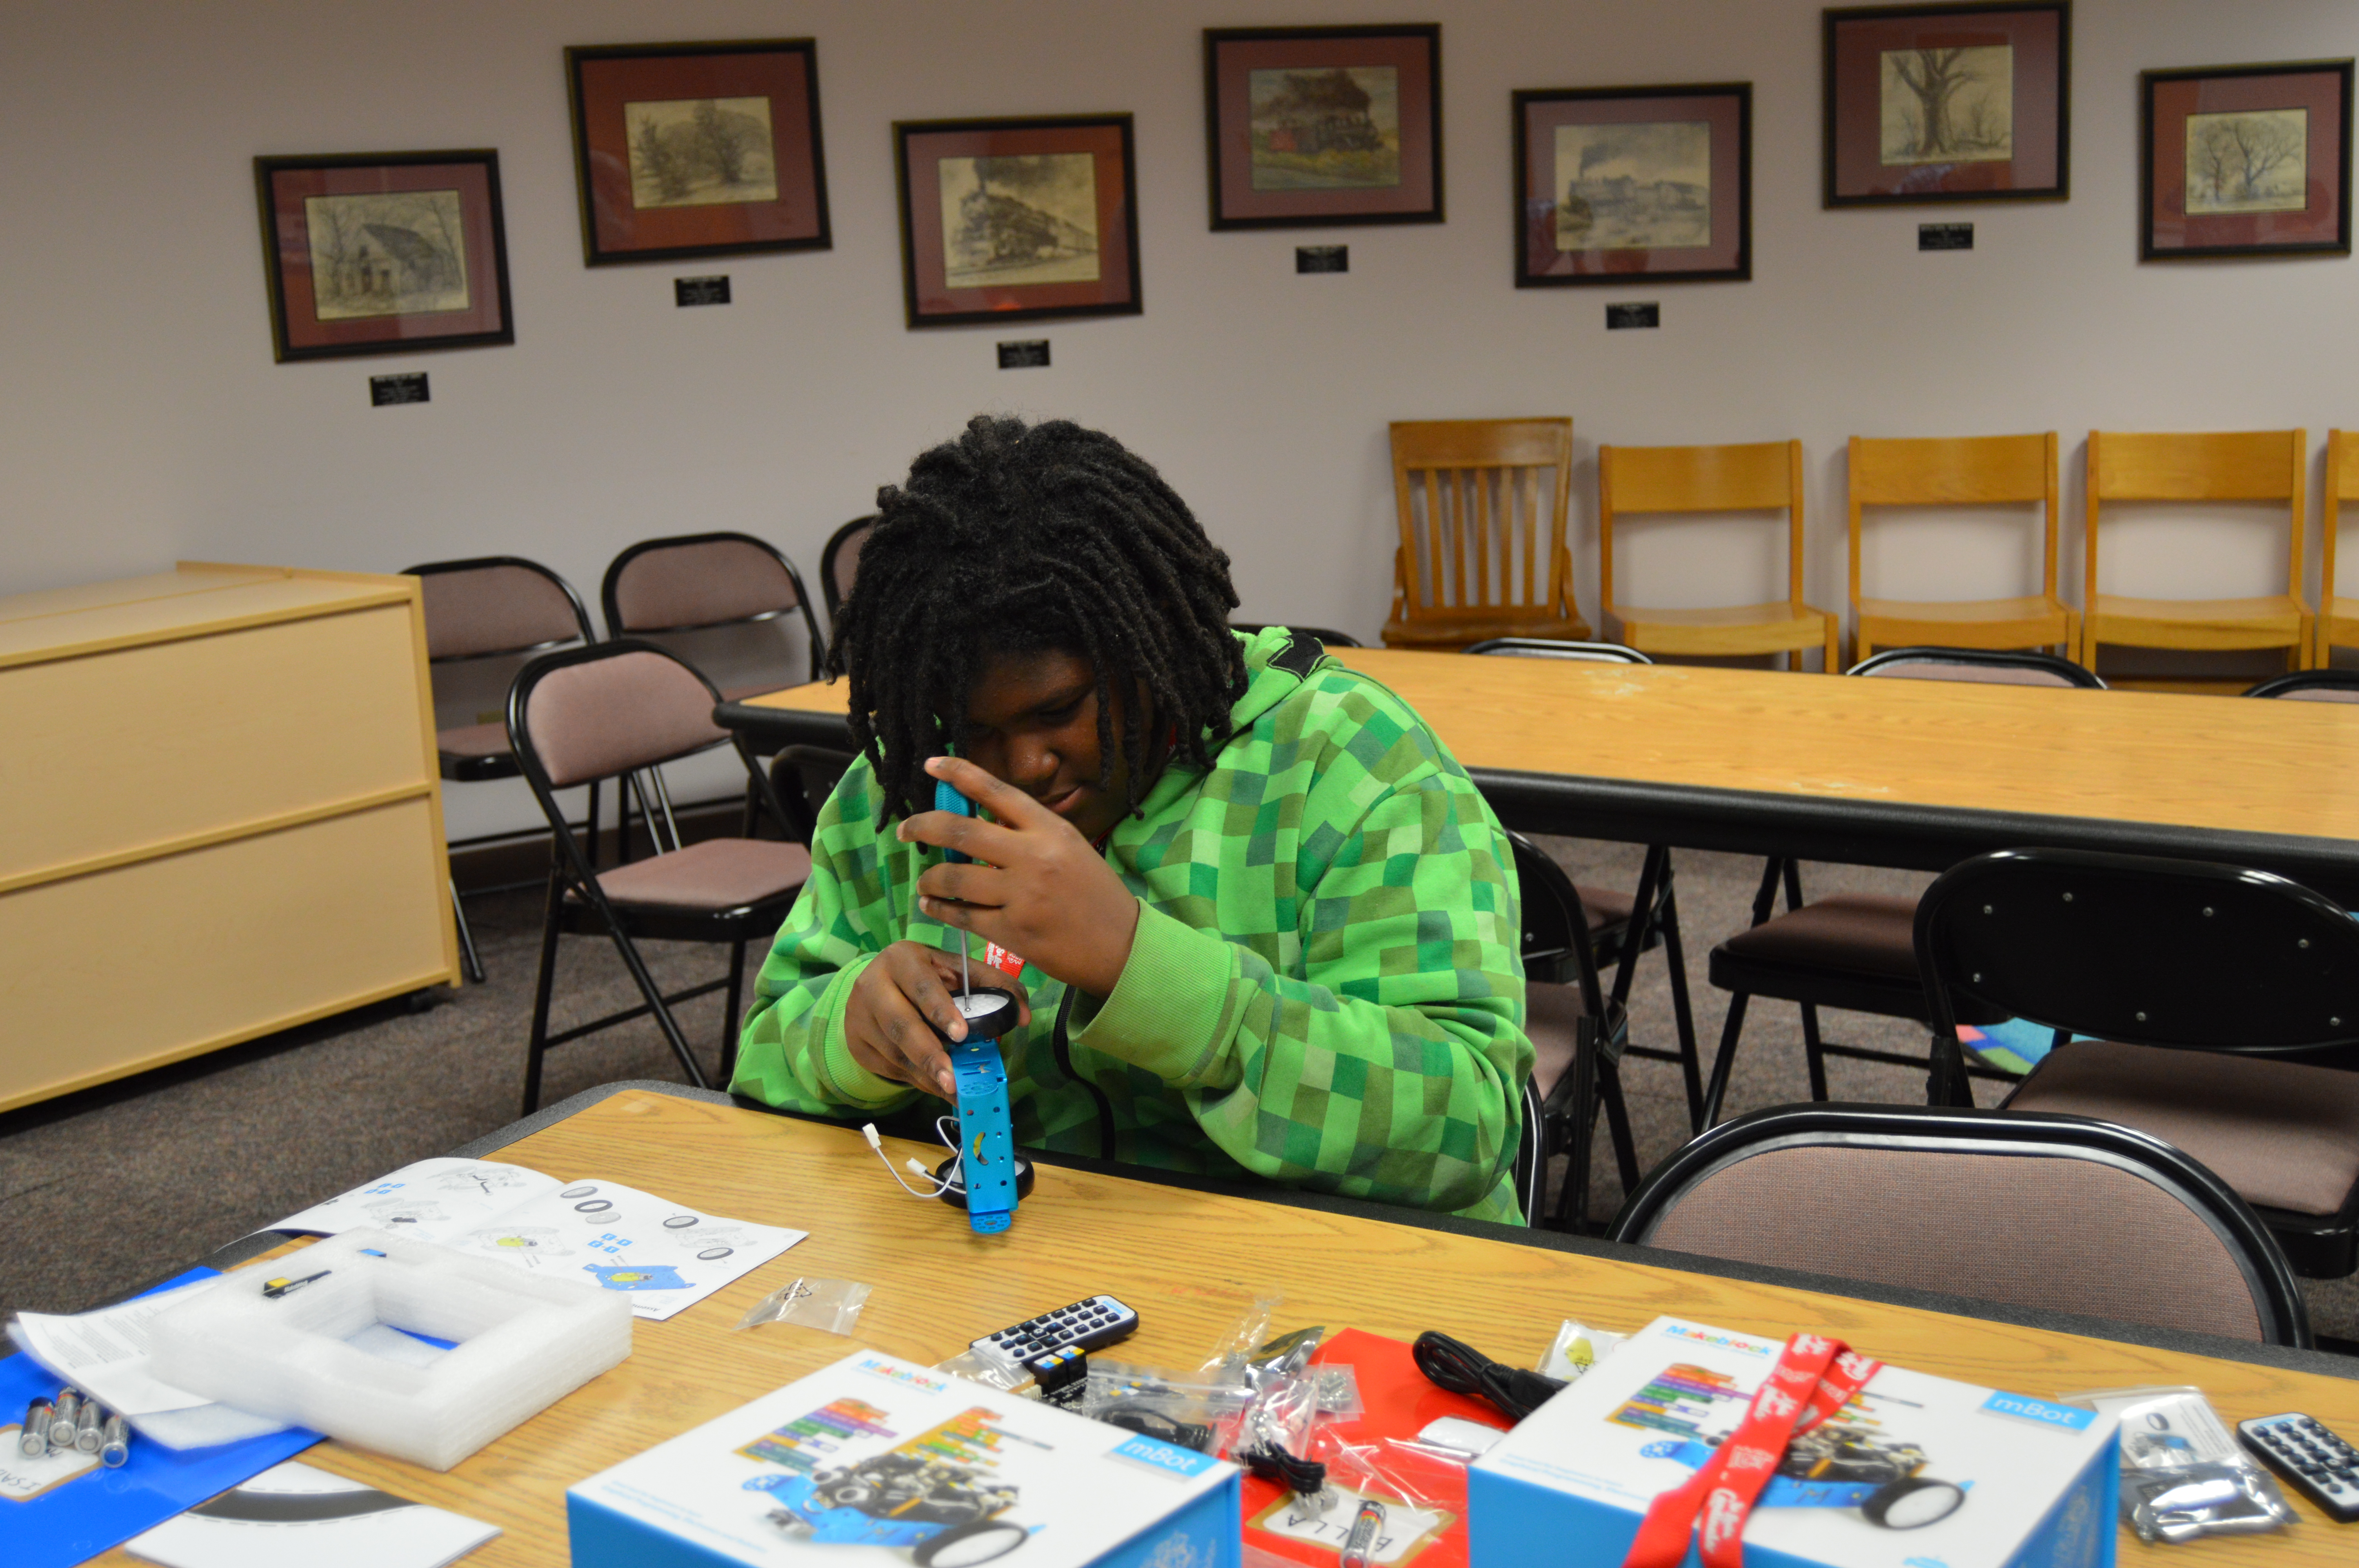
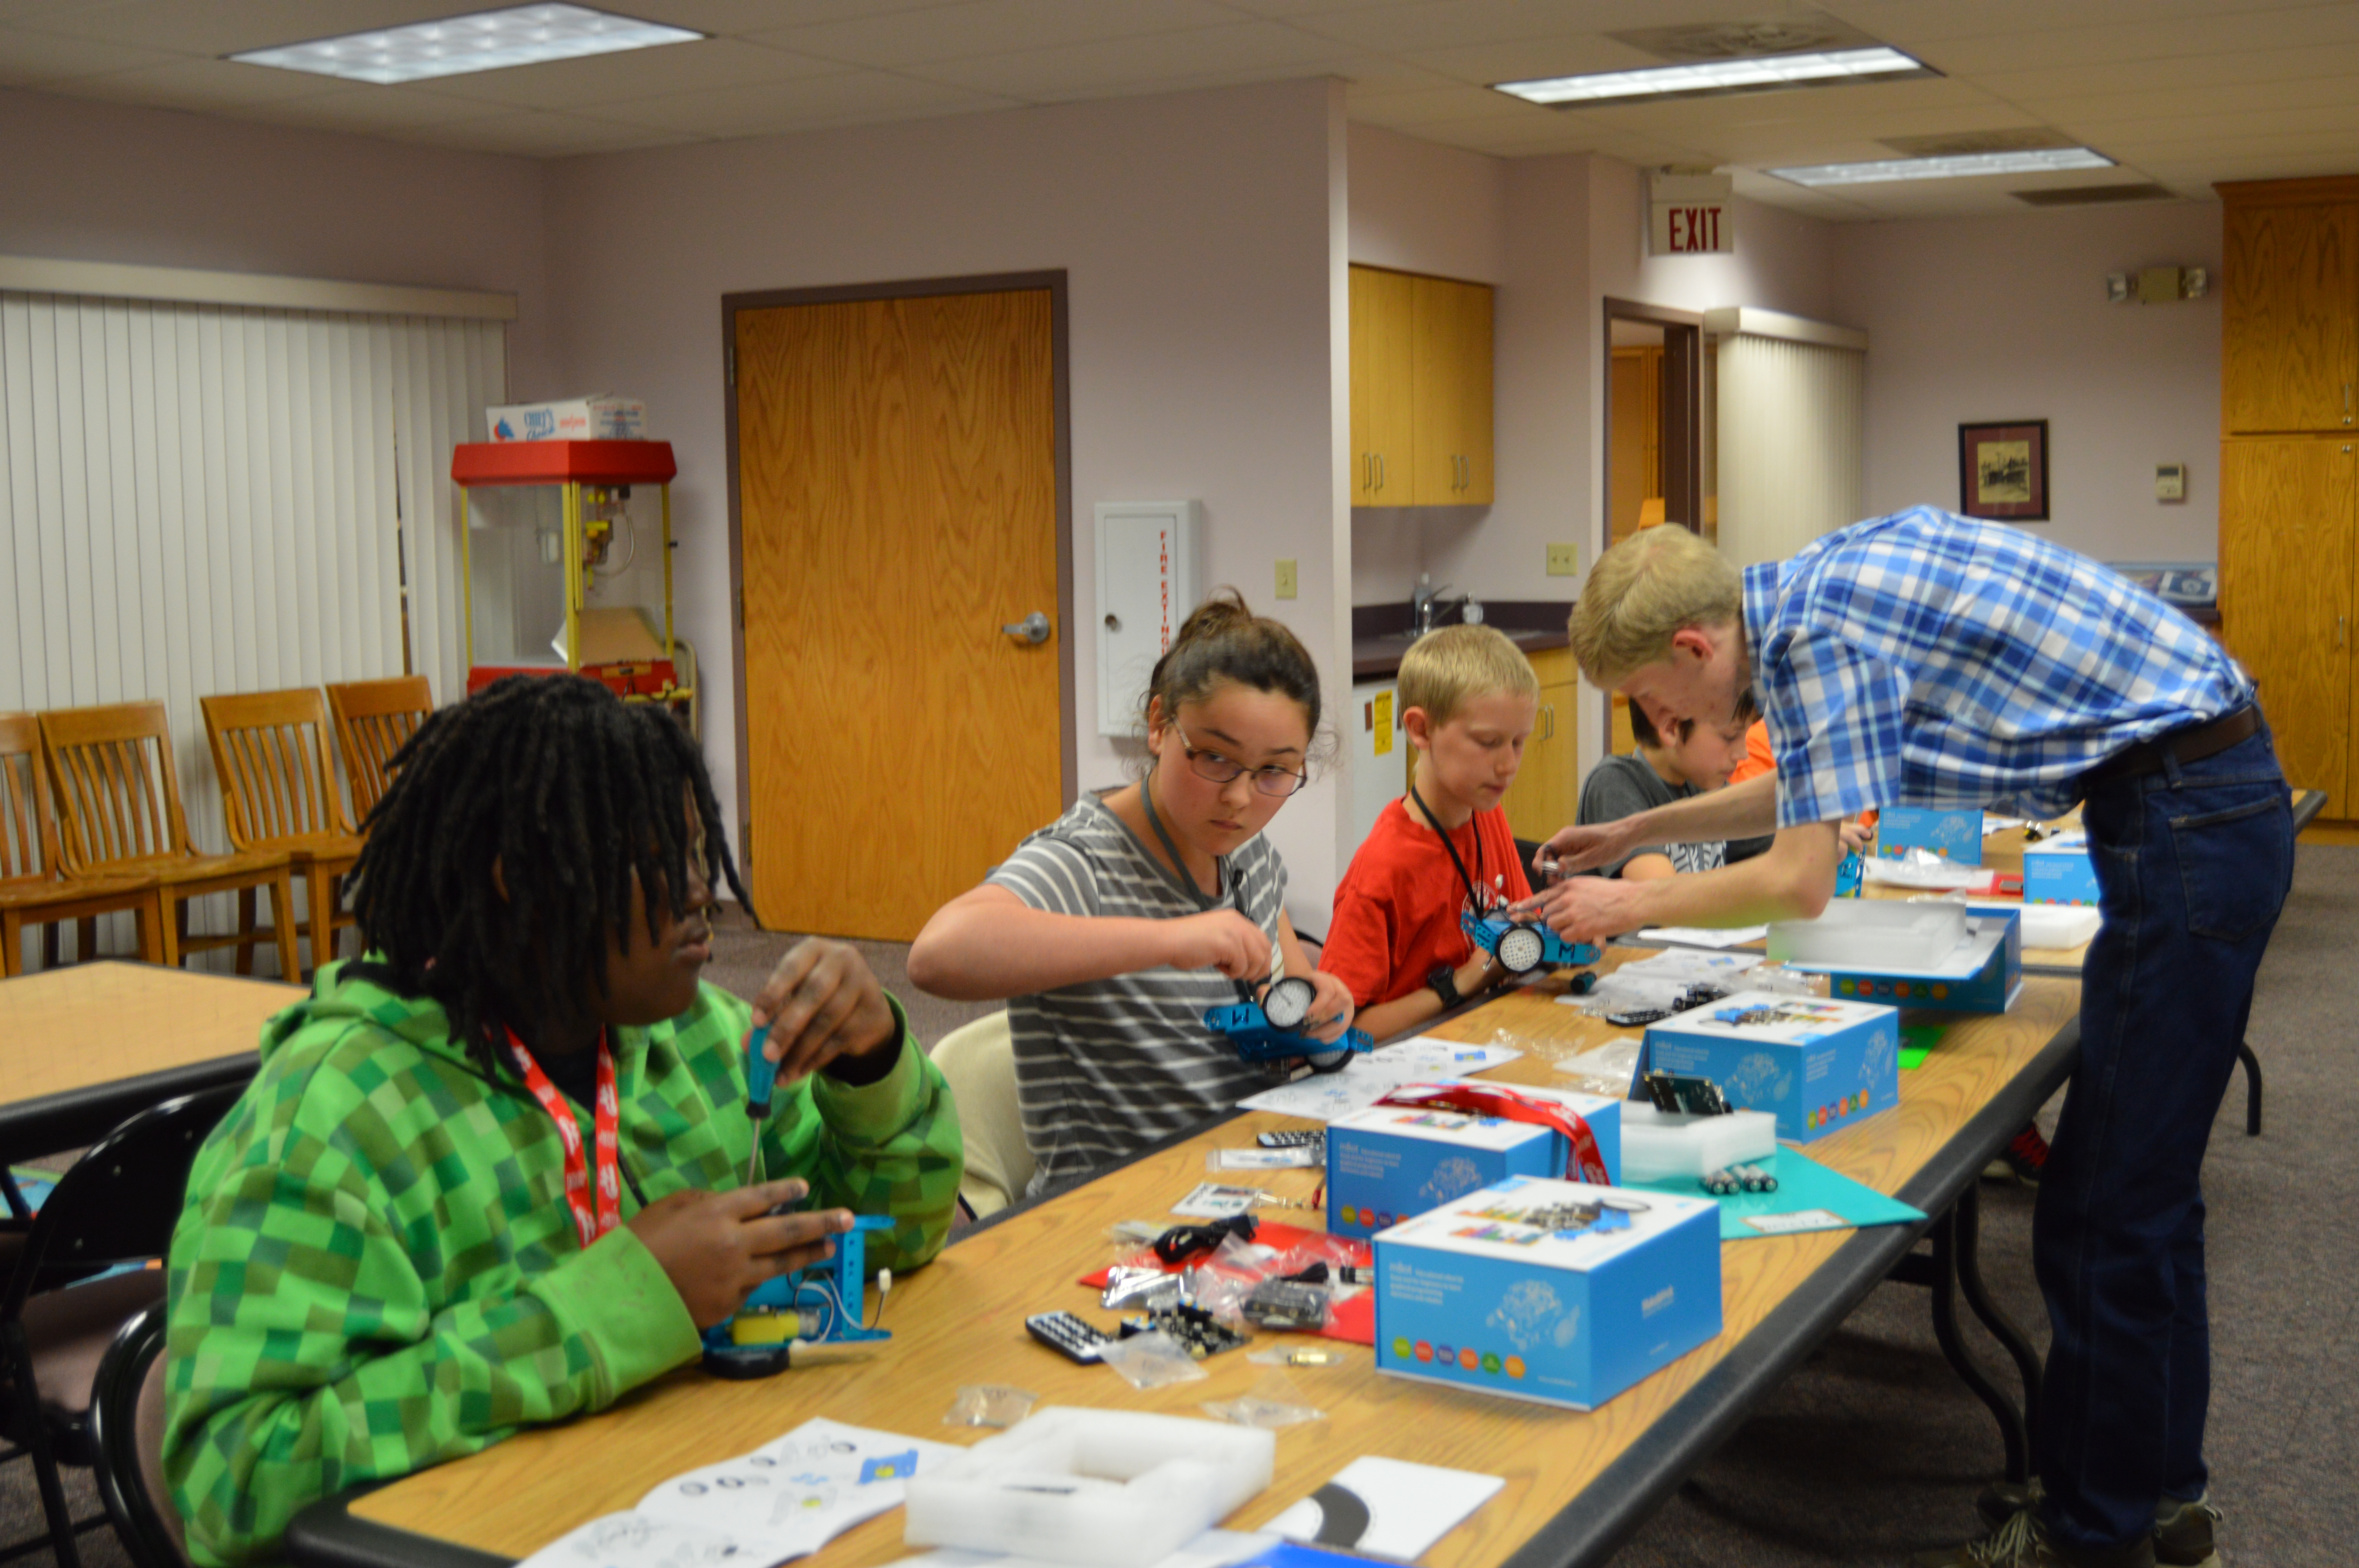
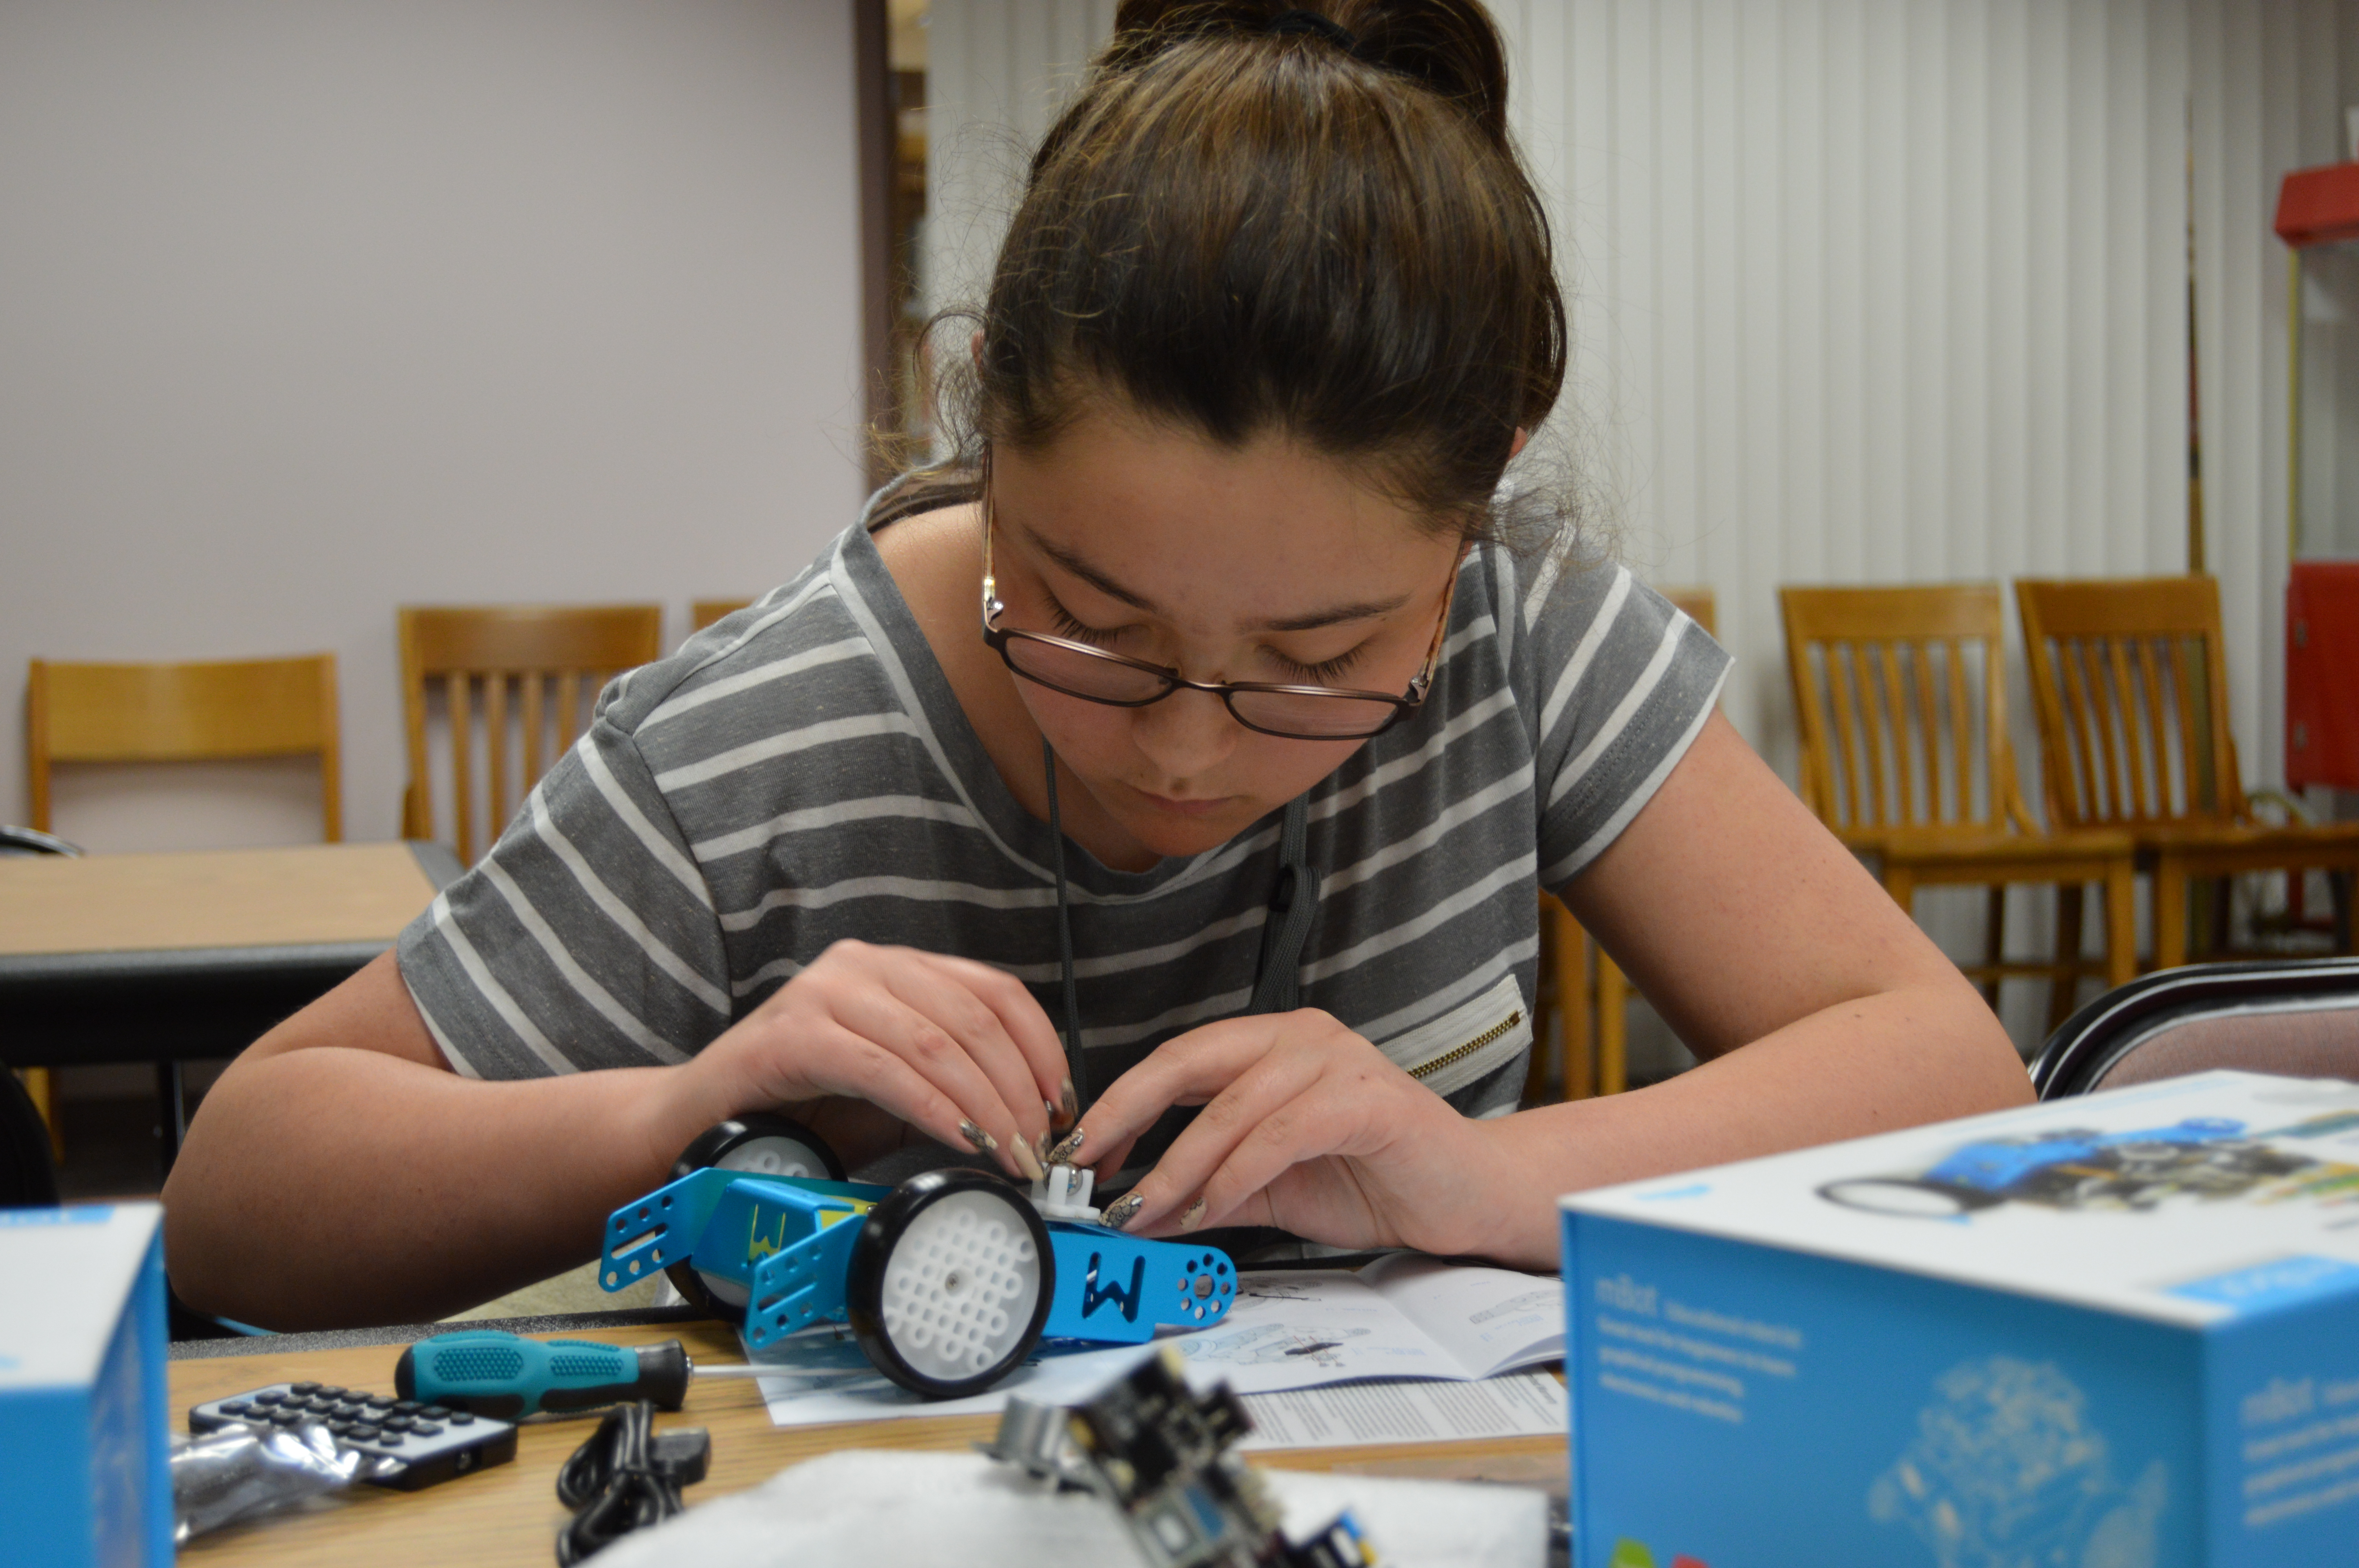
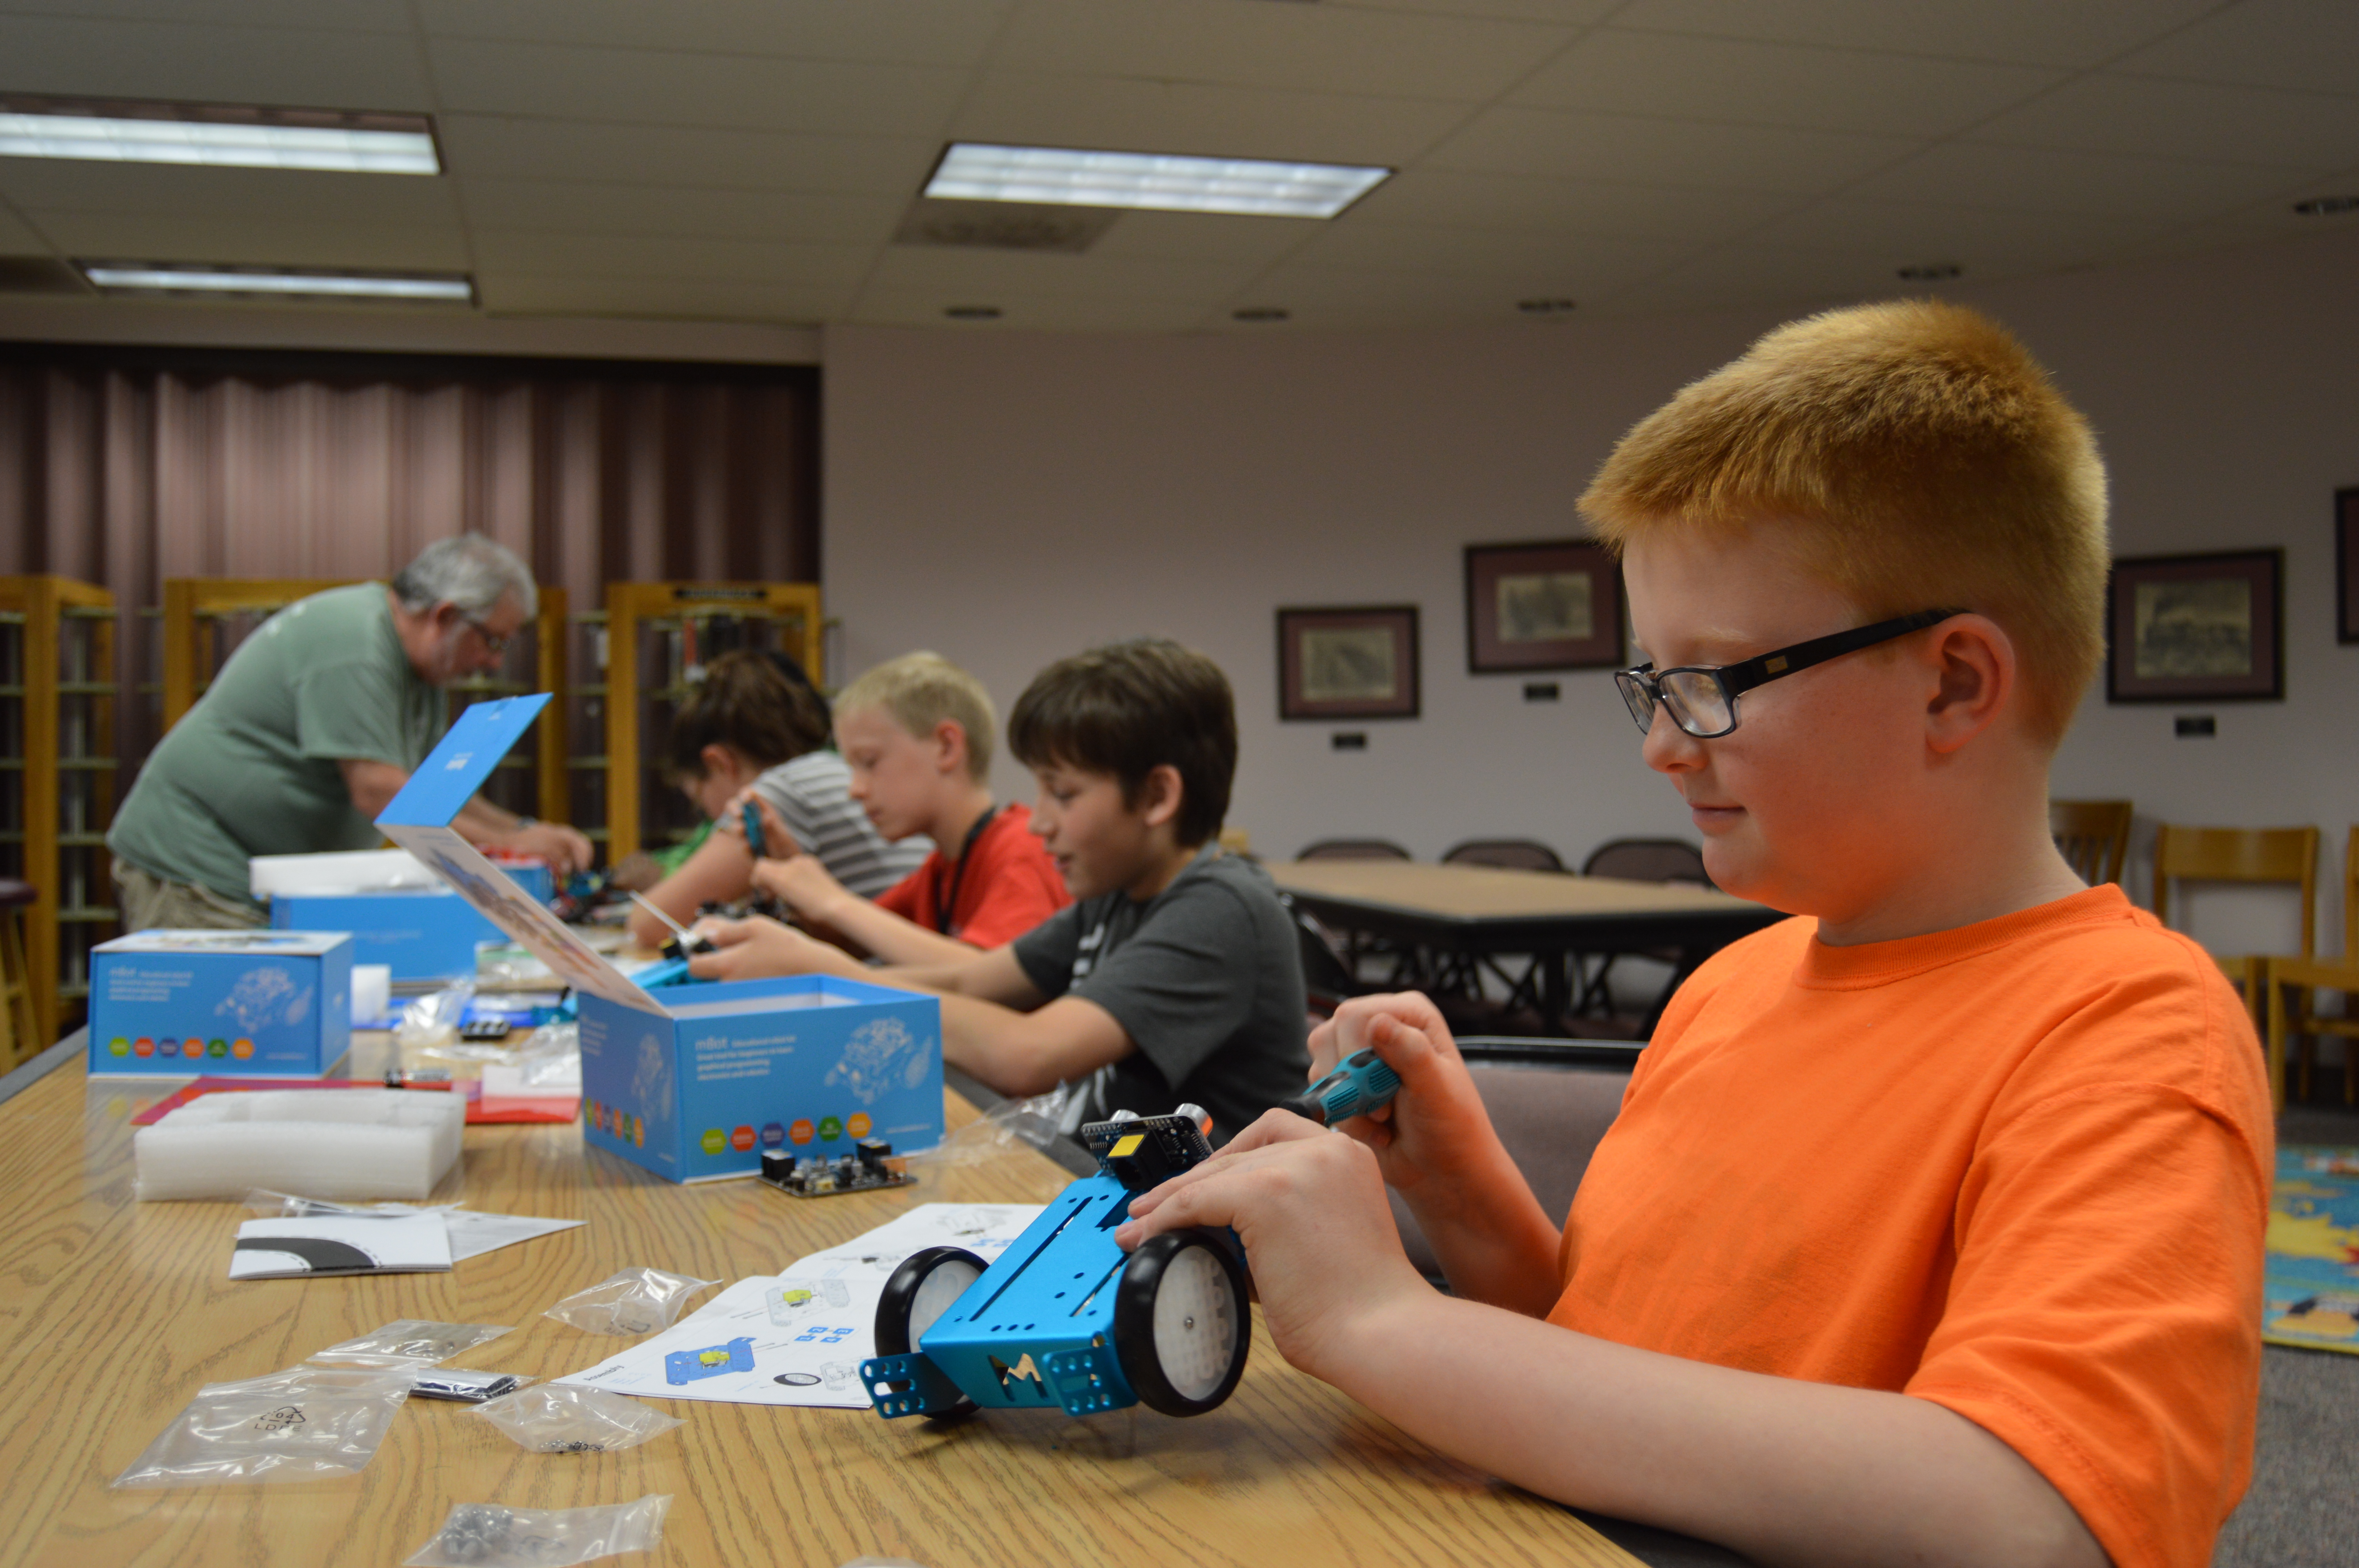
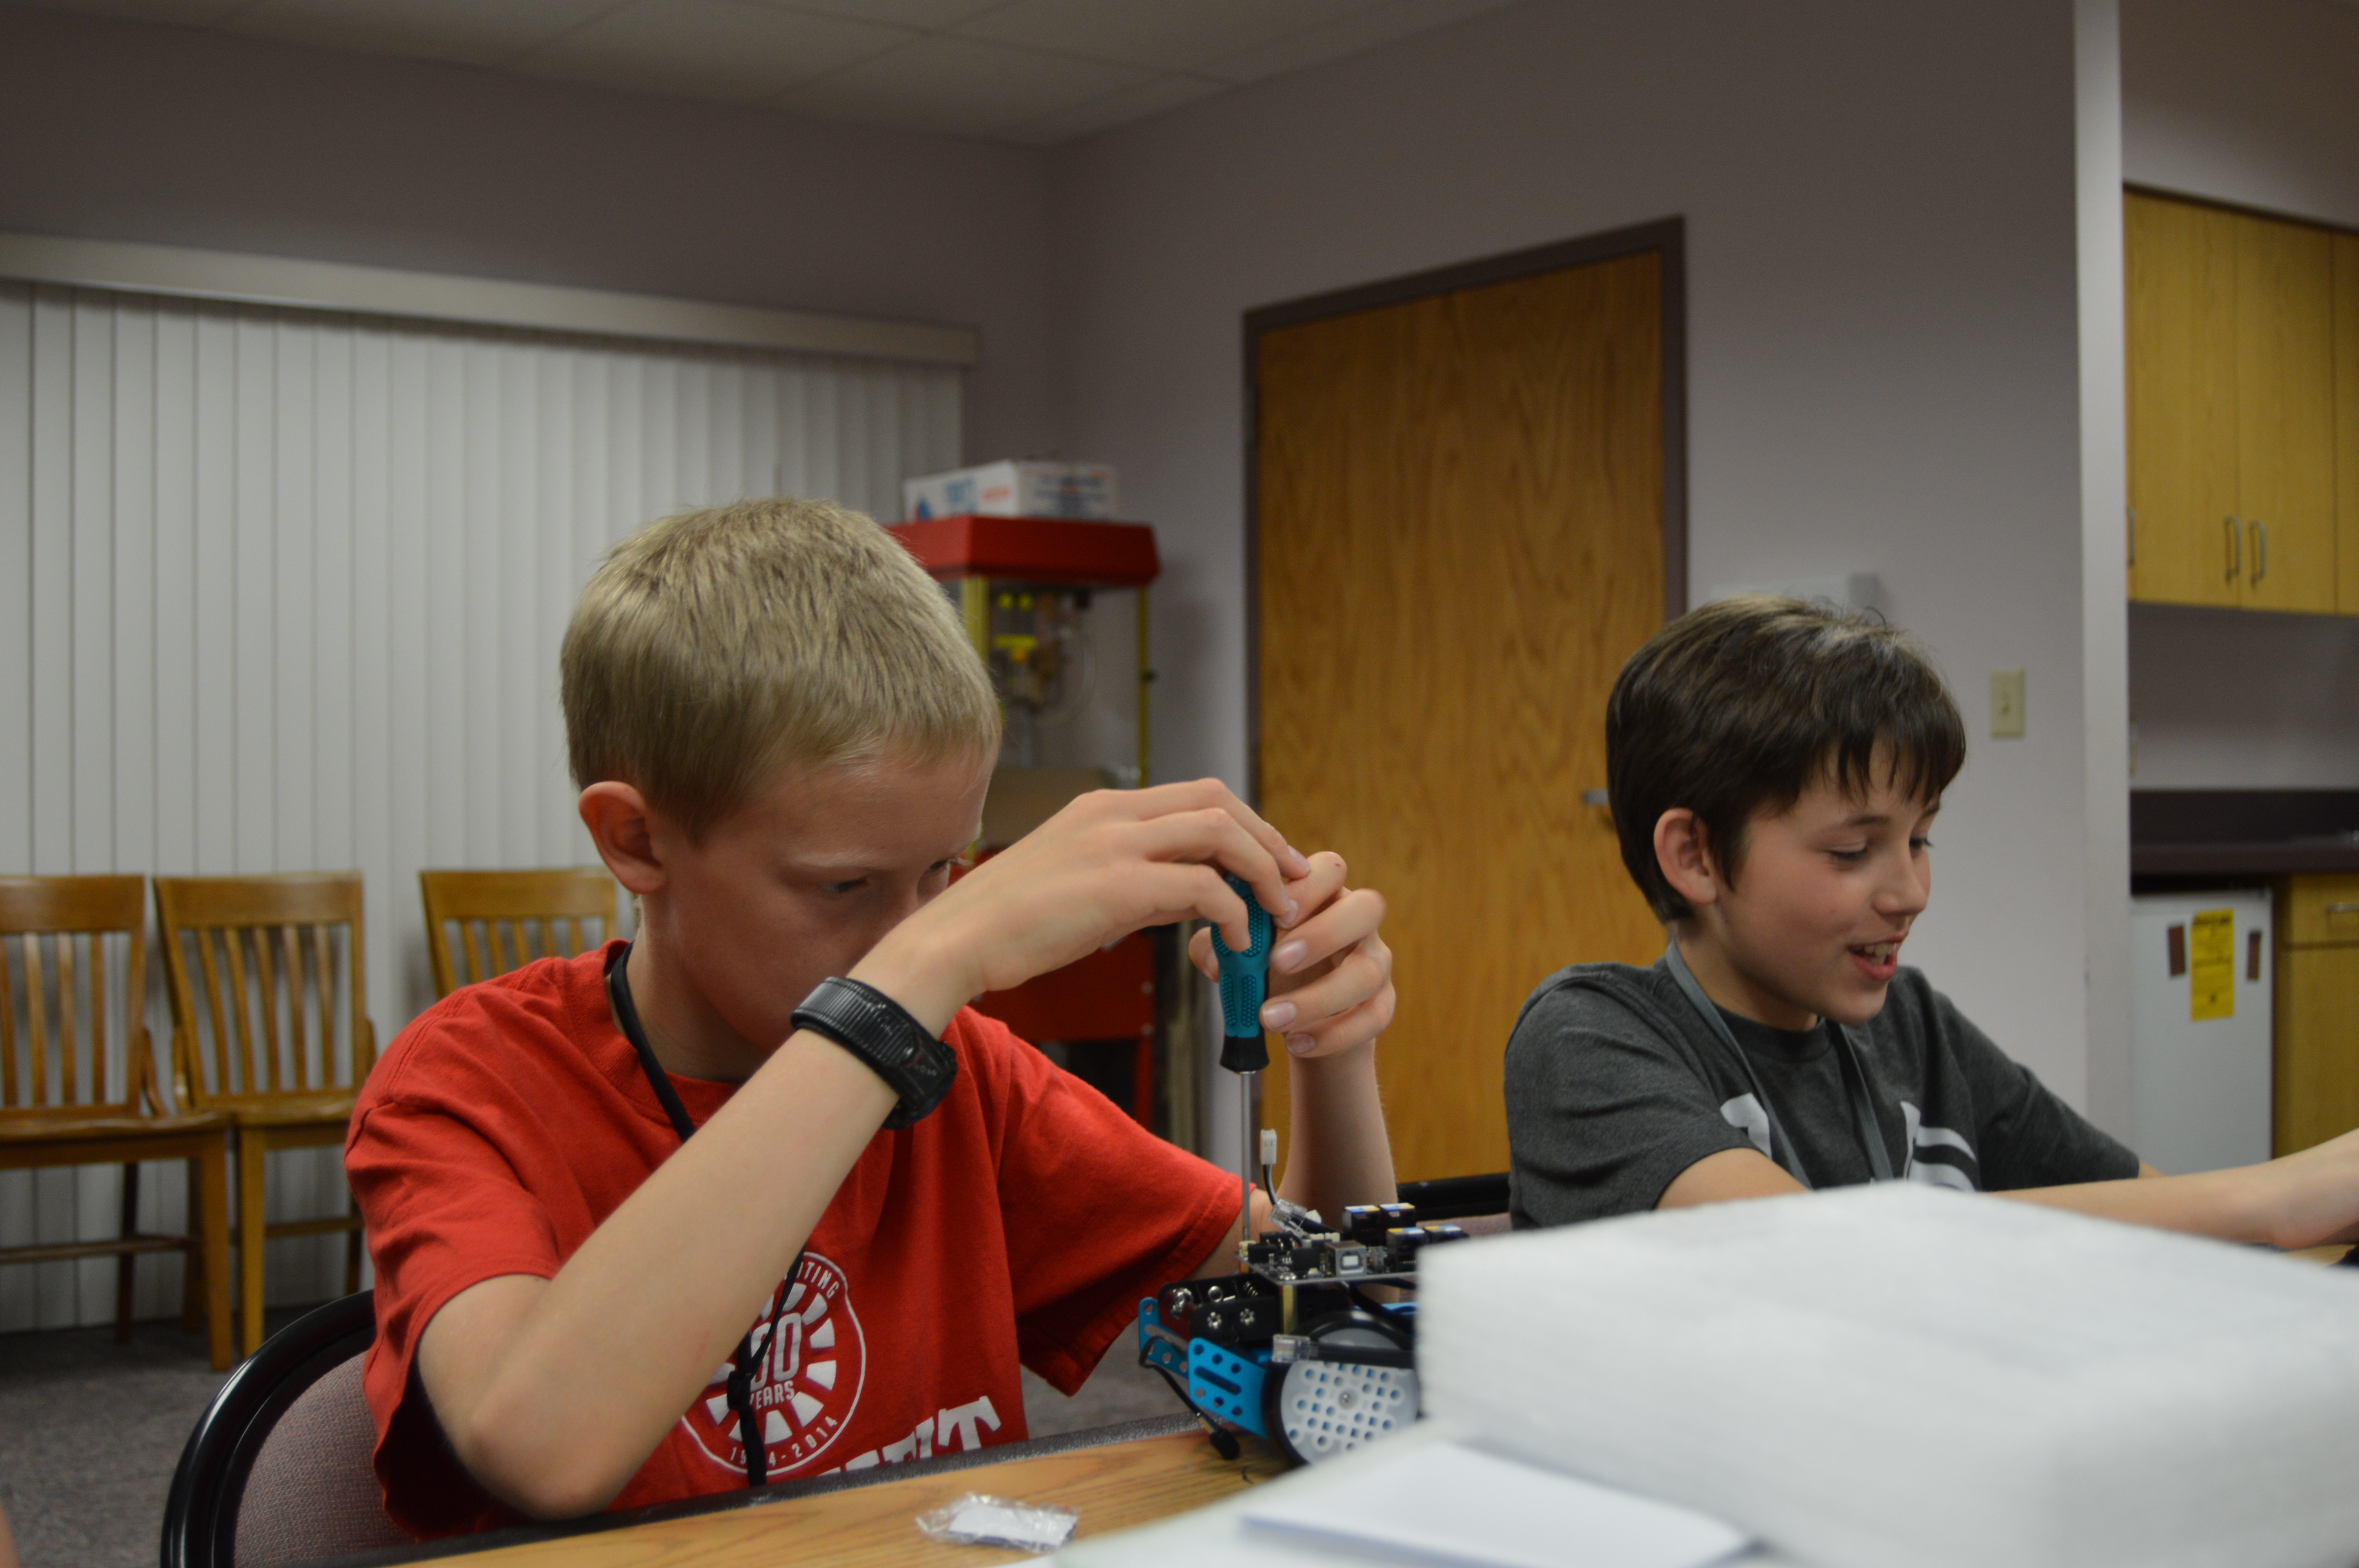
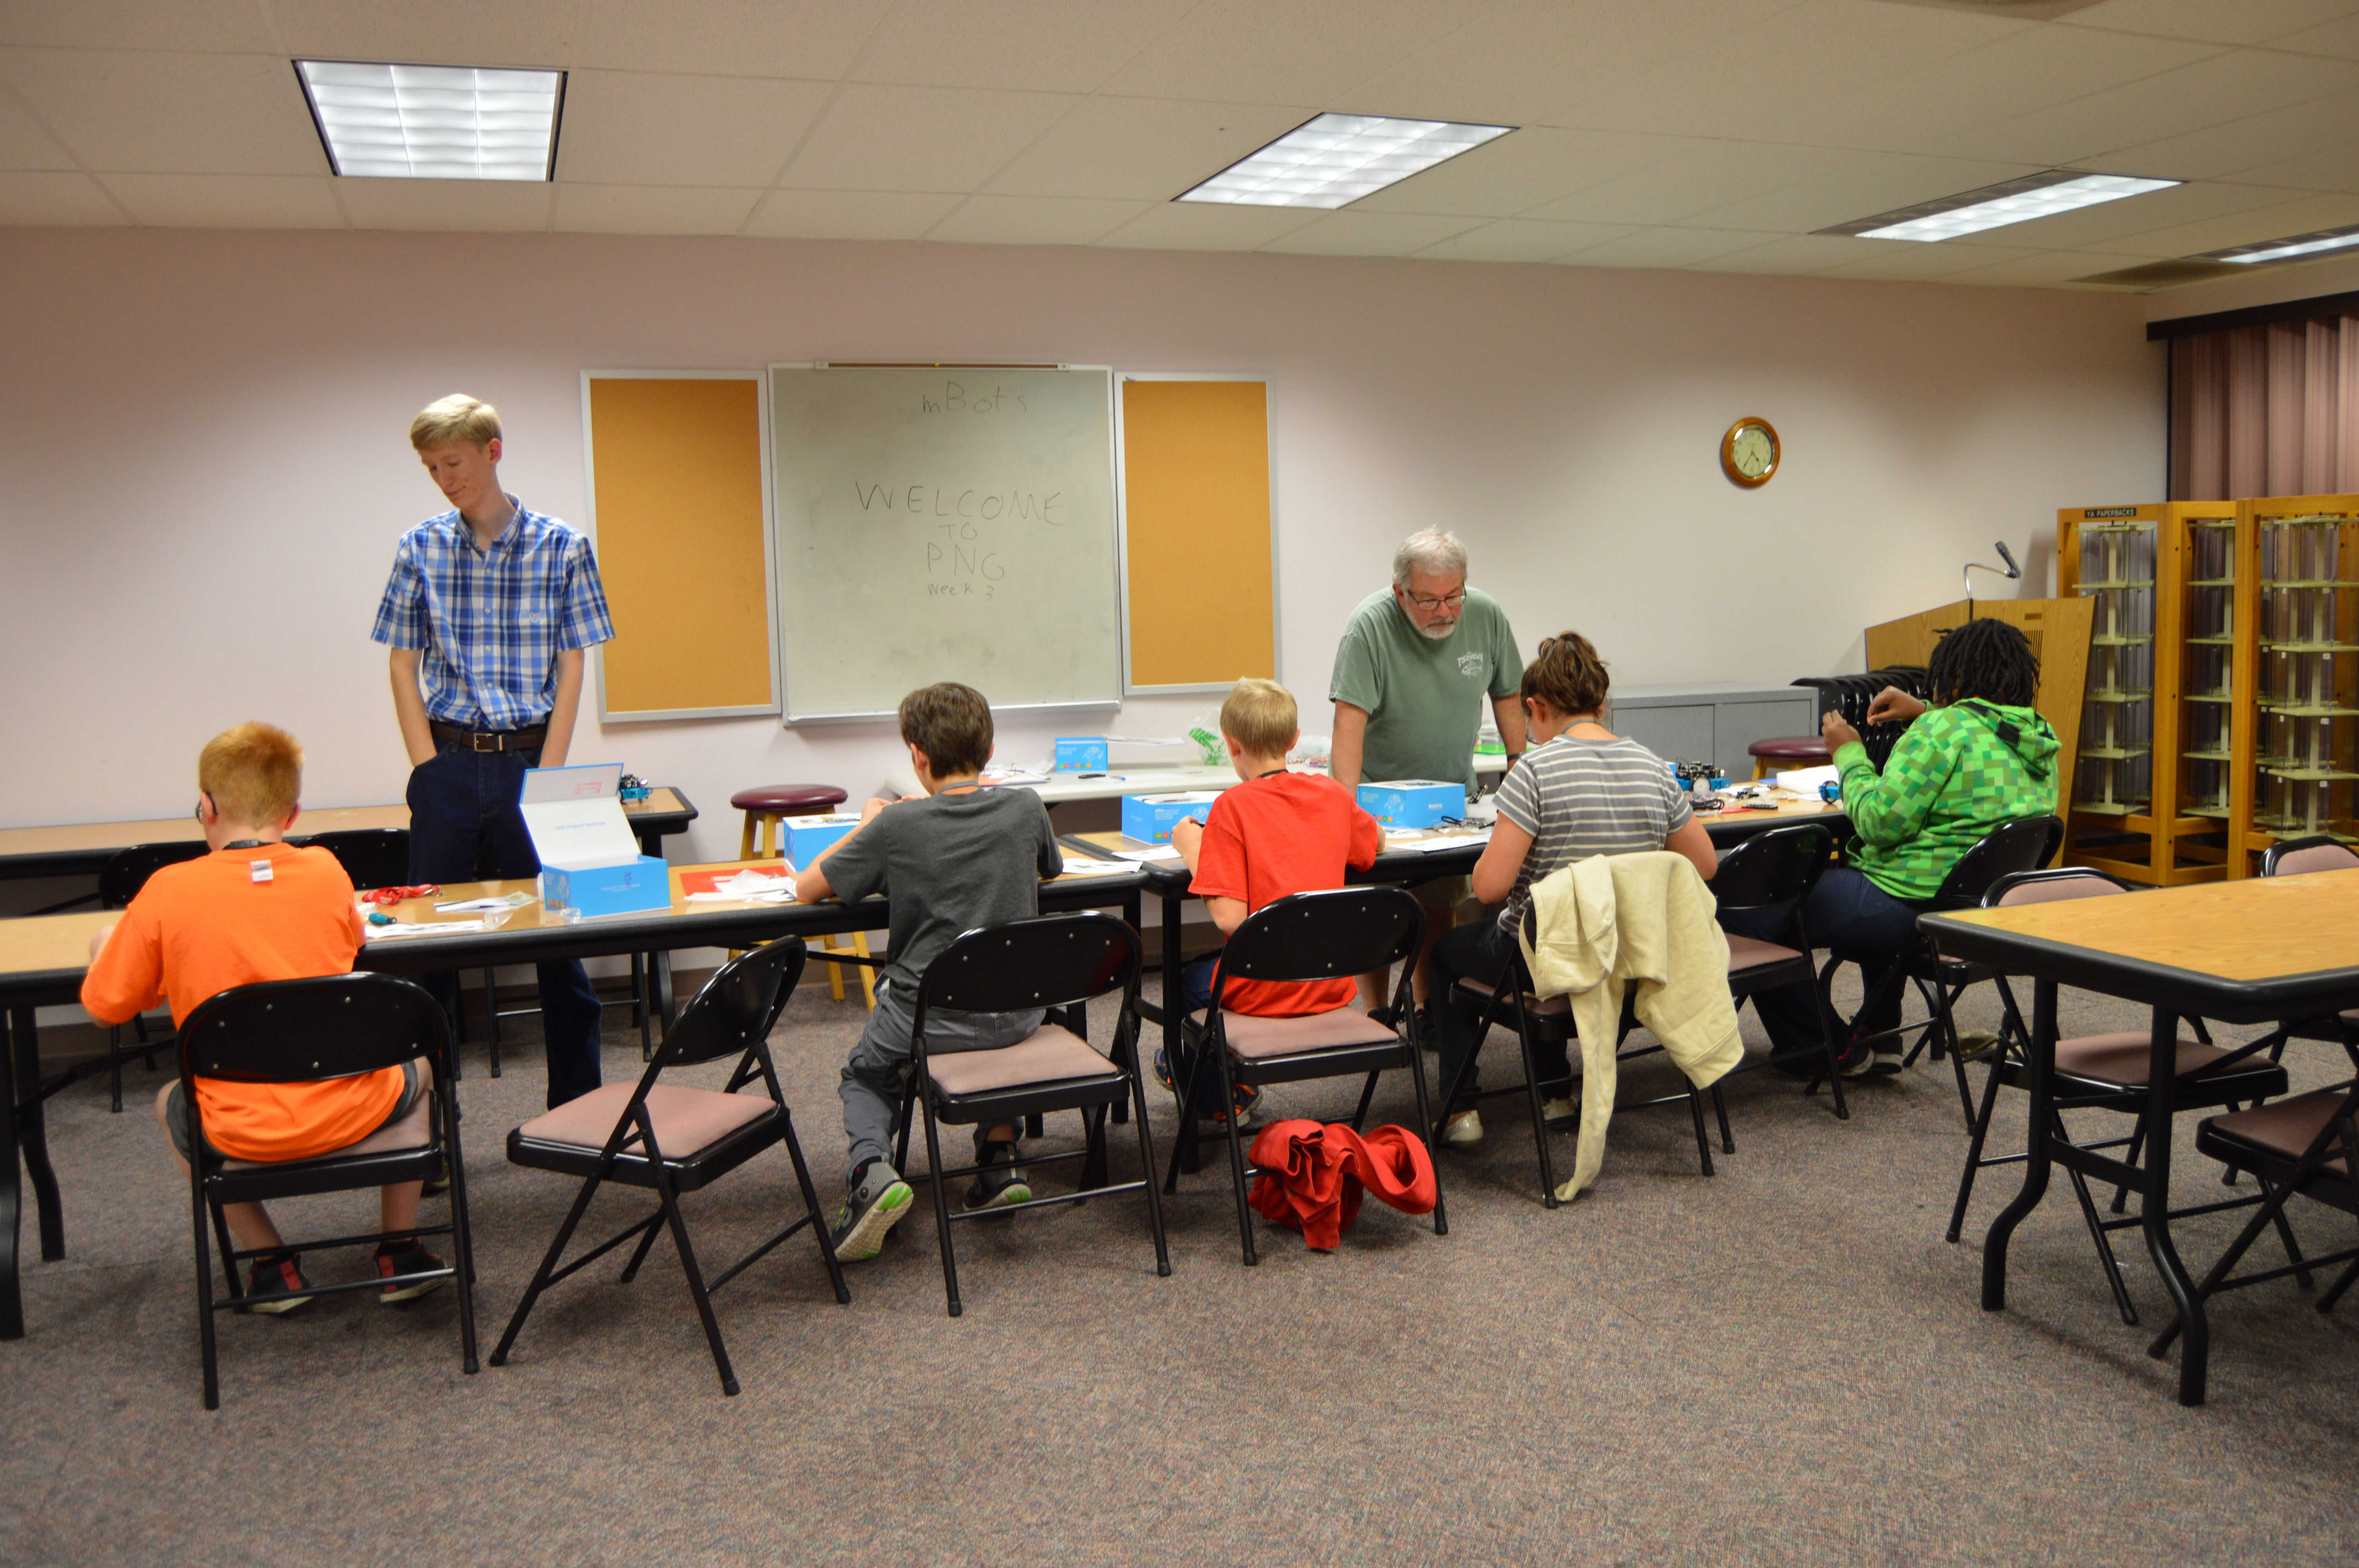
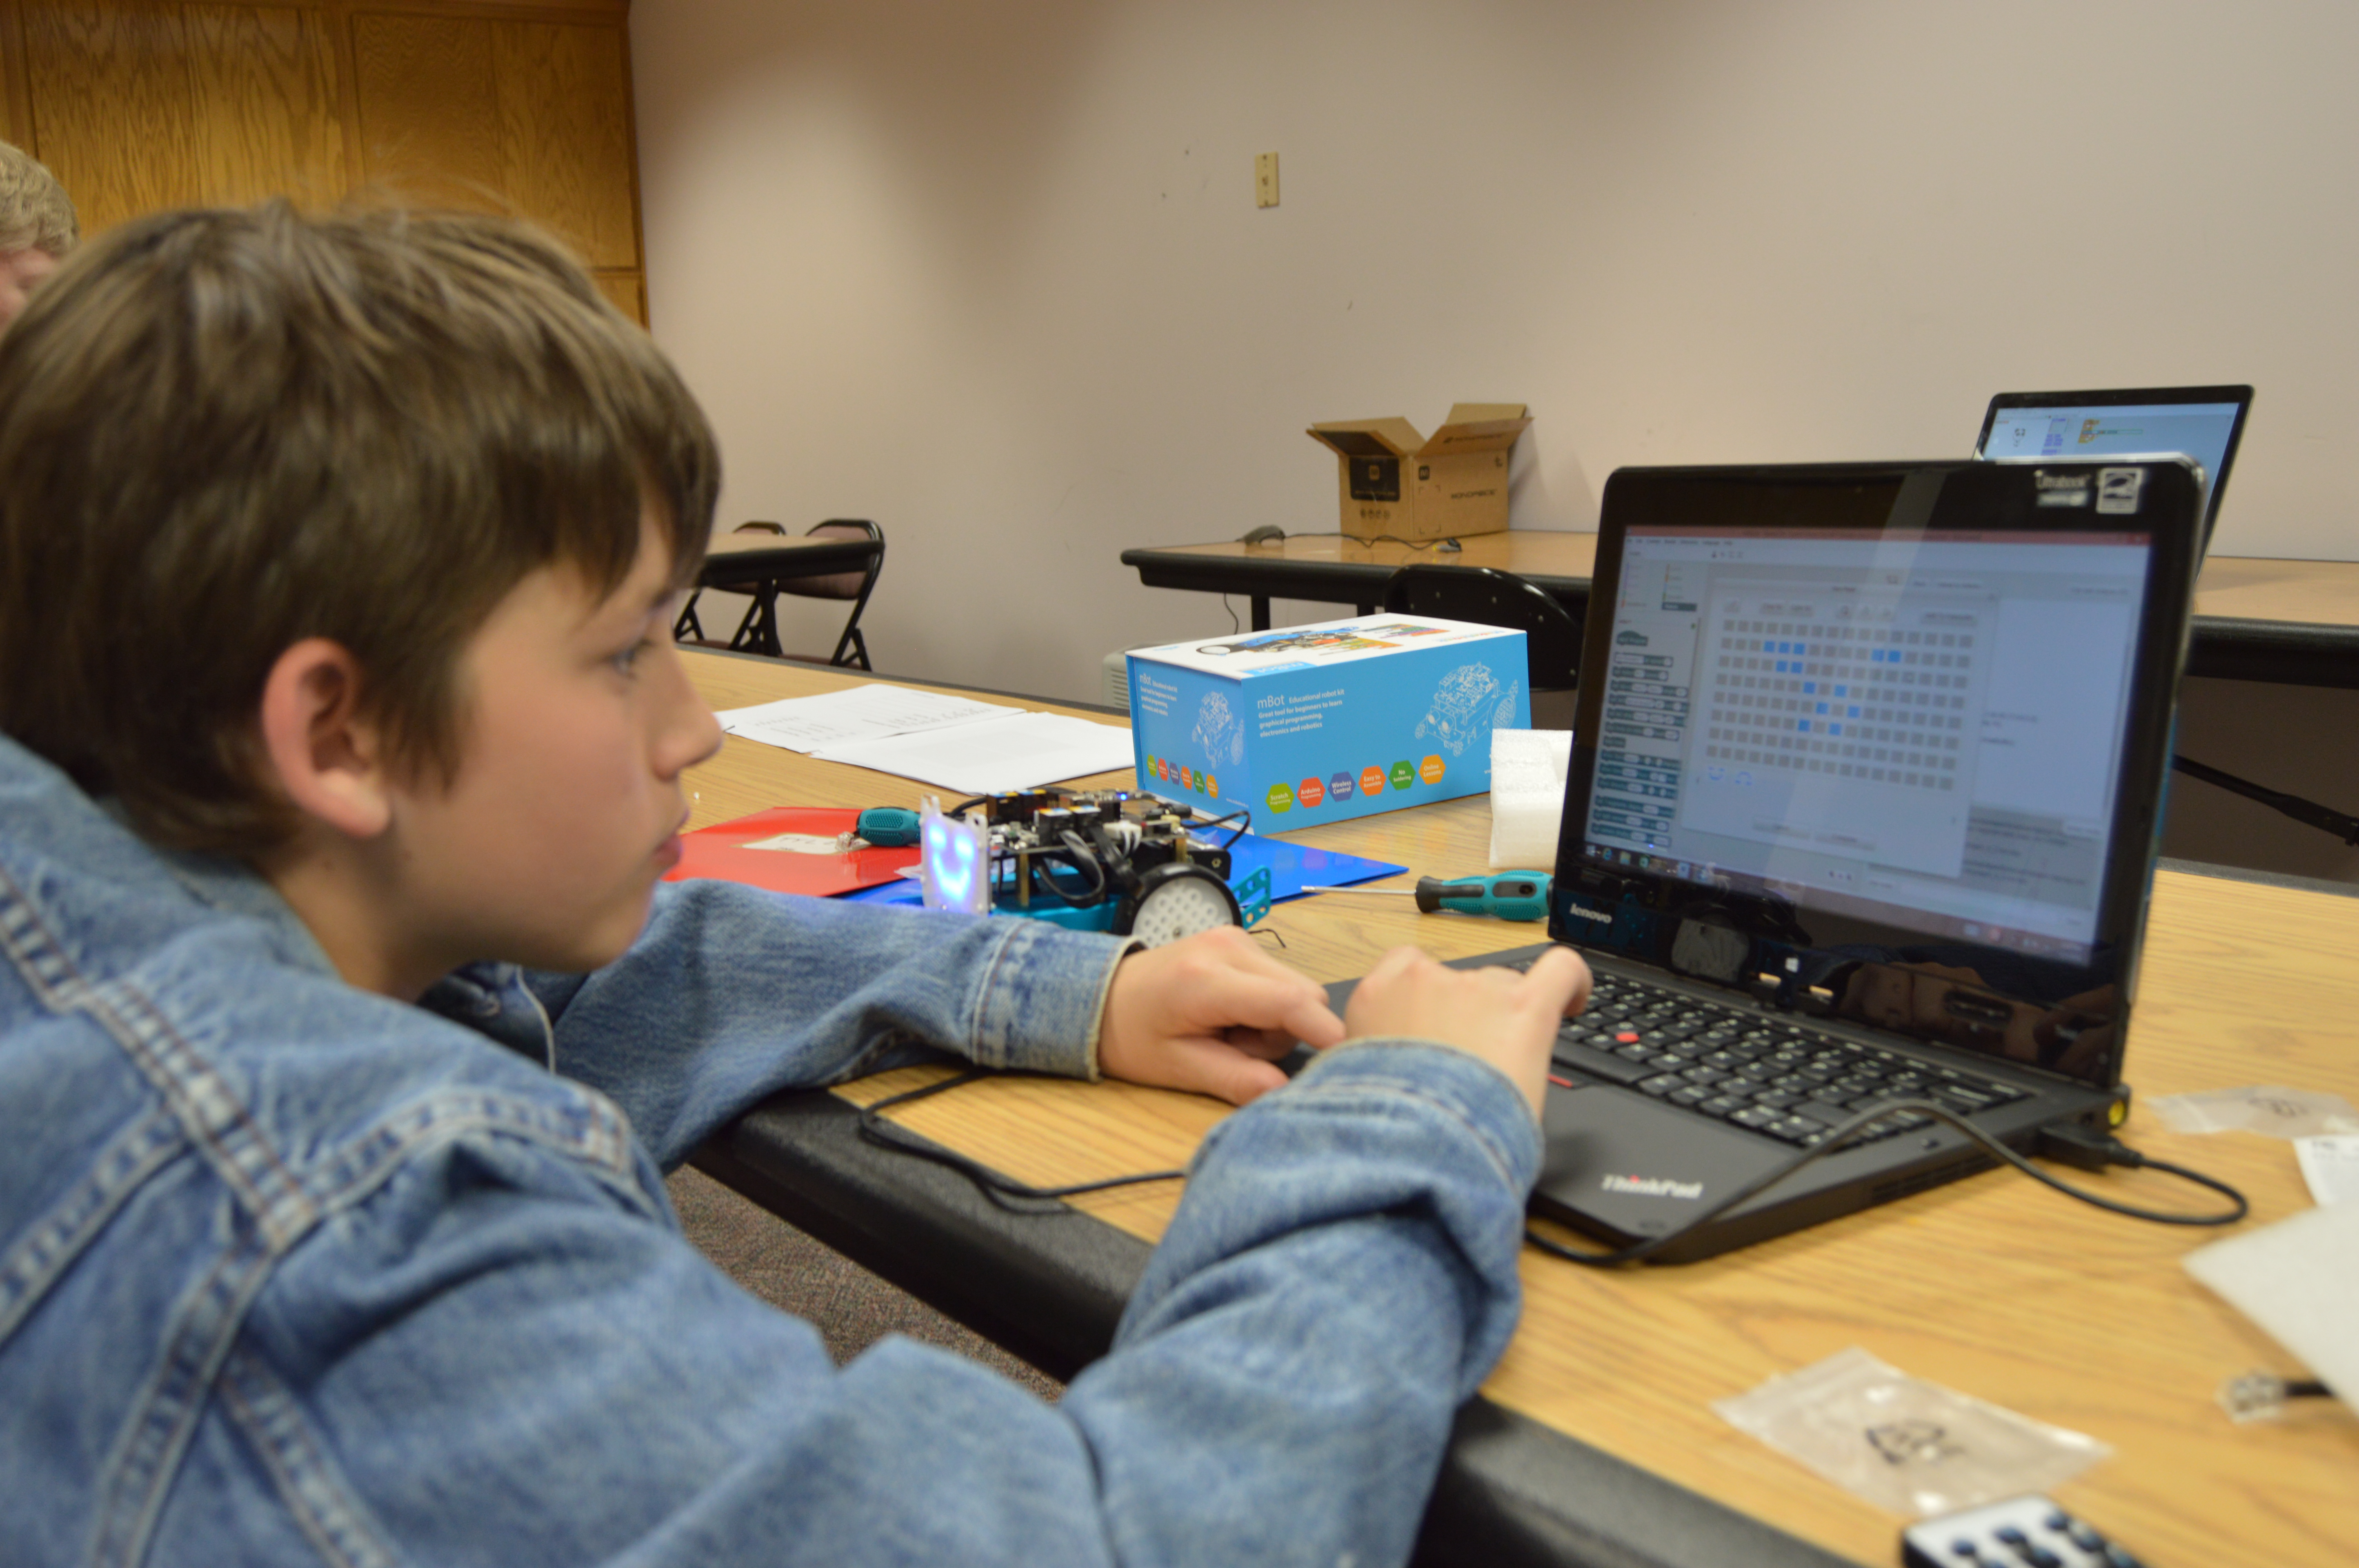
On April the 26, we met for our third PNG Robotics University session. We had five students in attendance for this session. This week each student worked to assemble an mBot. Some of the students found this a bit more challenging than previous projects, but all were able to complete the project, with a little assistance.
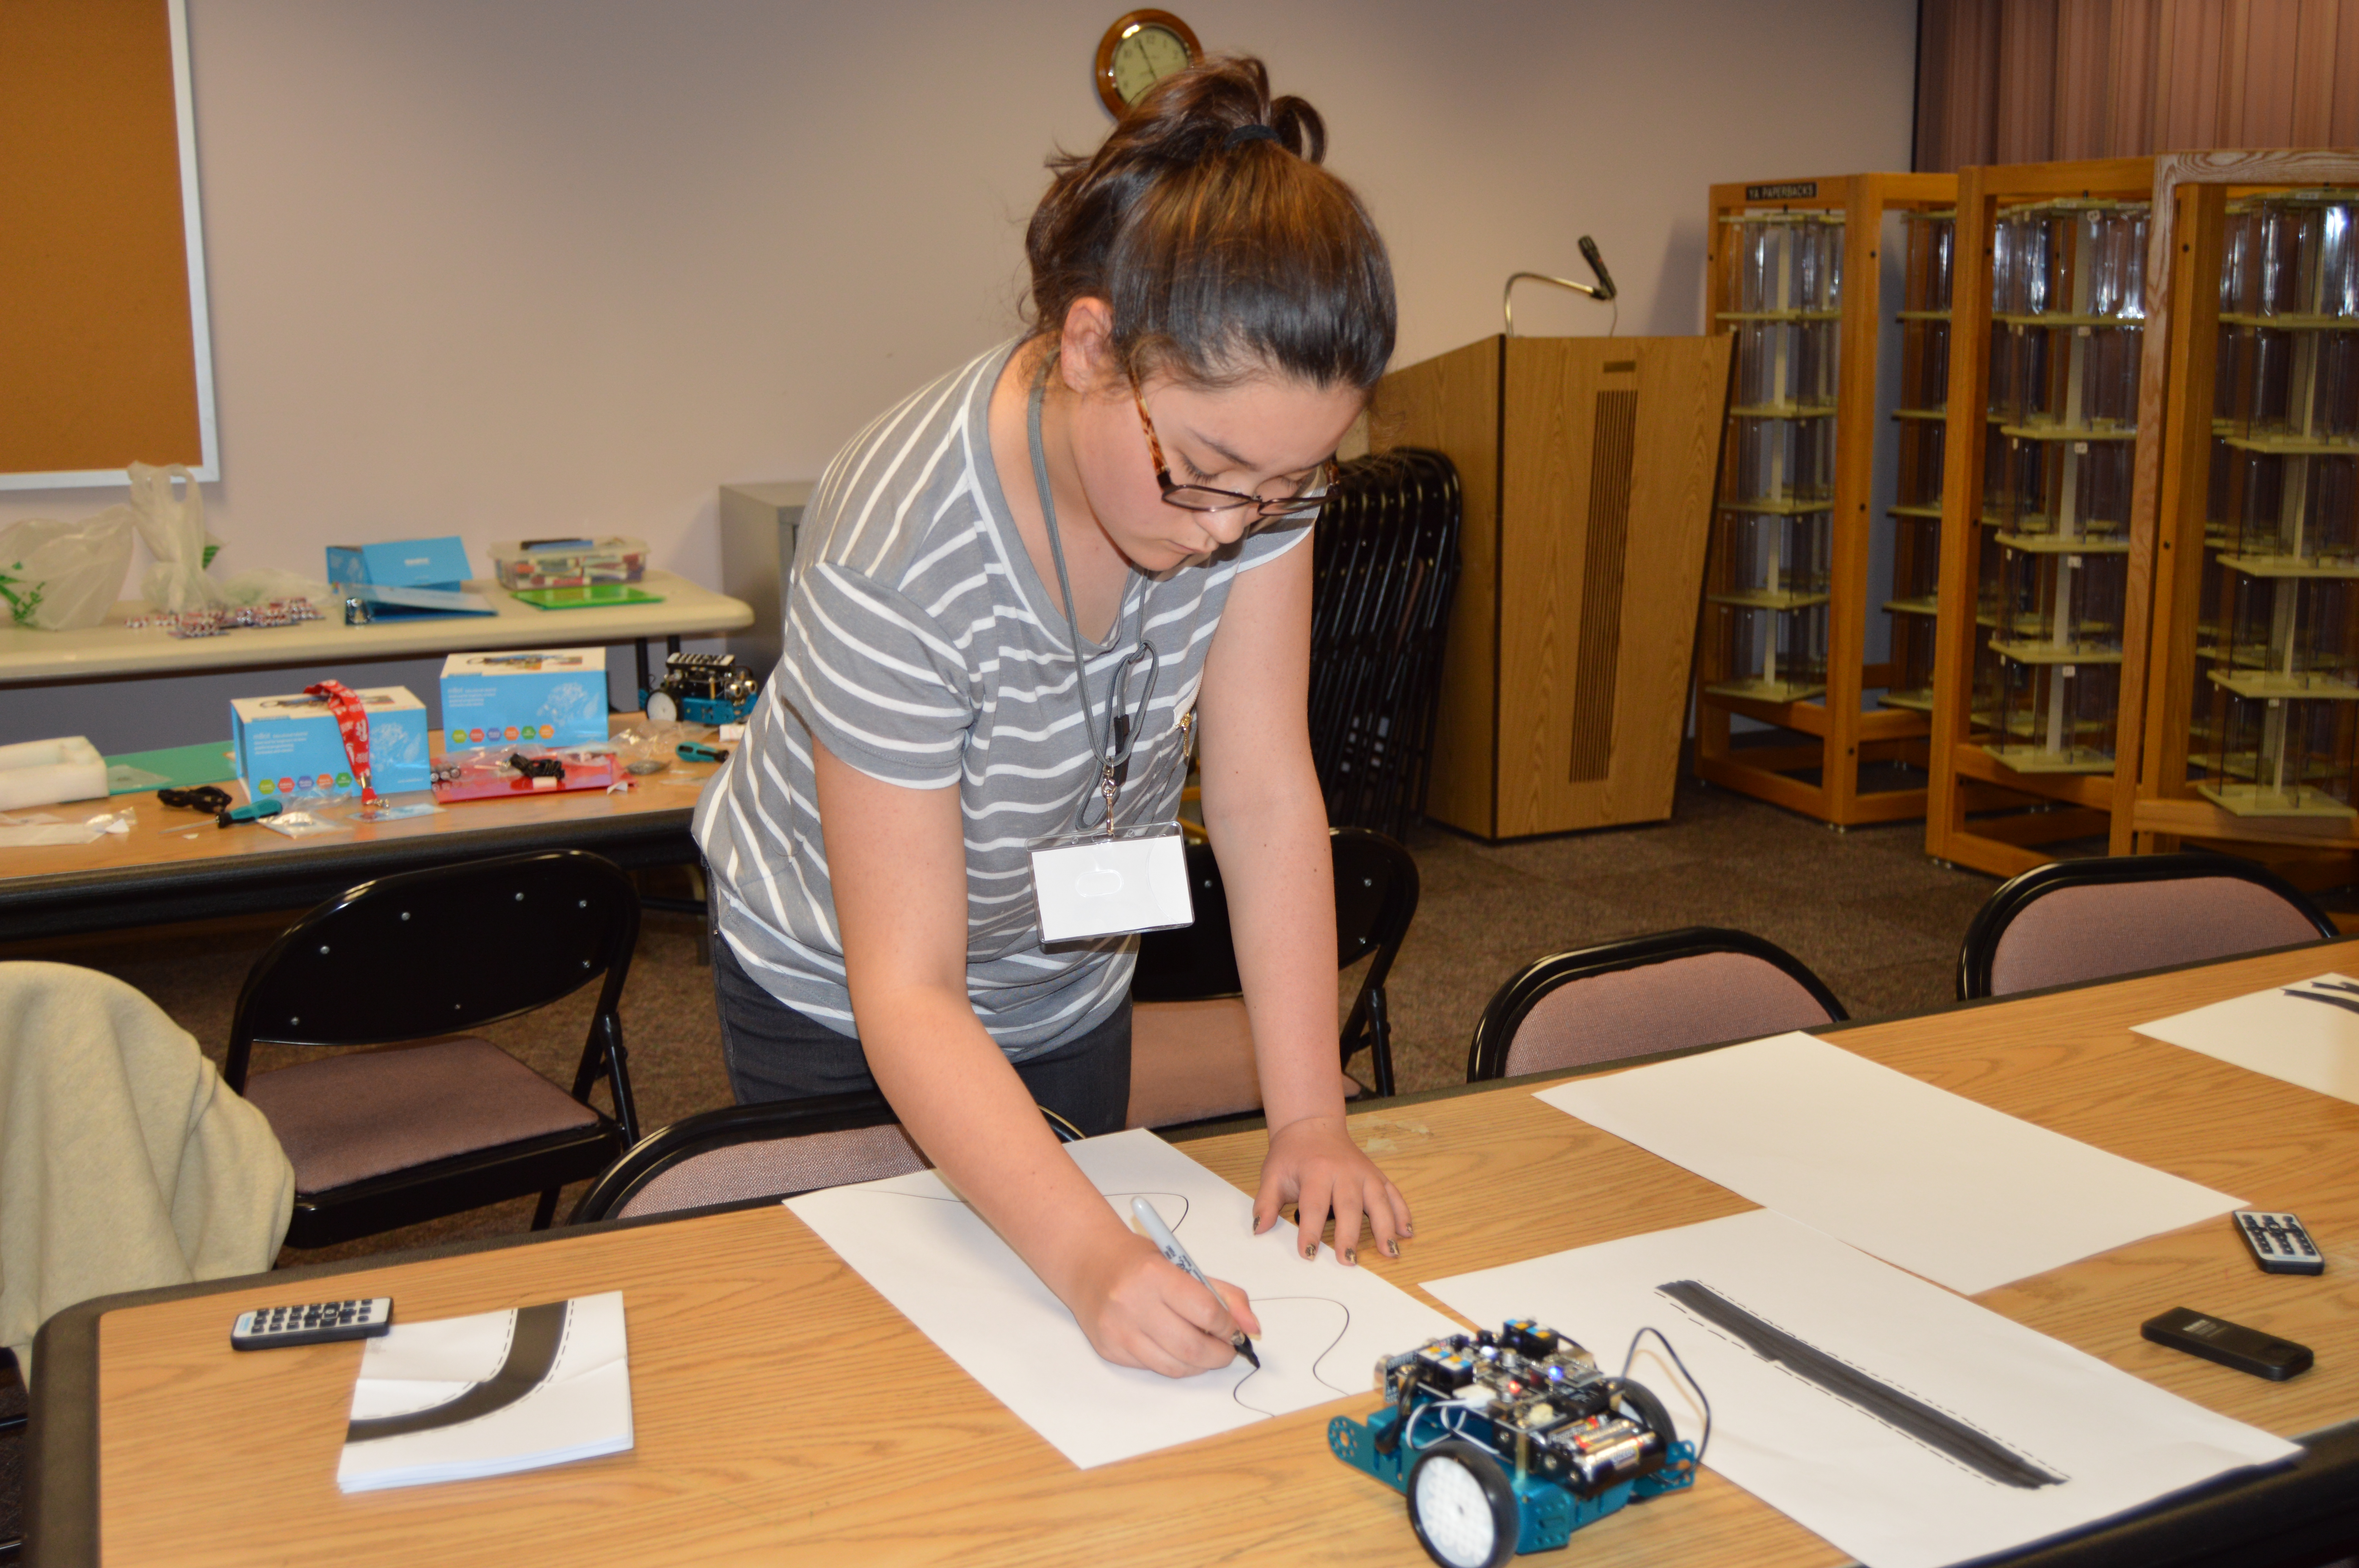
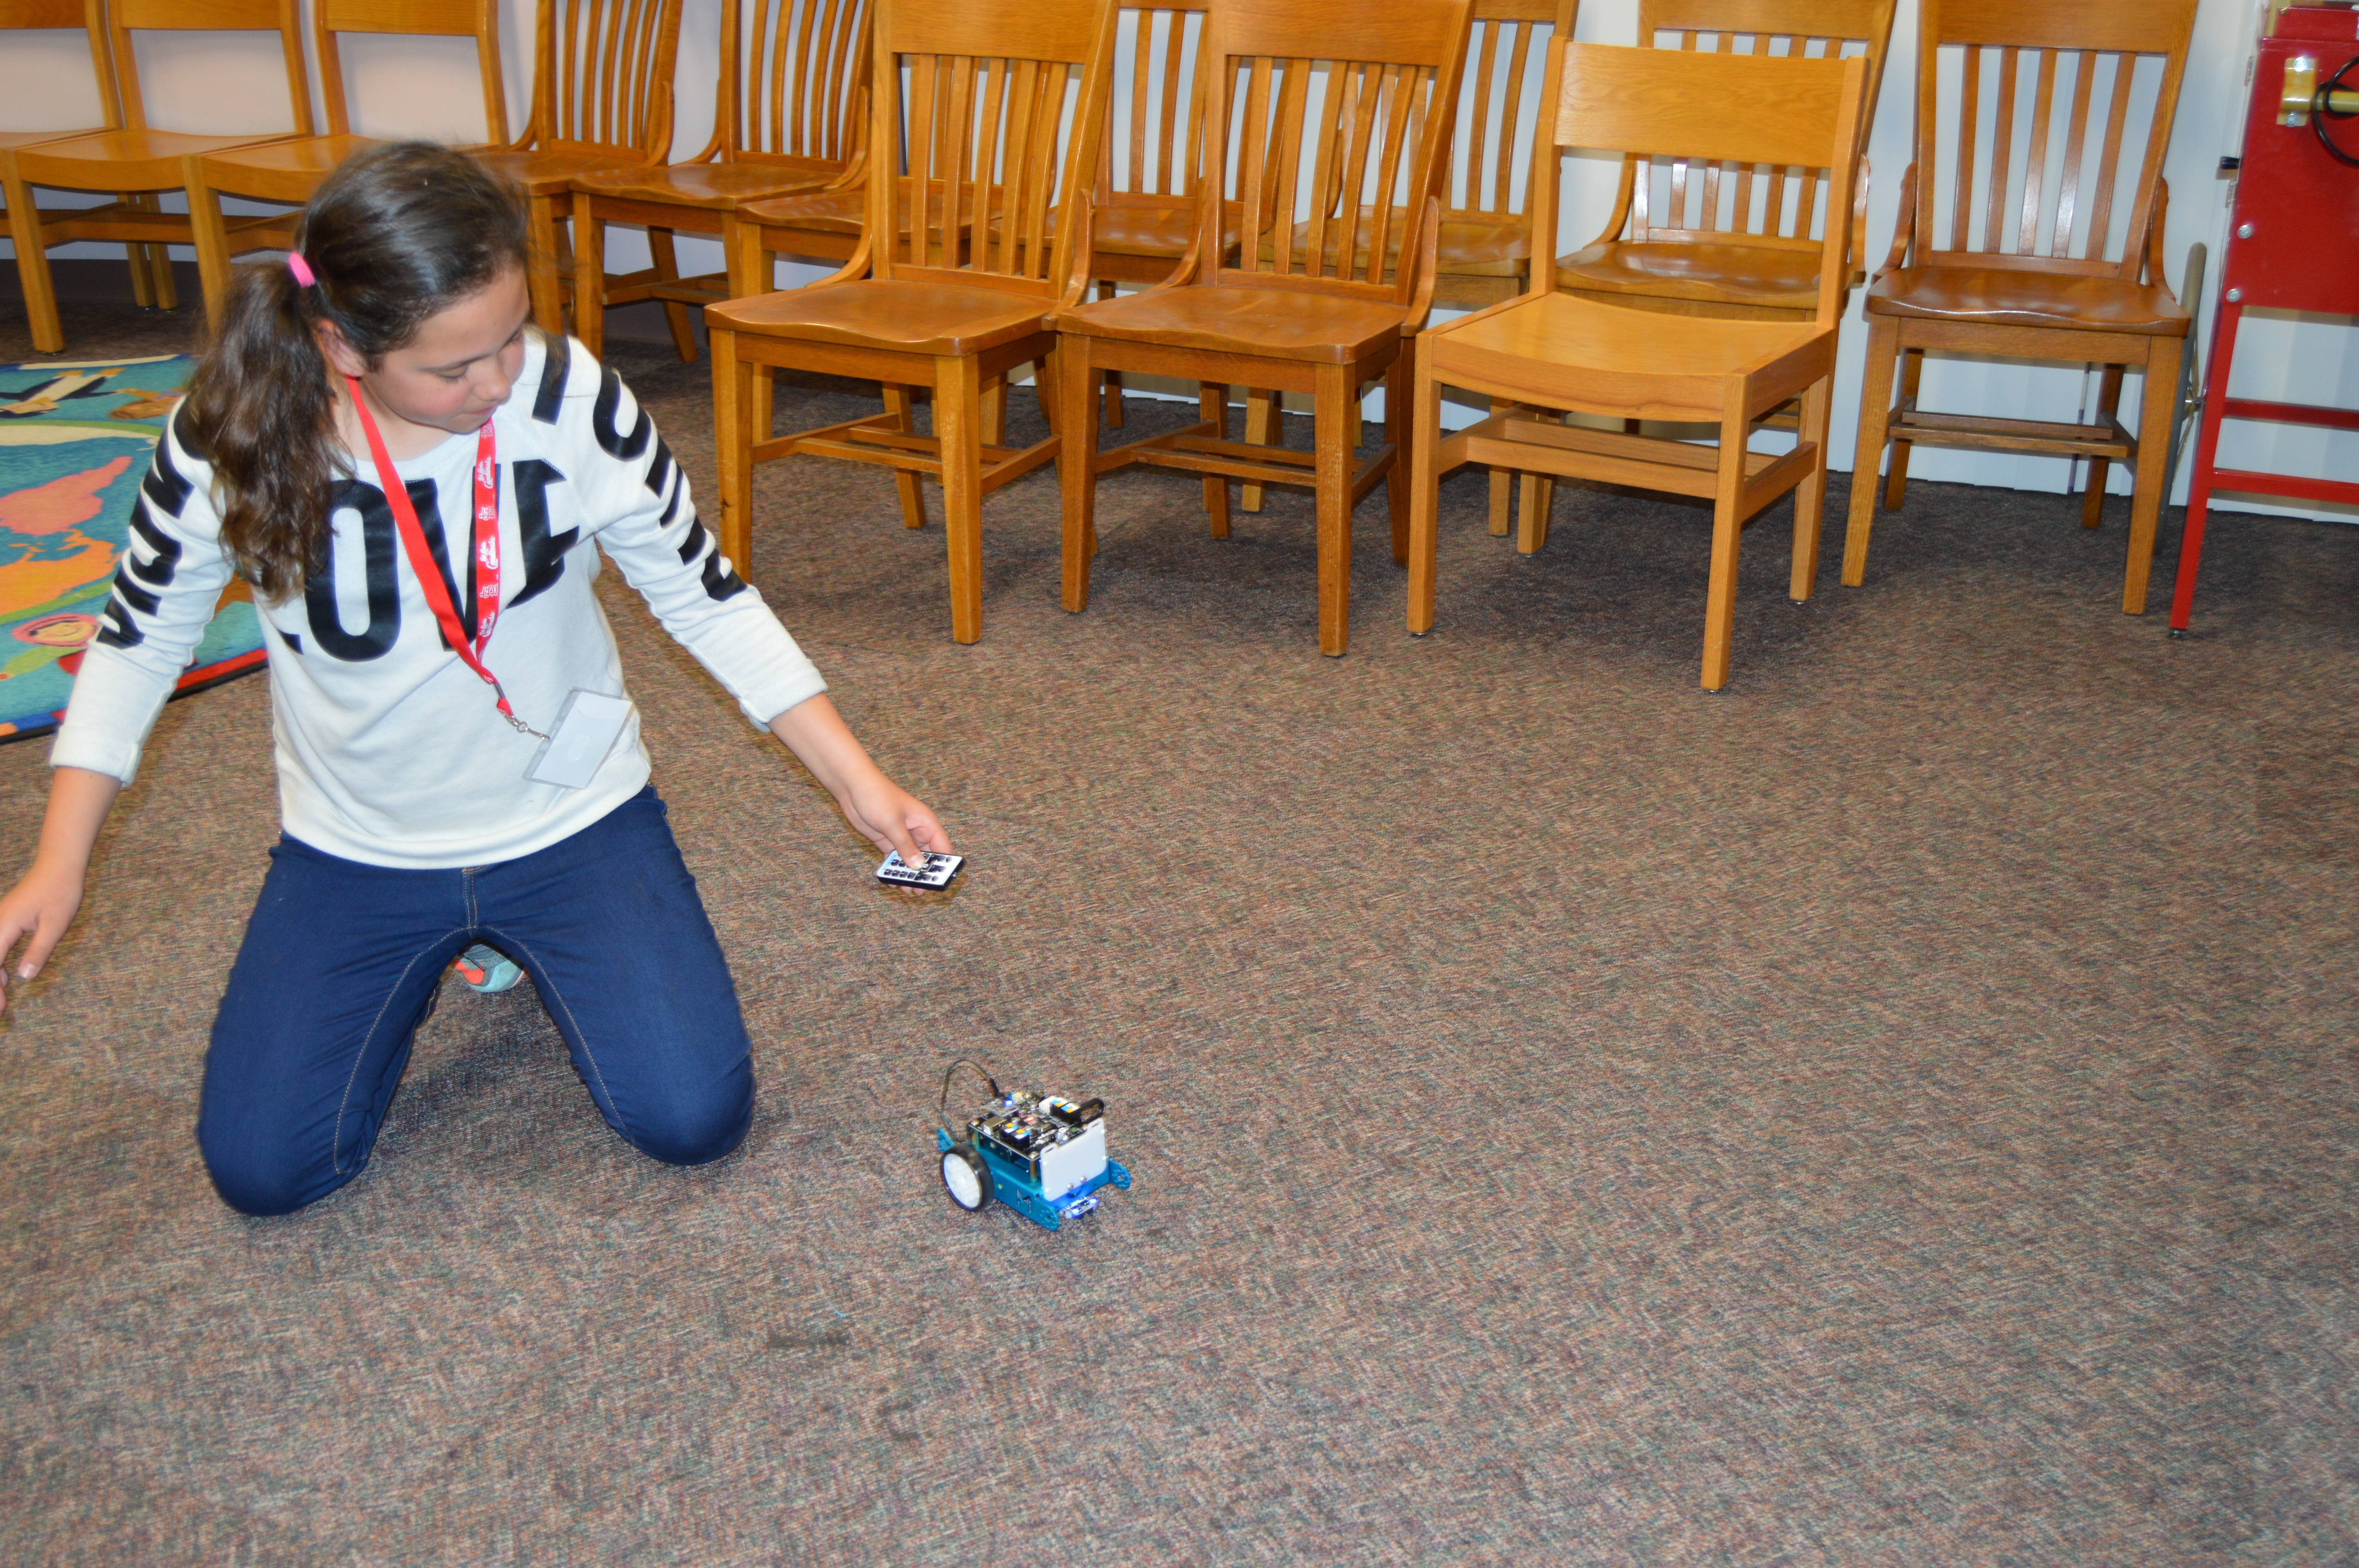
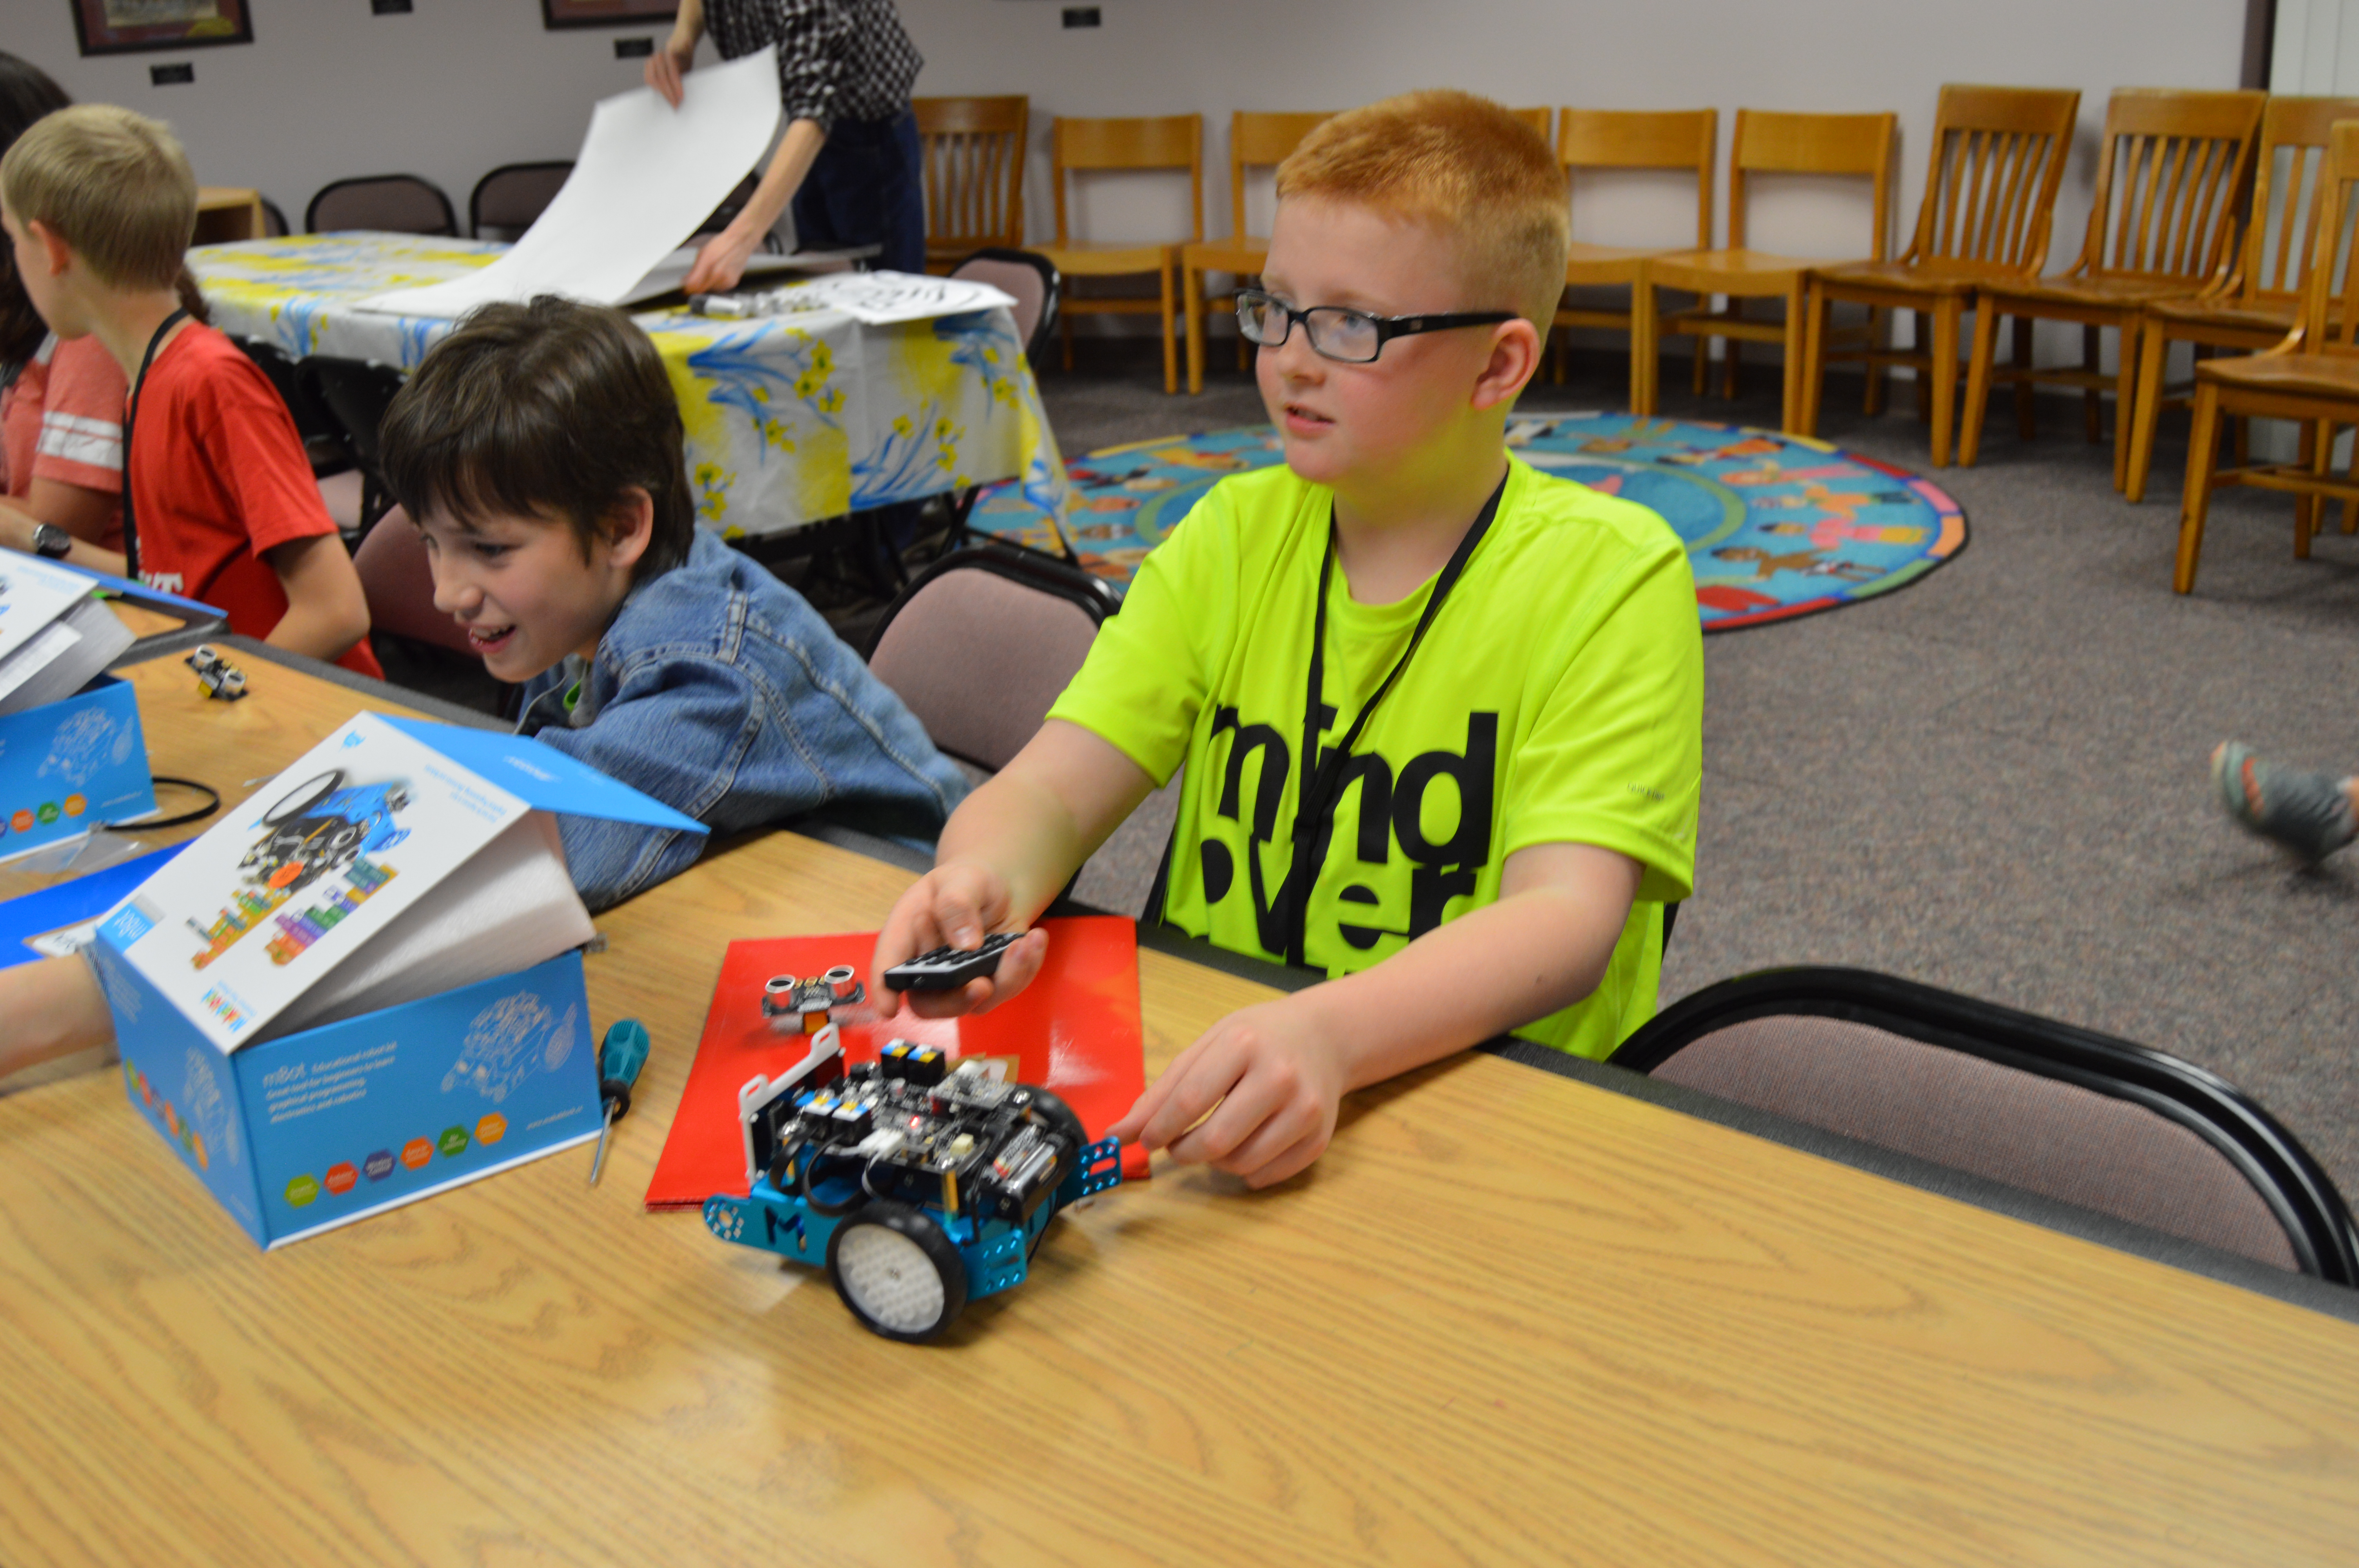
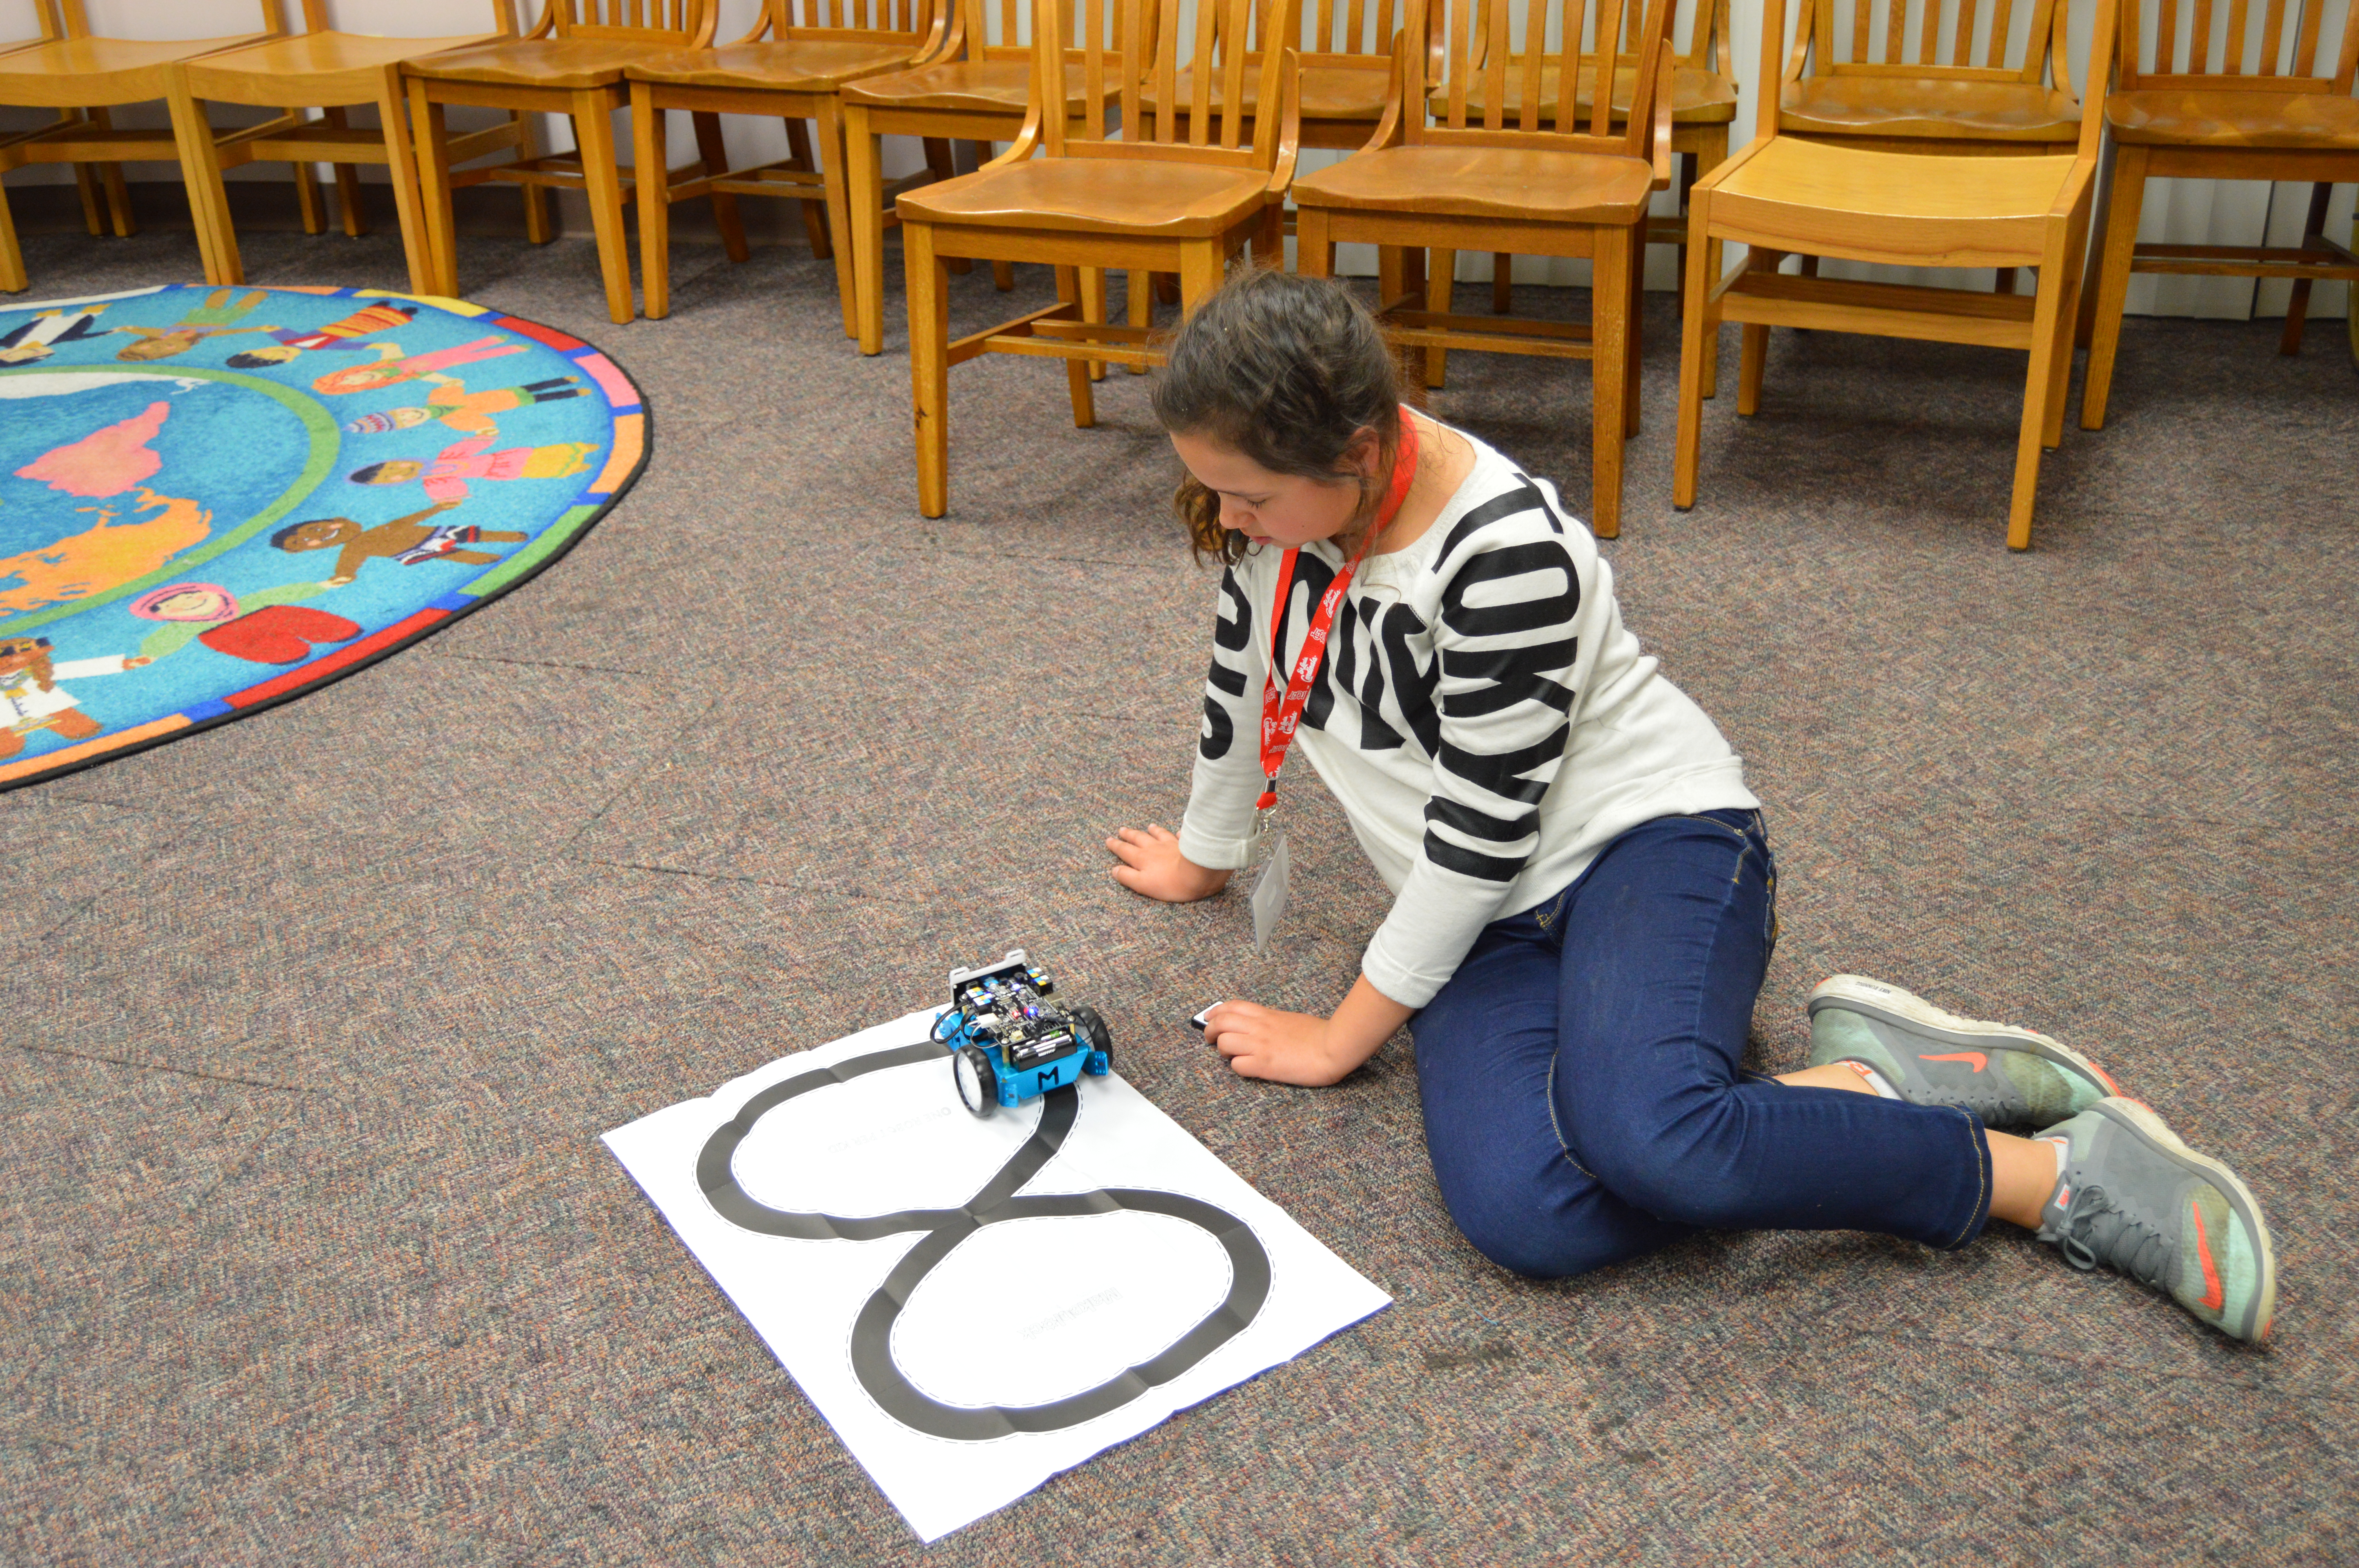
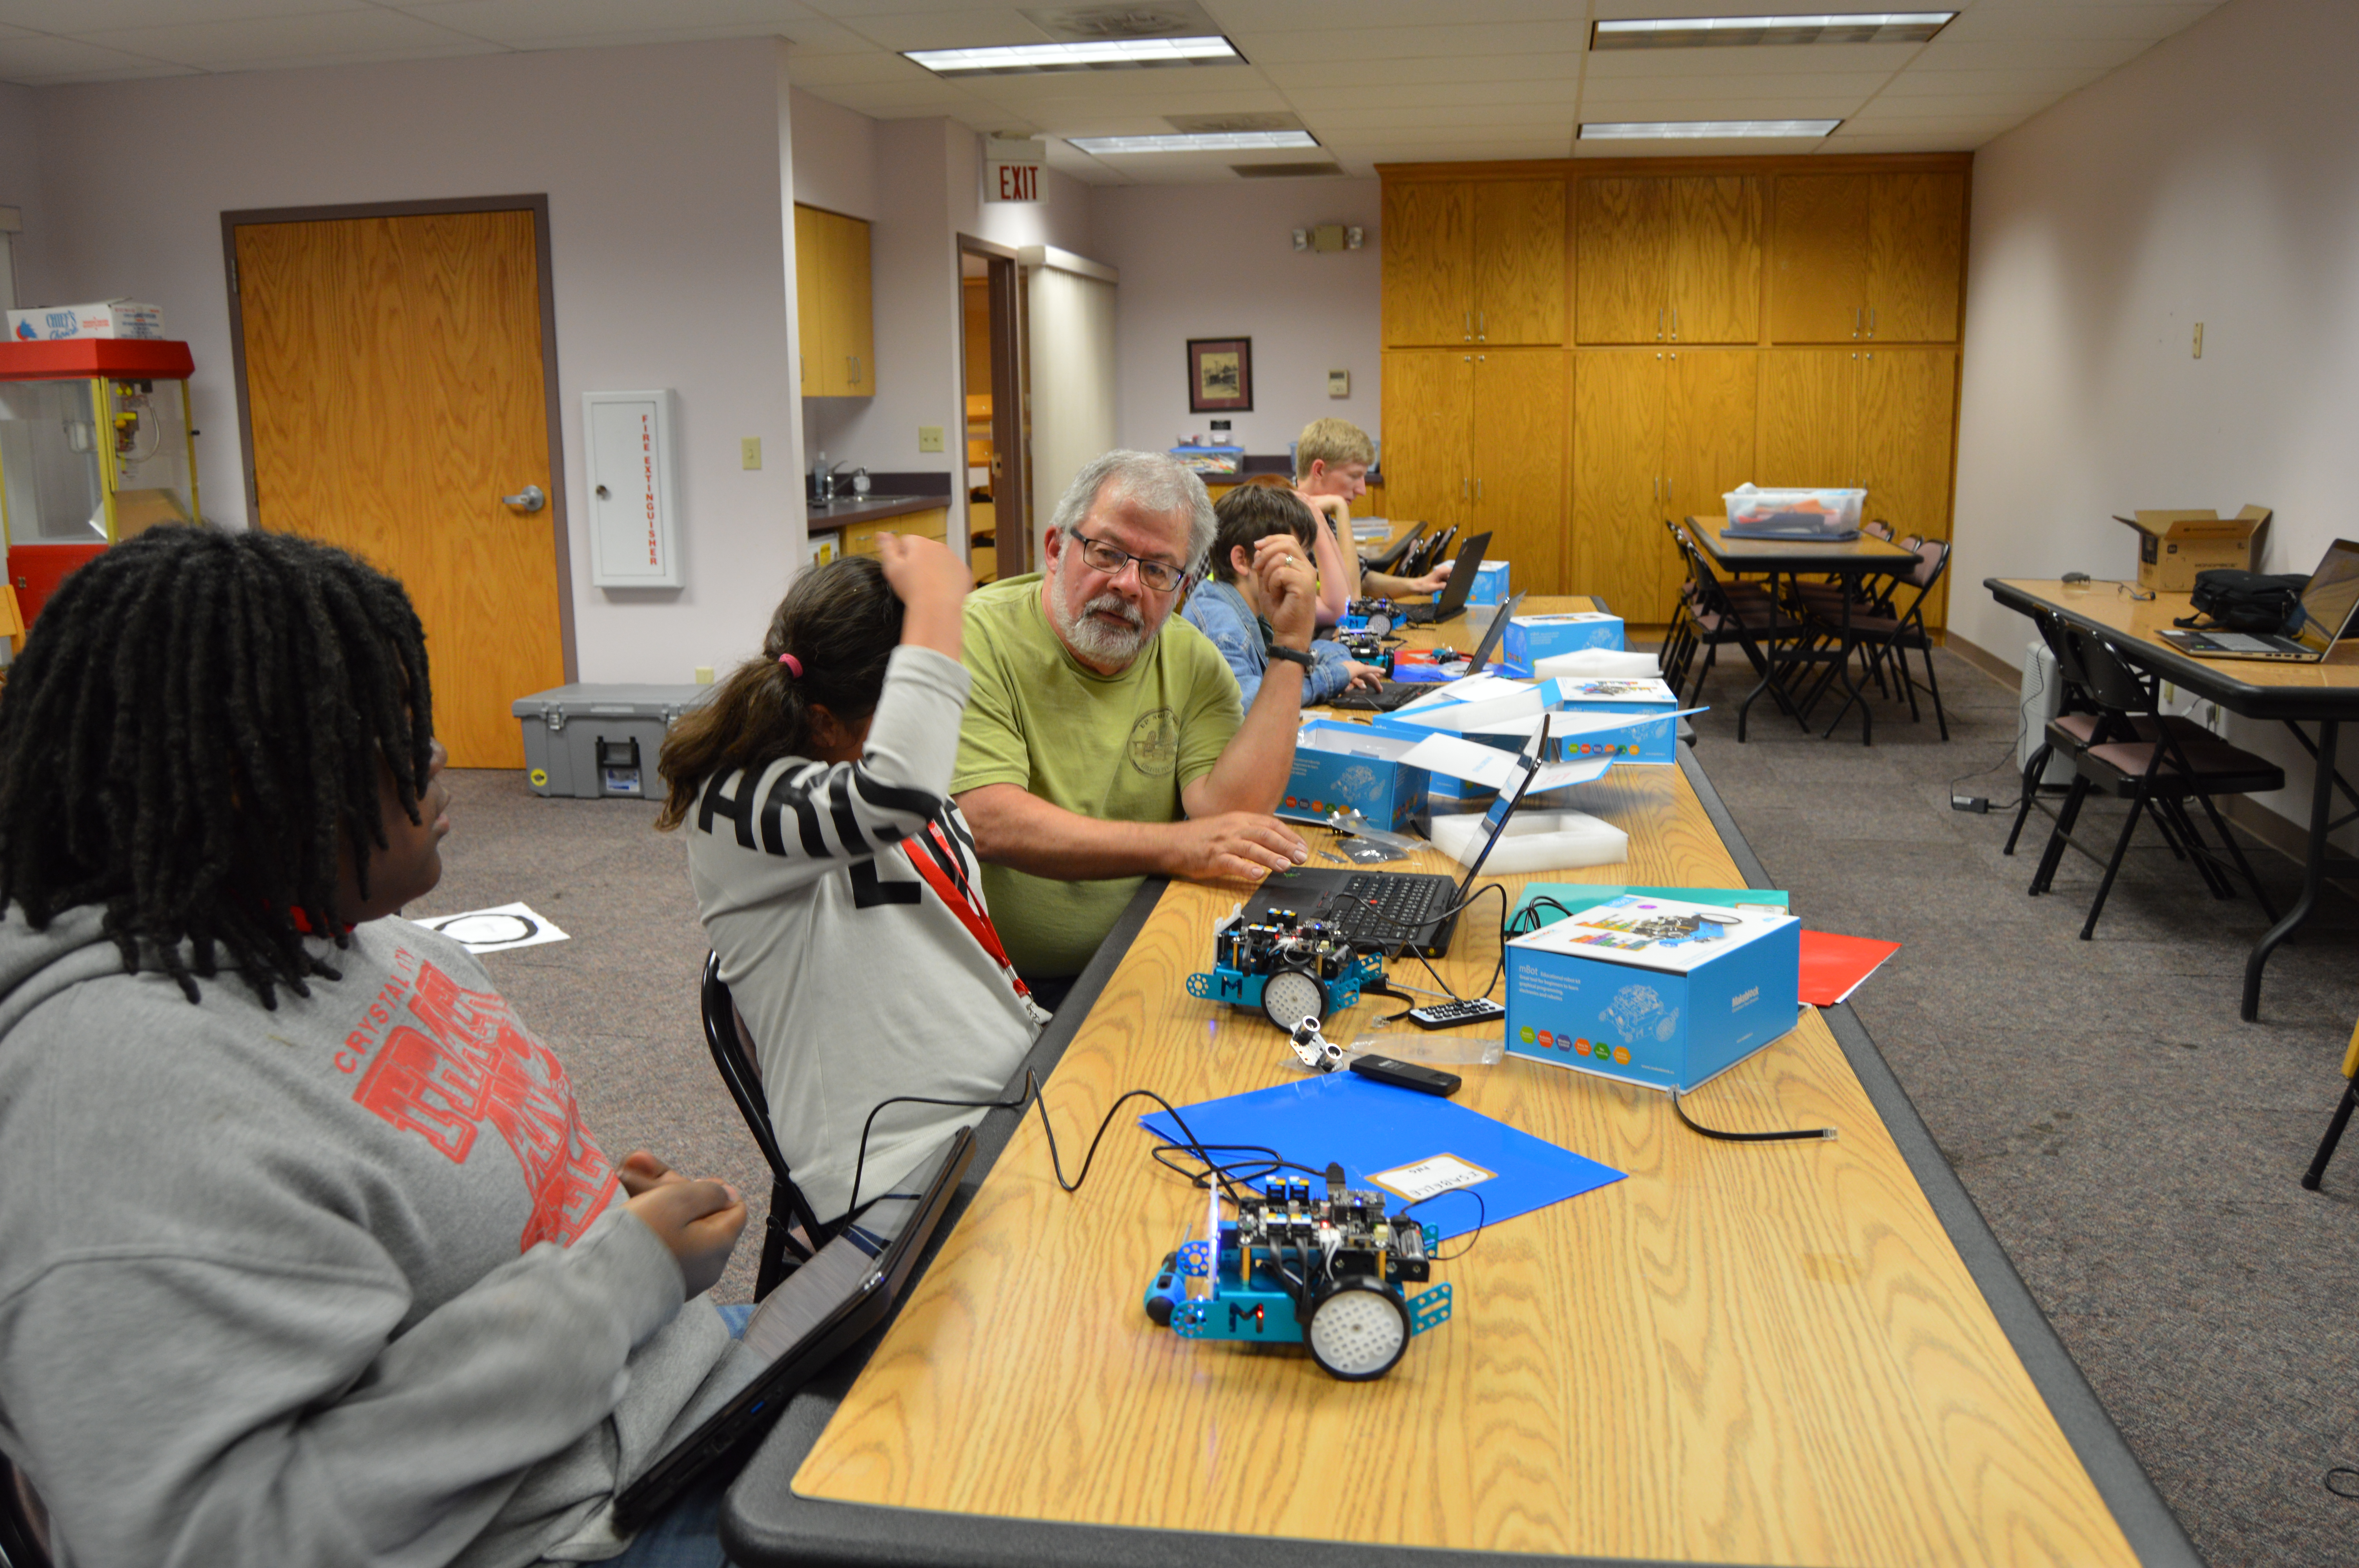
The project for each student was to build a mBot. Each mBot came with two motors, a frame, several sensors, two wheels, a track ball, an Arduino board, and several wires. Students had to follow their instruction booklet to build a working mBot. Once completed the students could manually drive their mBot with an included remote, set it into wall detection mode were it would drive around and avoid objects, or line follow mode, where it can follow a dark black line on a white sheet of paper.
Students learned how to assemble a fairly advanced robot, including base assembly, sensors, and wiring. They also learned how to troubleshoot any issues they came across. Finally, students had loads of fun driving their mBots, and creating courses for them to follow.


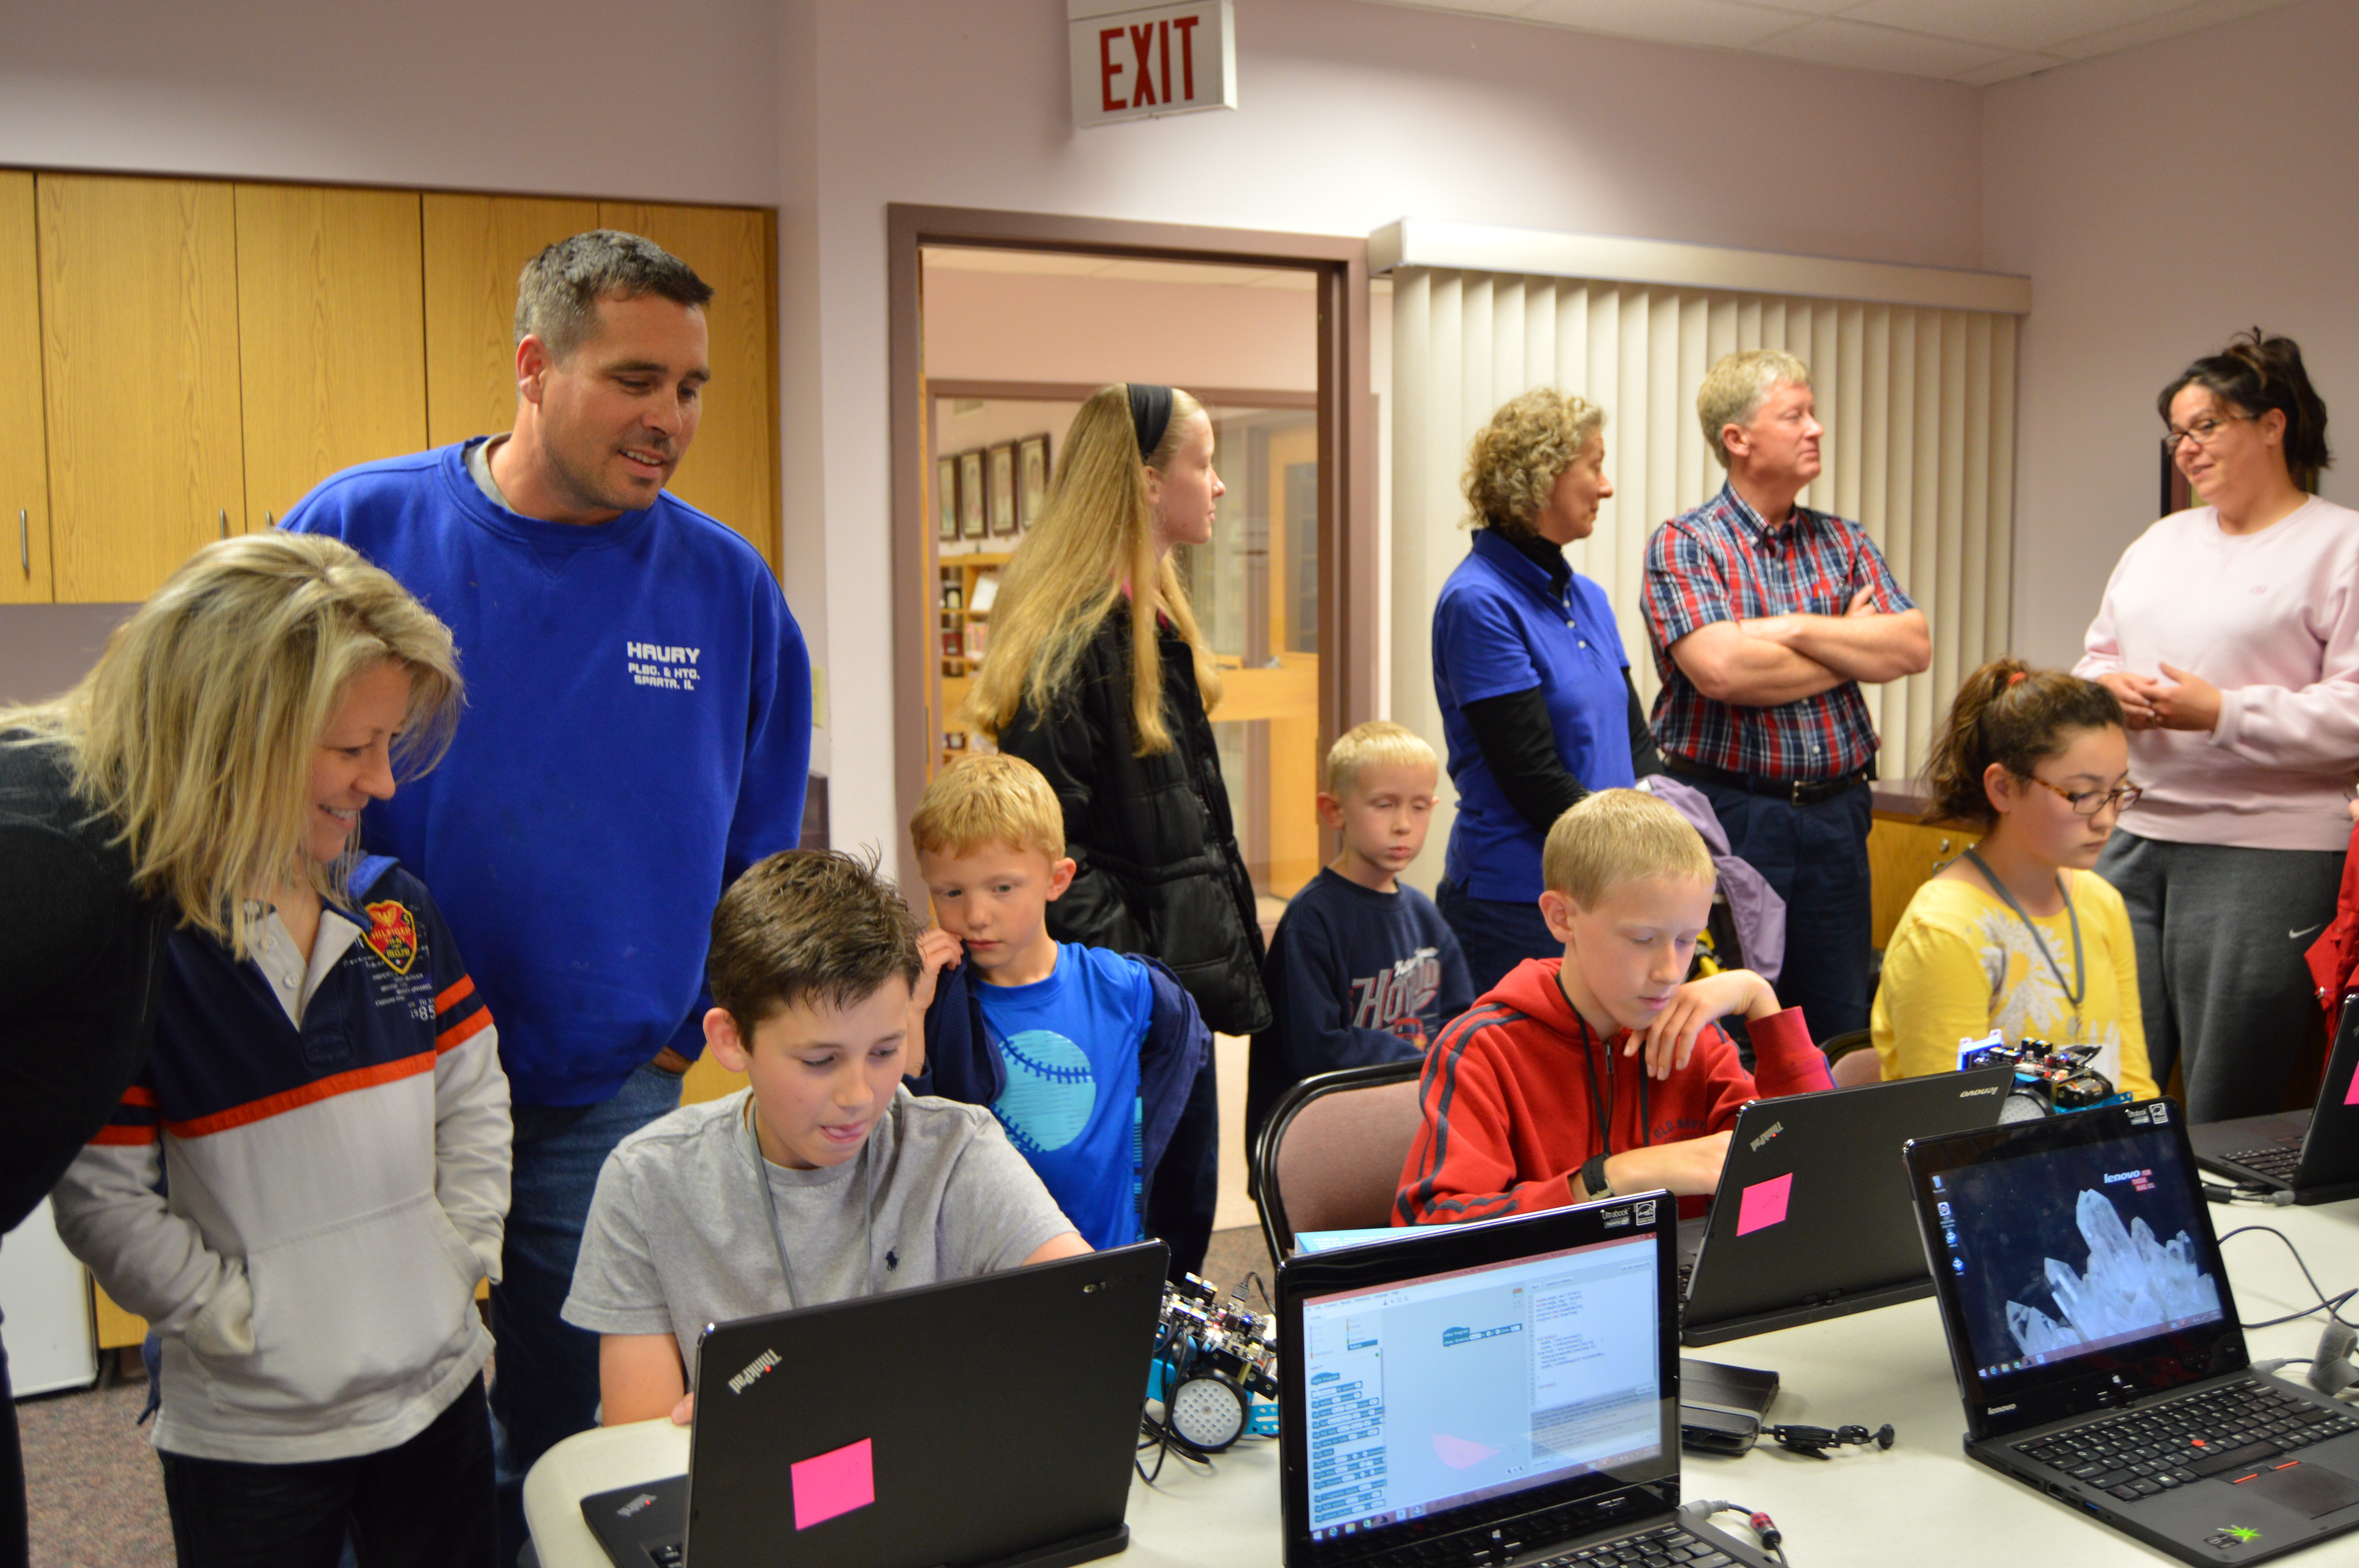
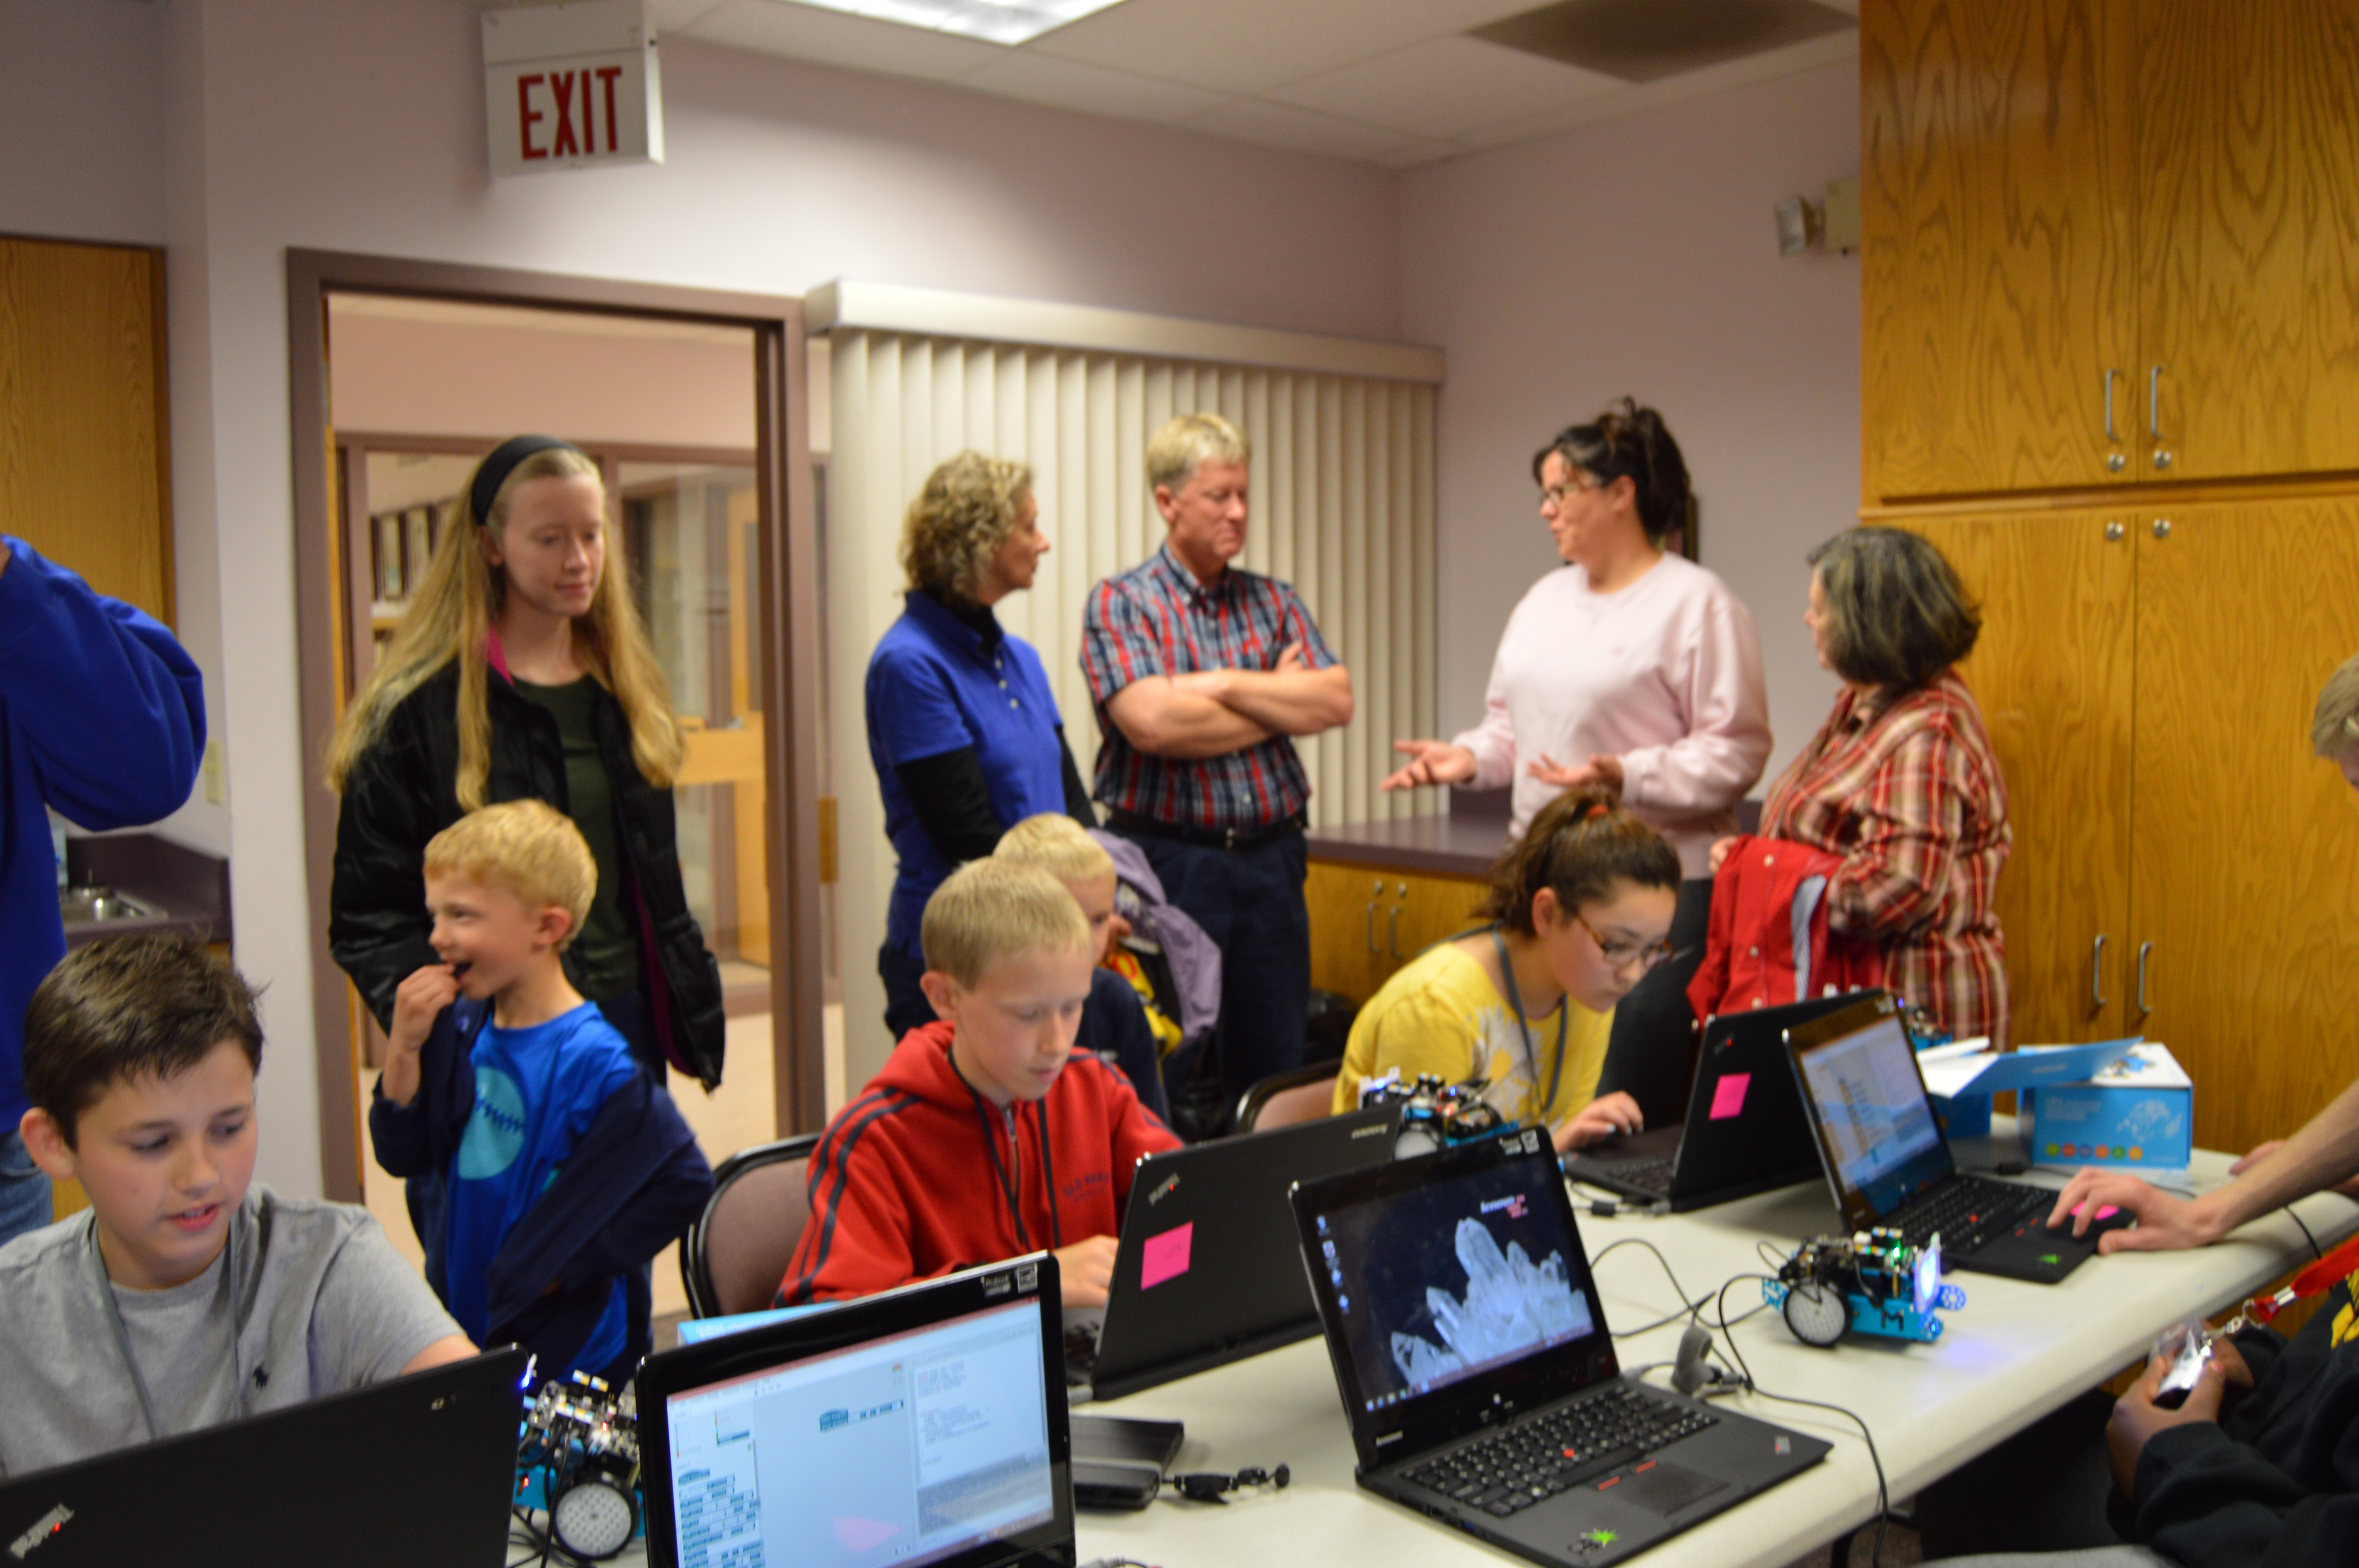
Session 4: May 3, 2016
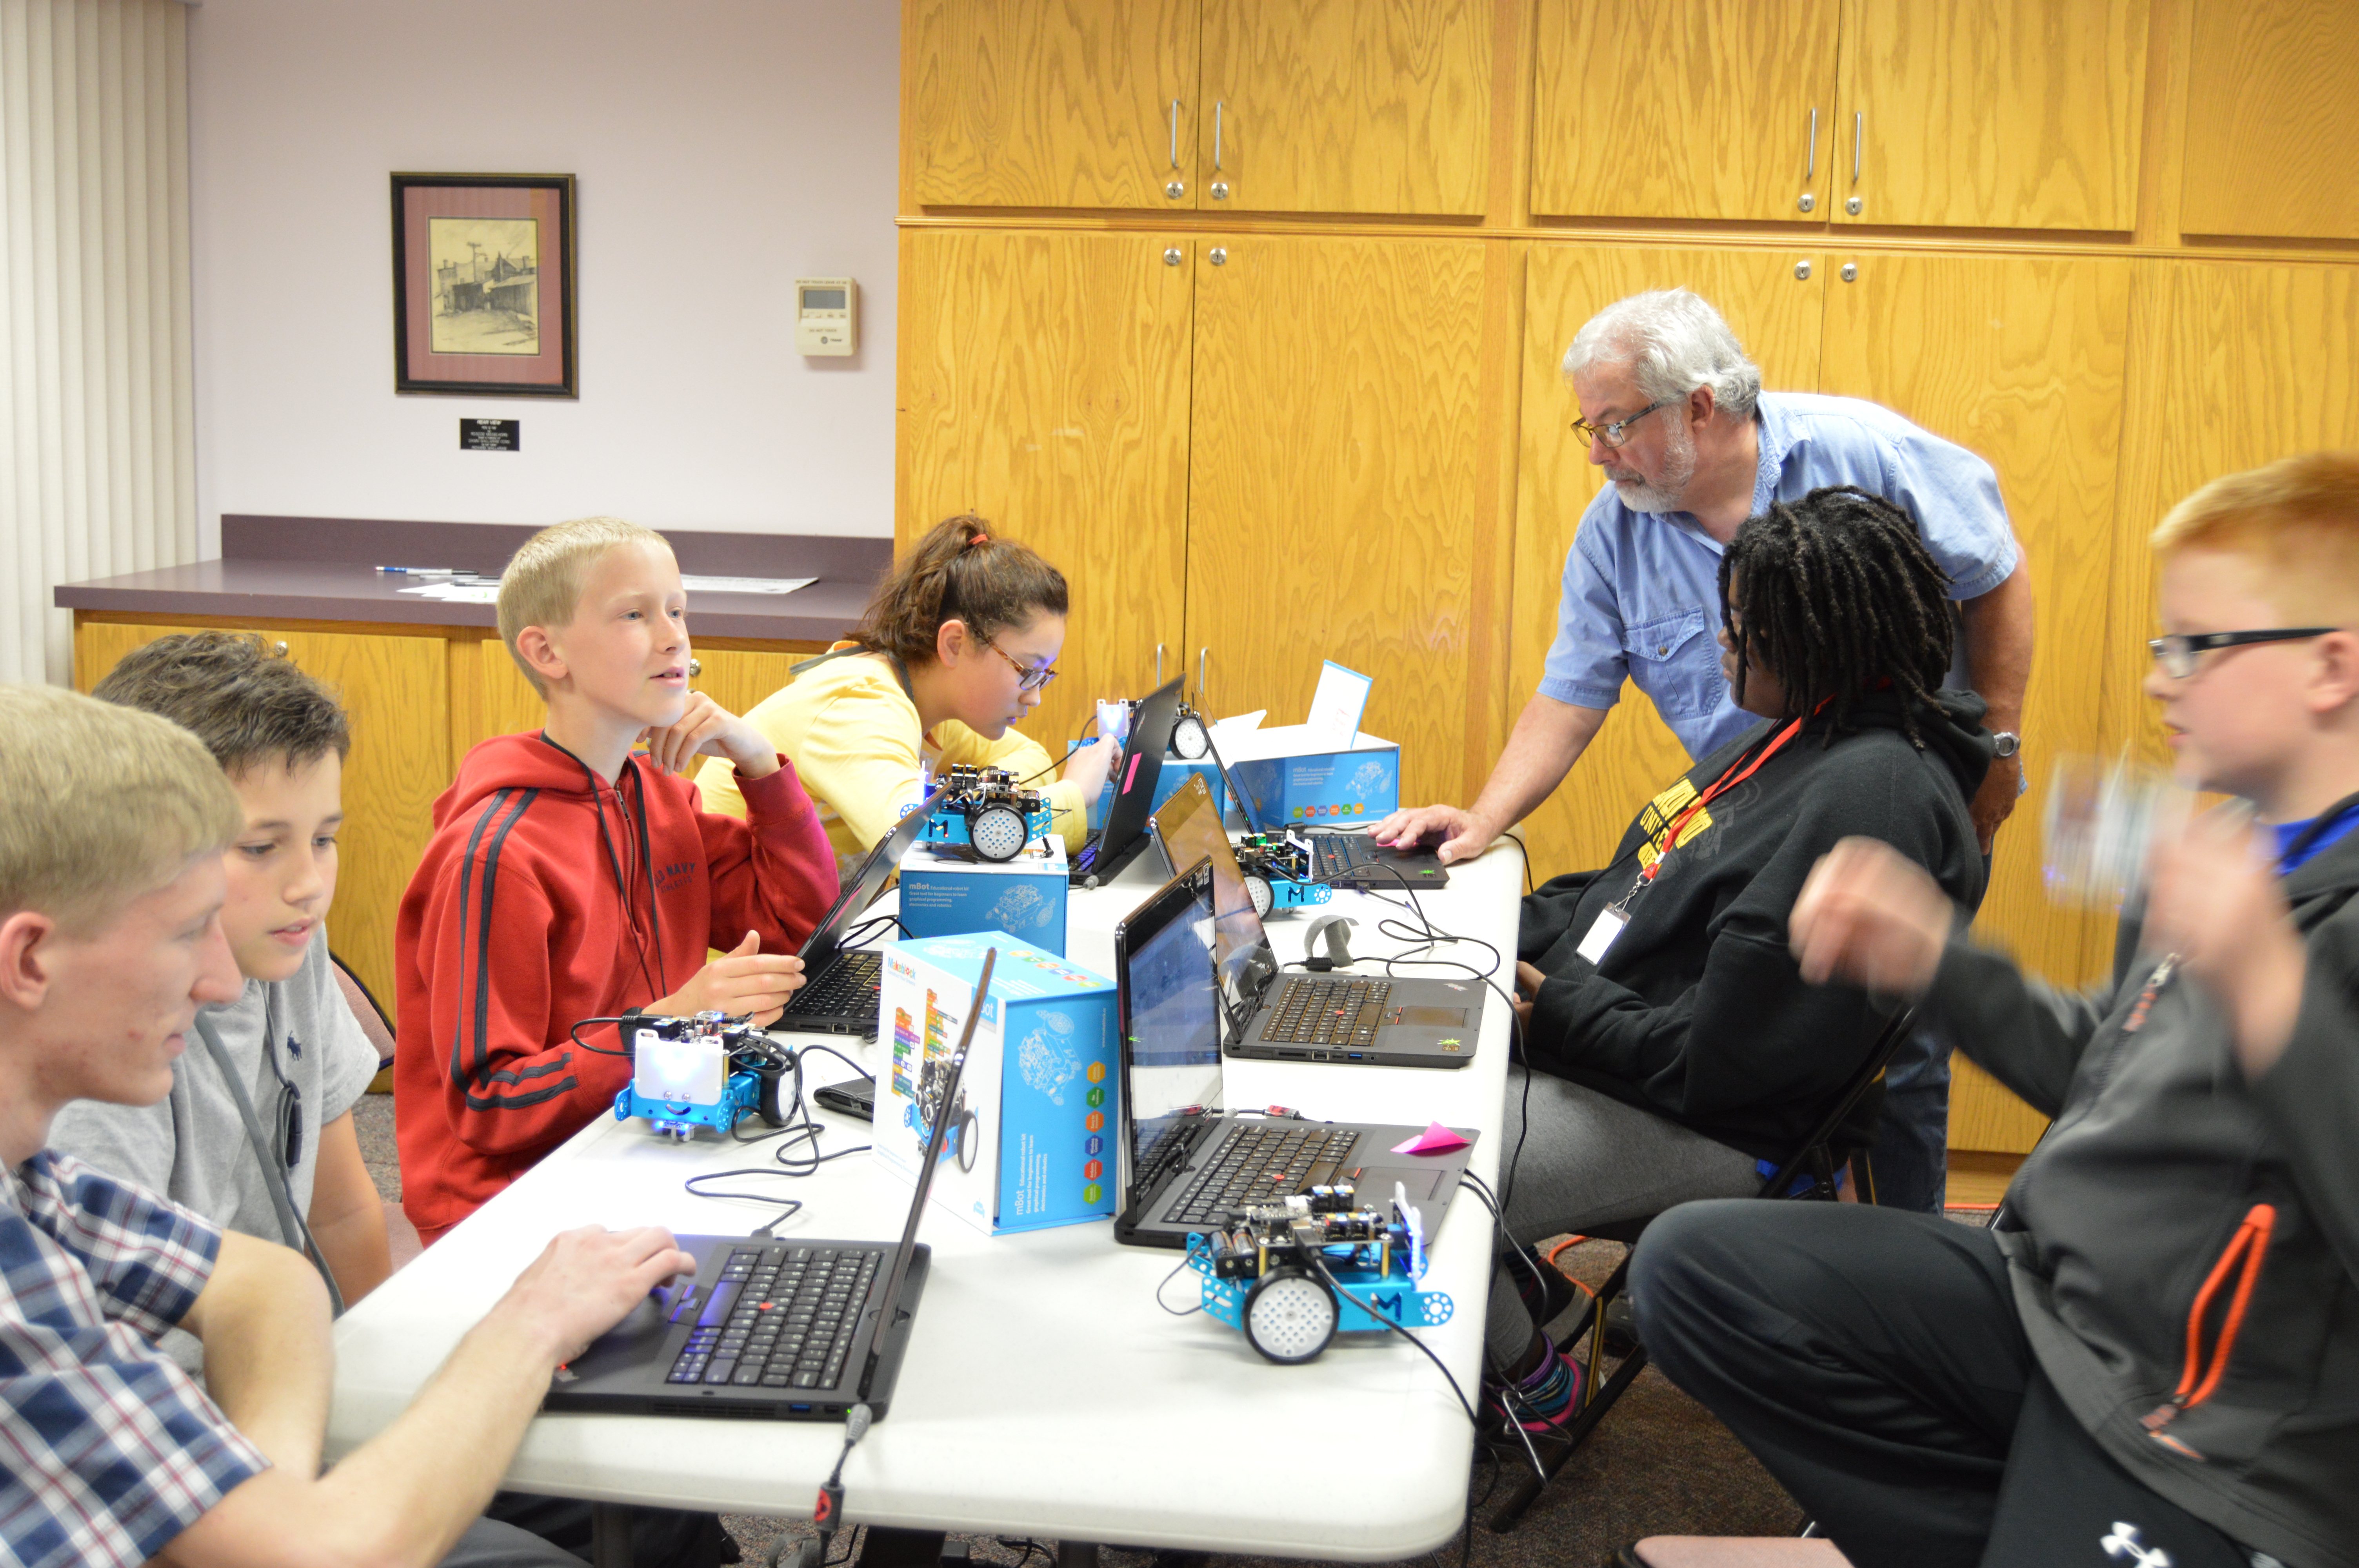
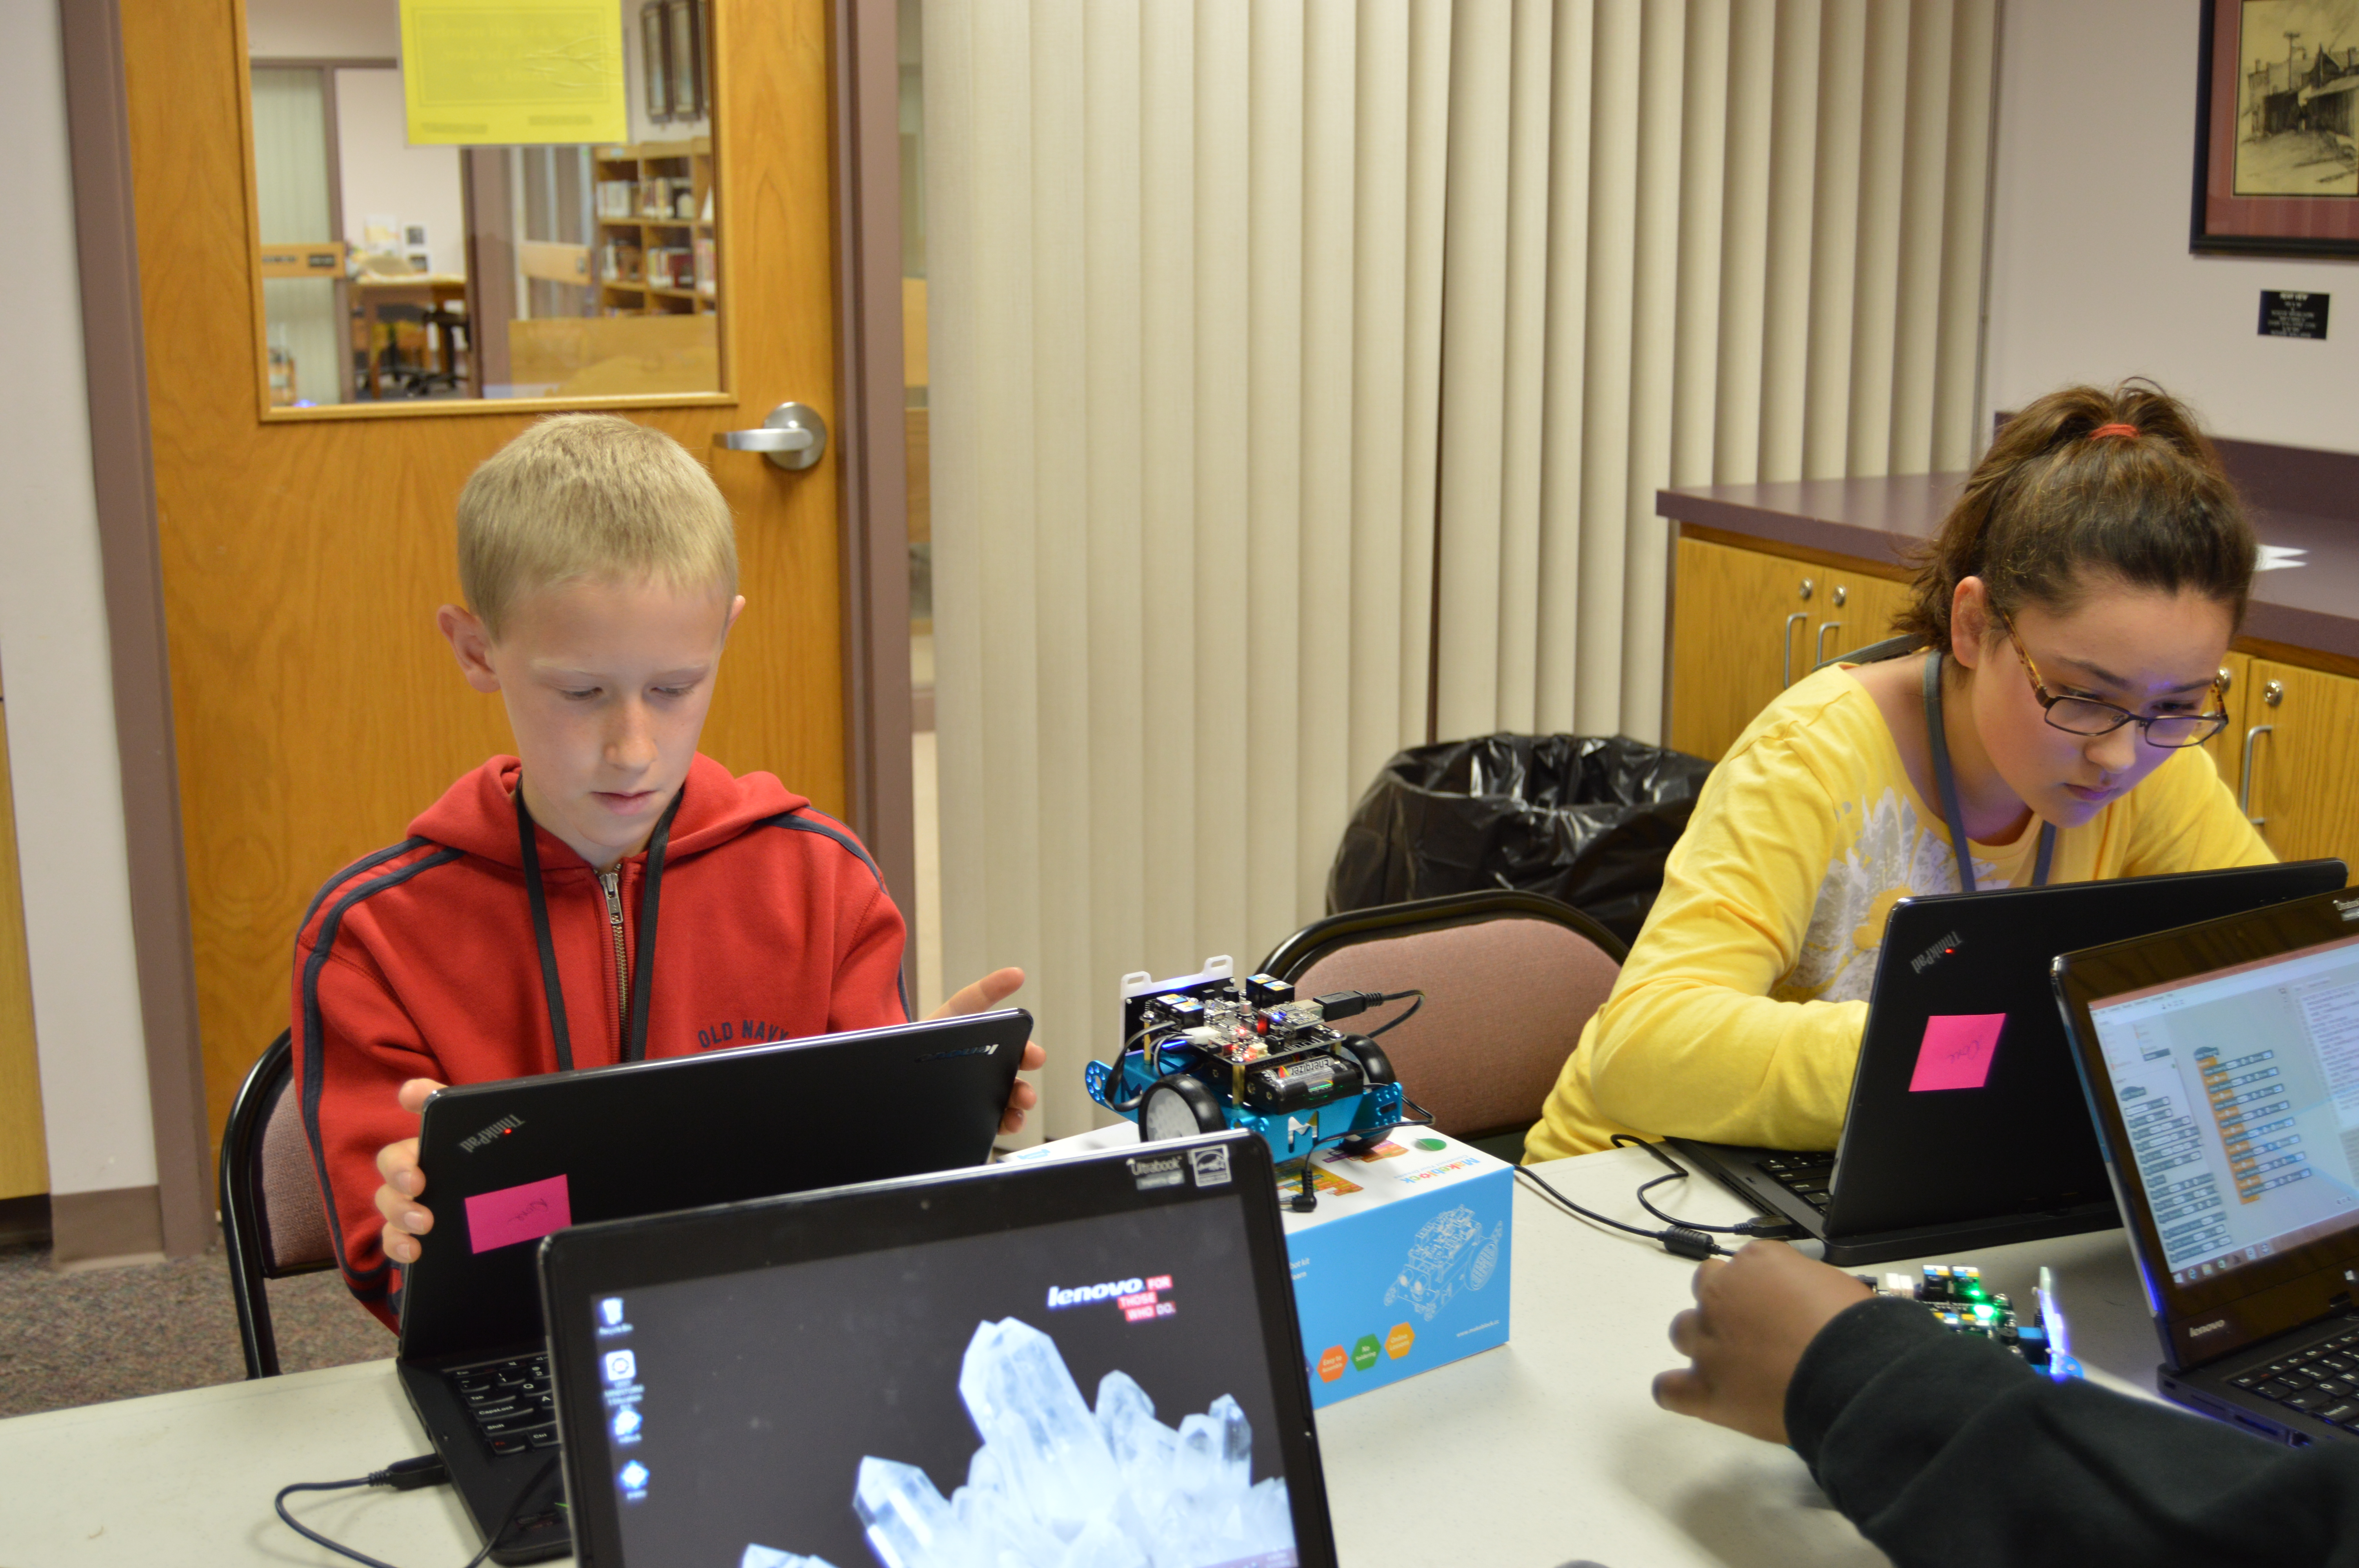
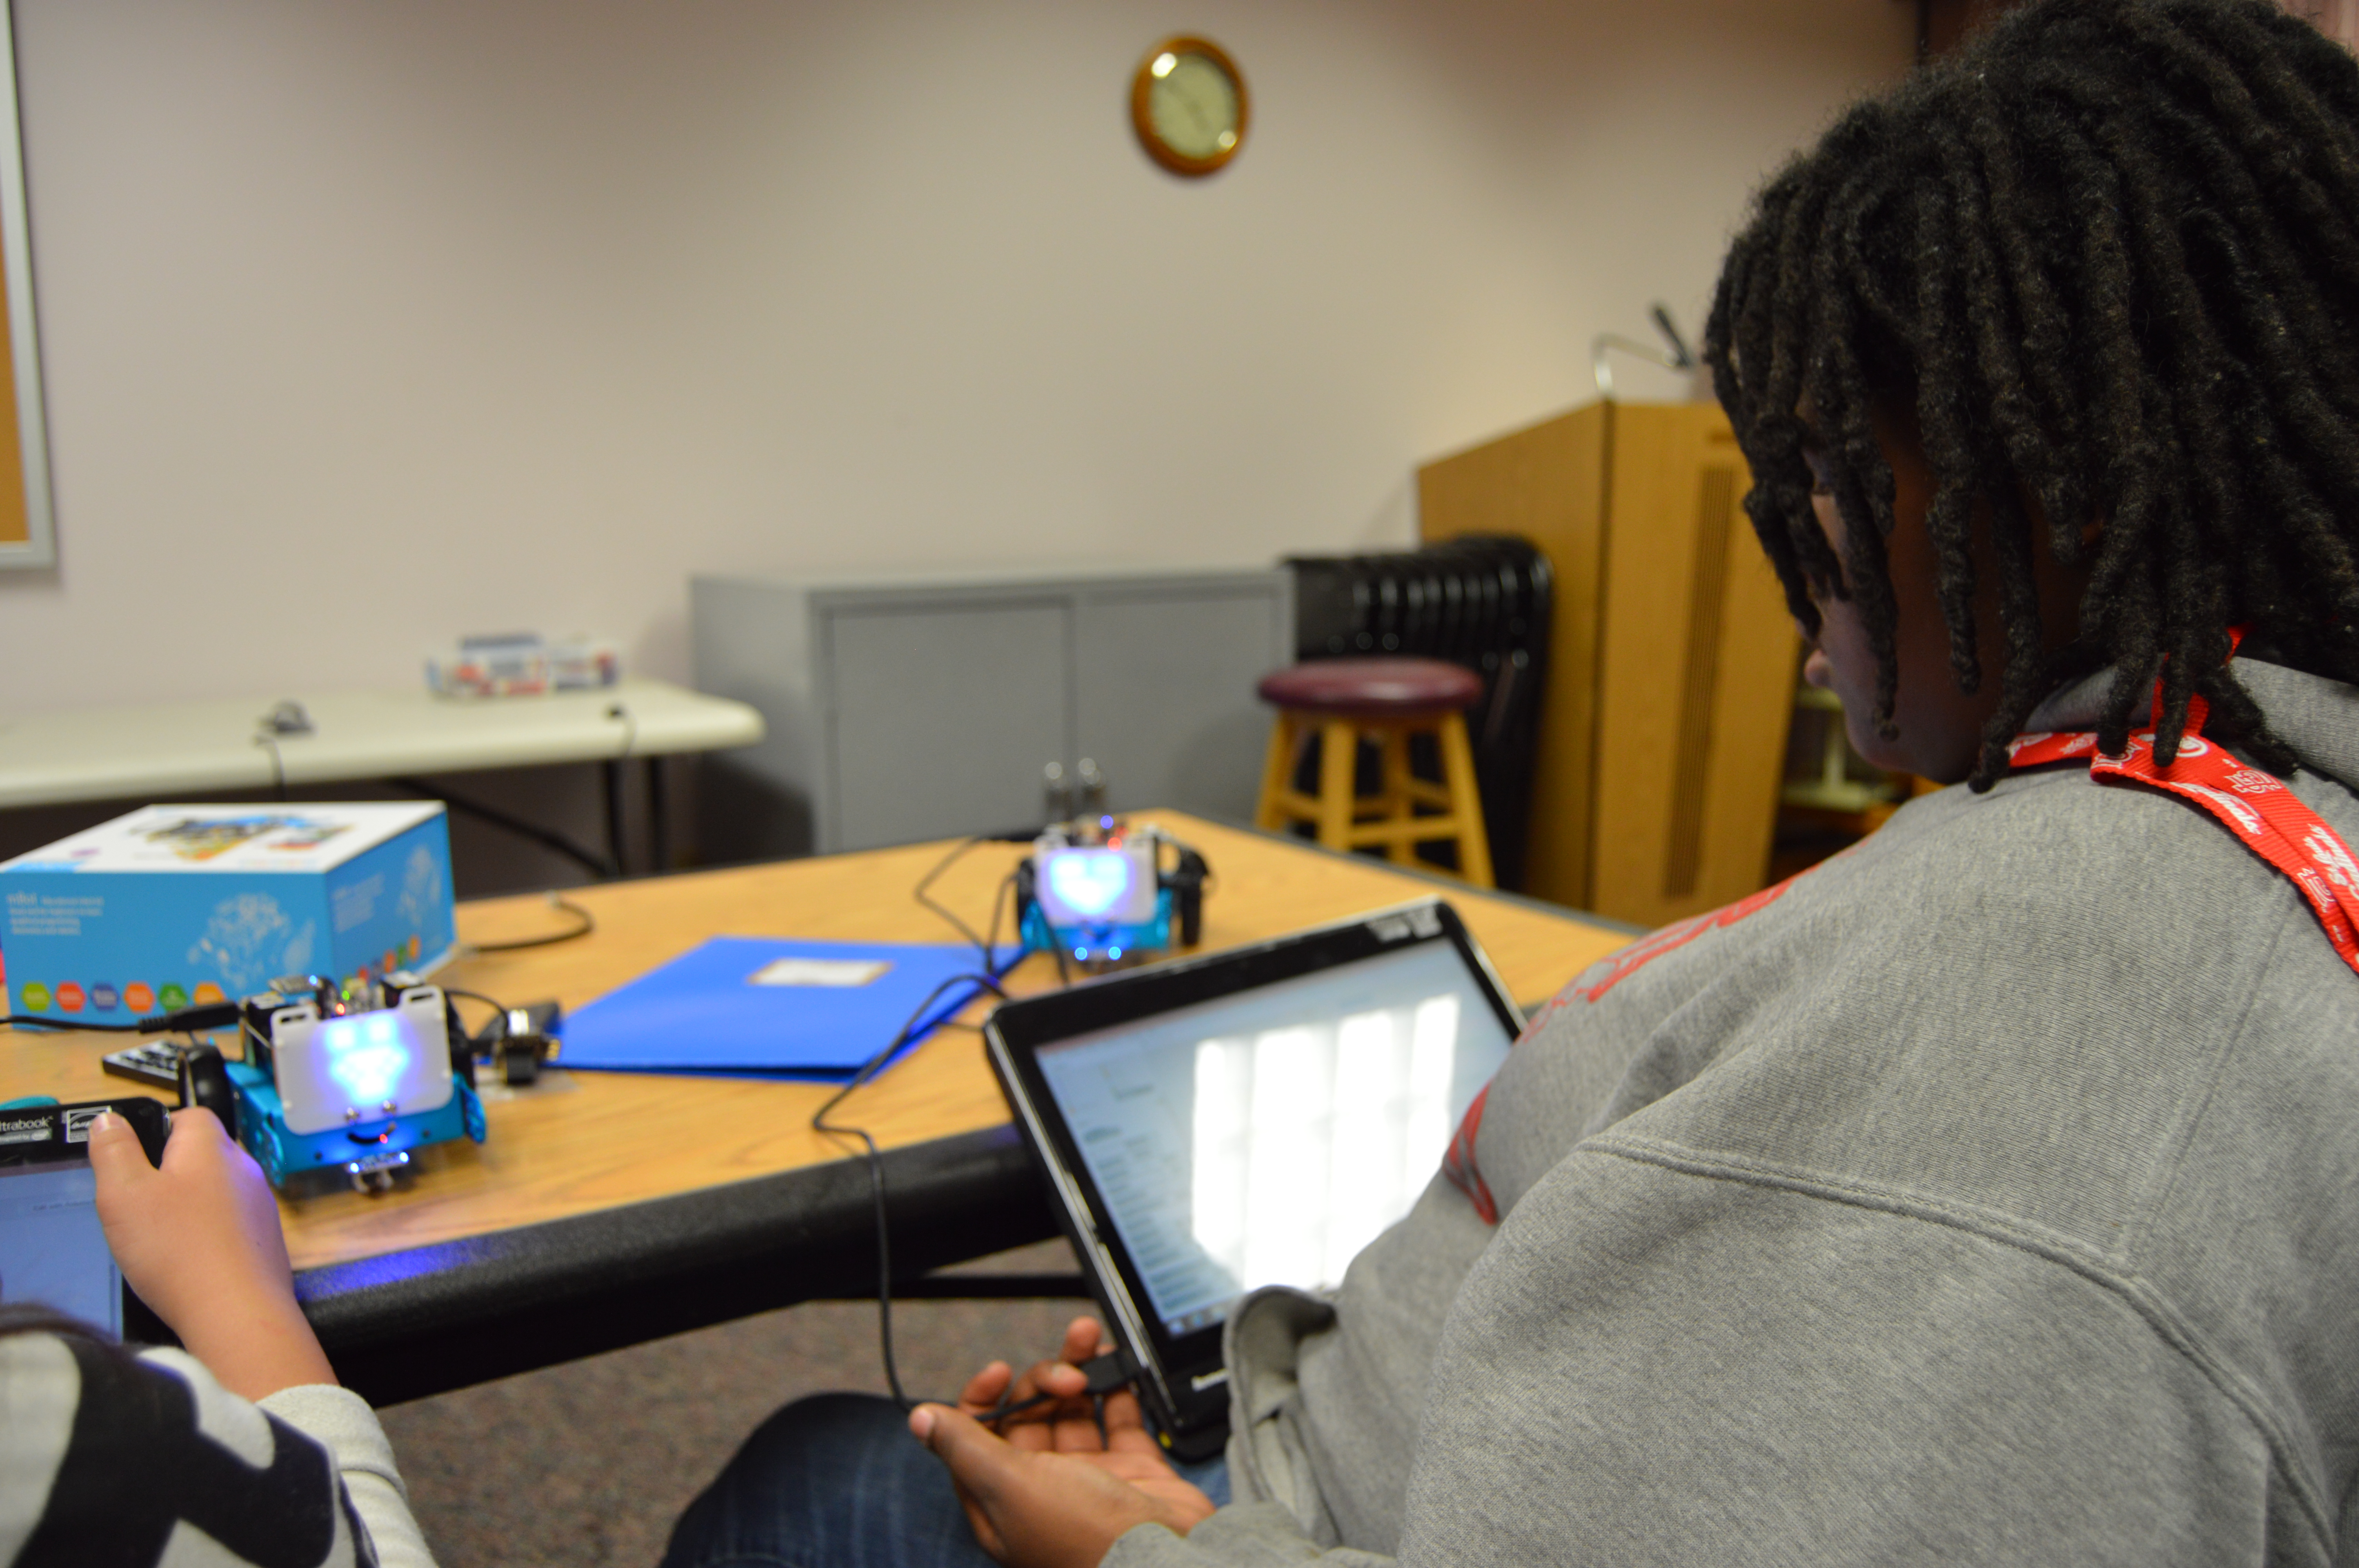
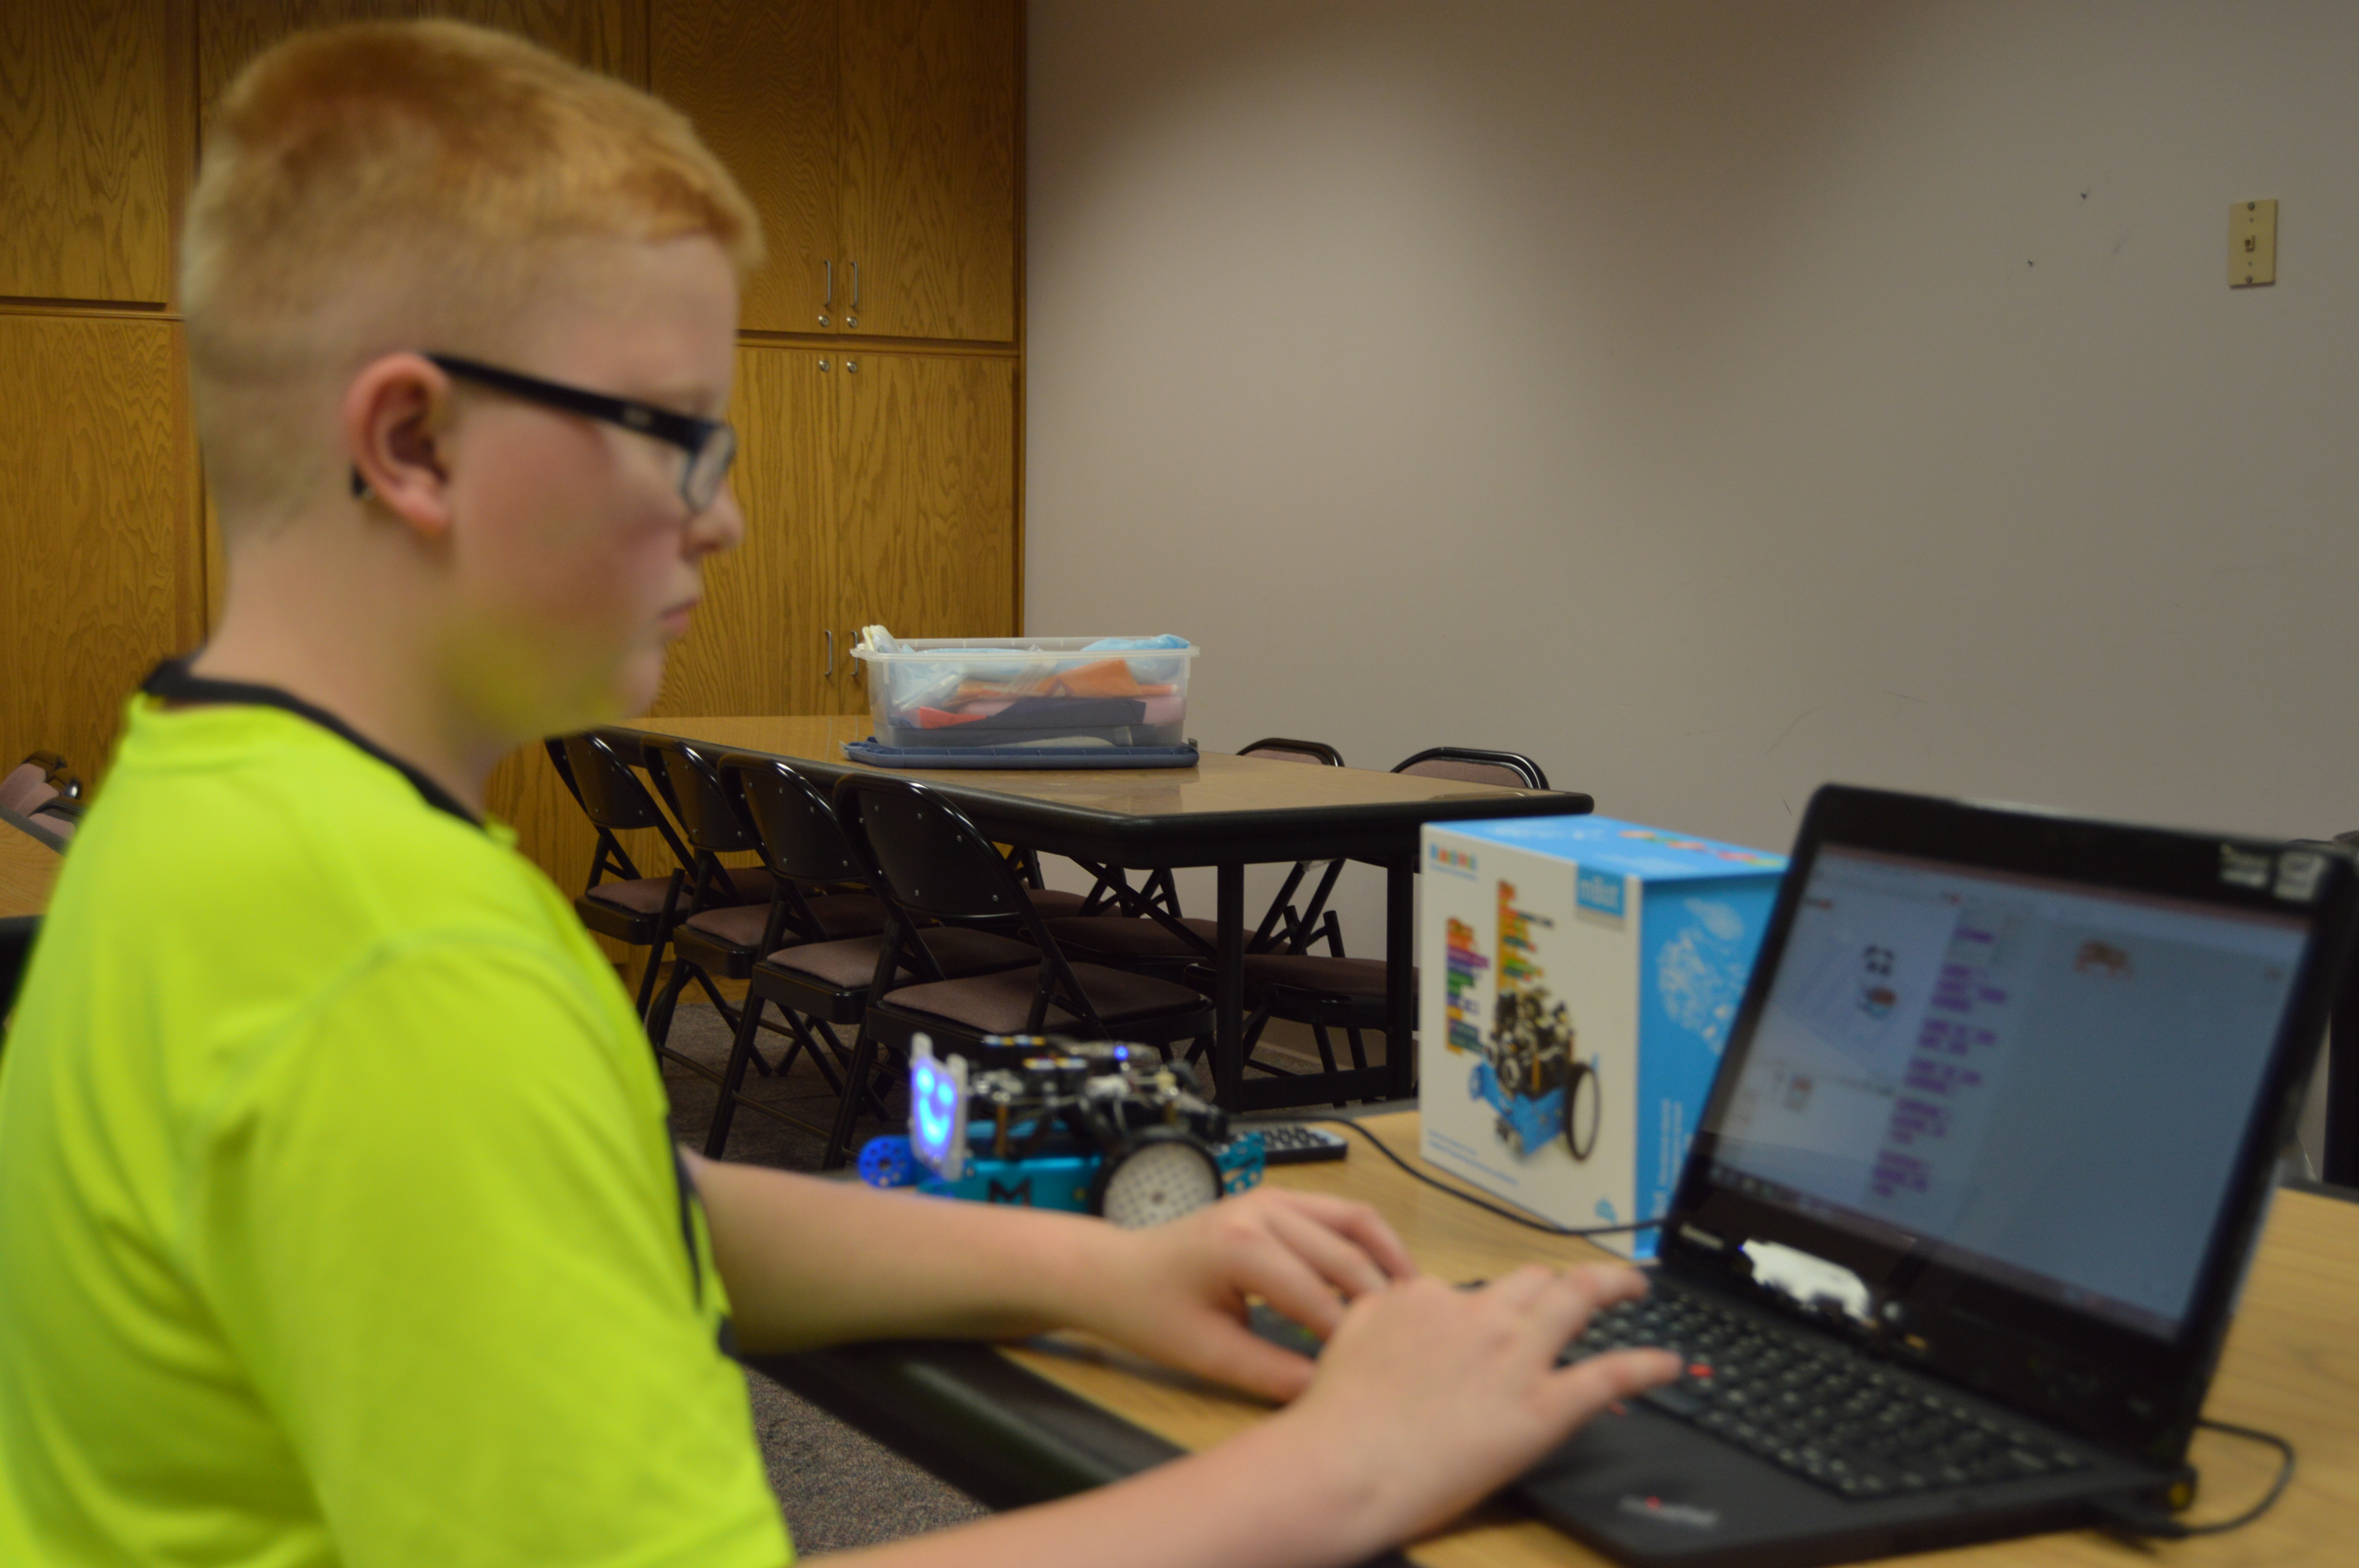
At our fourth meeting all six students were in attendance. This week we continued working with the students on their mBots, by expanding on what we did with them during our last session, as well as continuing to expand their knowledge about the mBots.
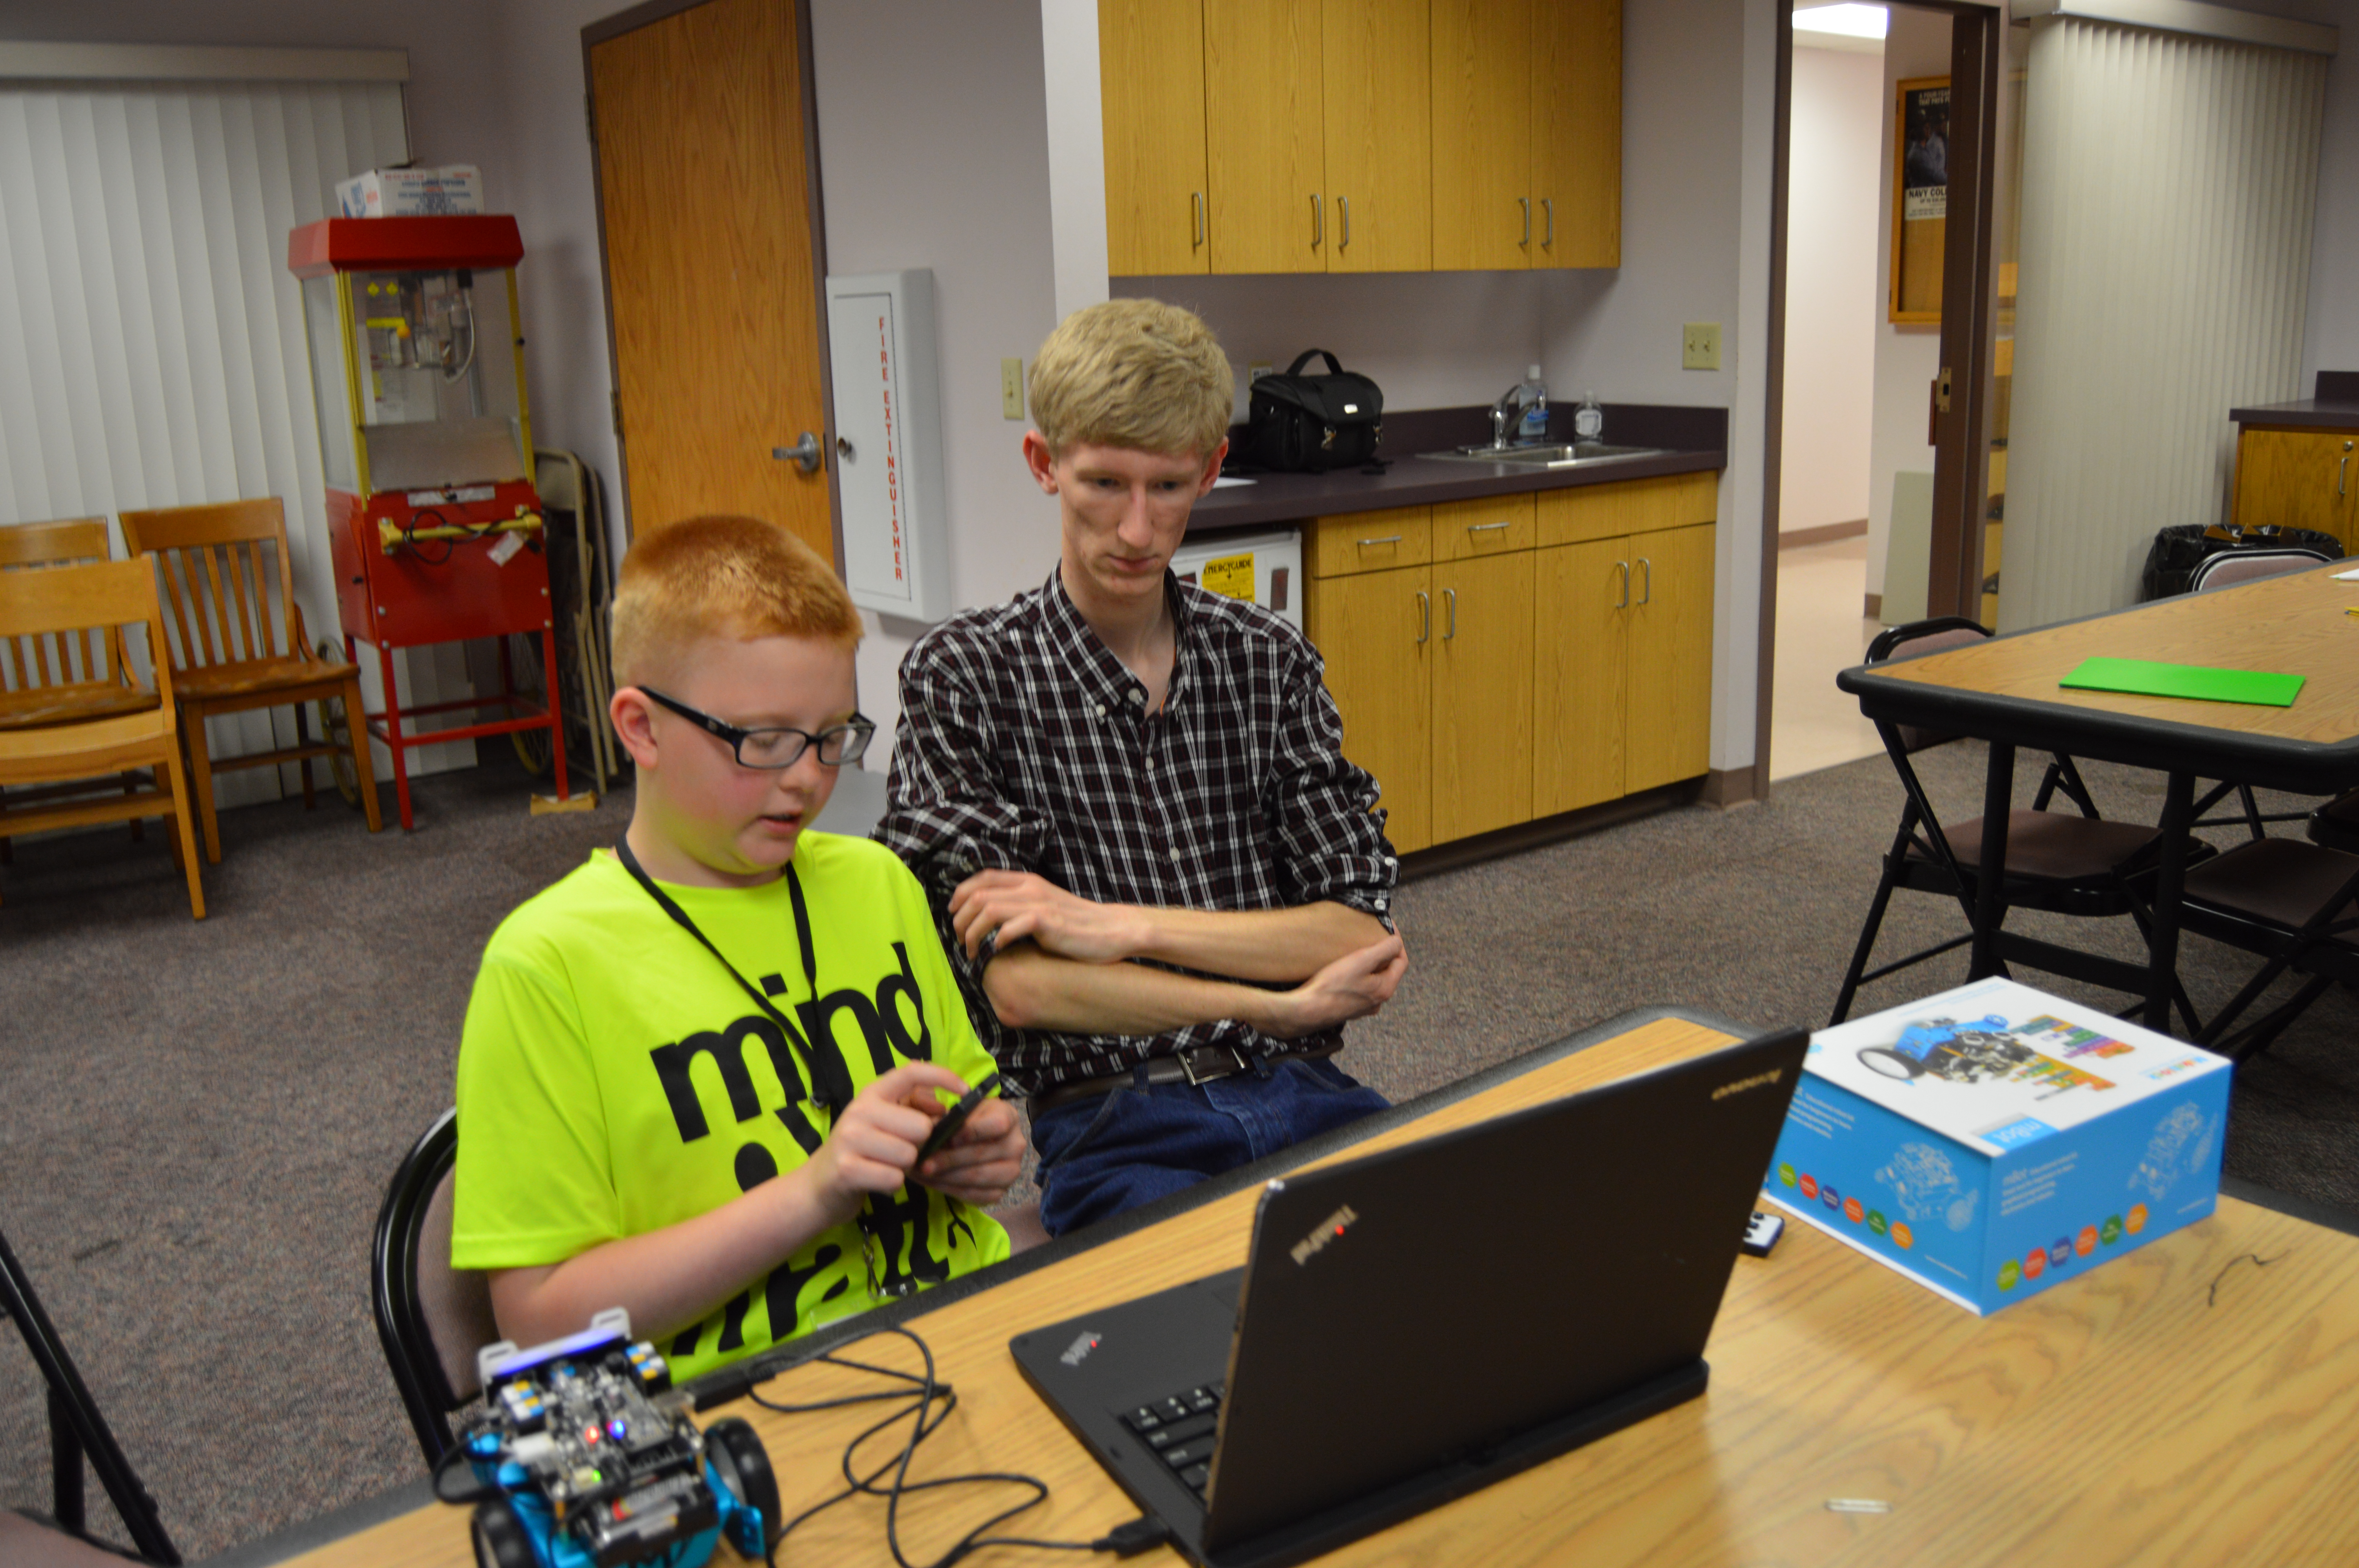
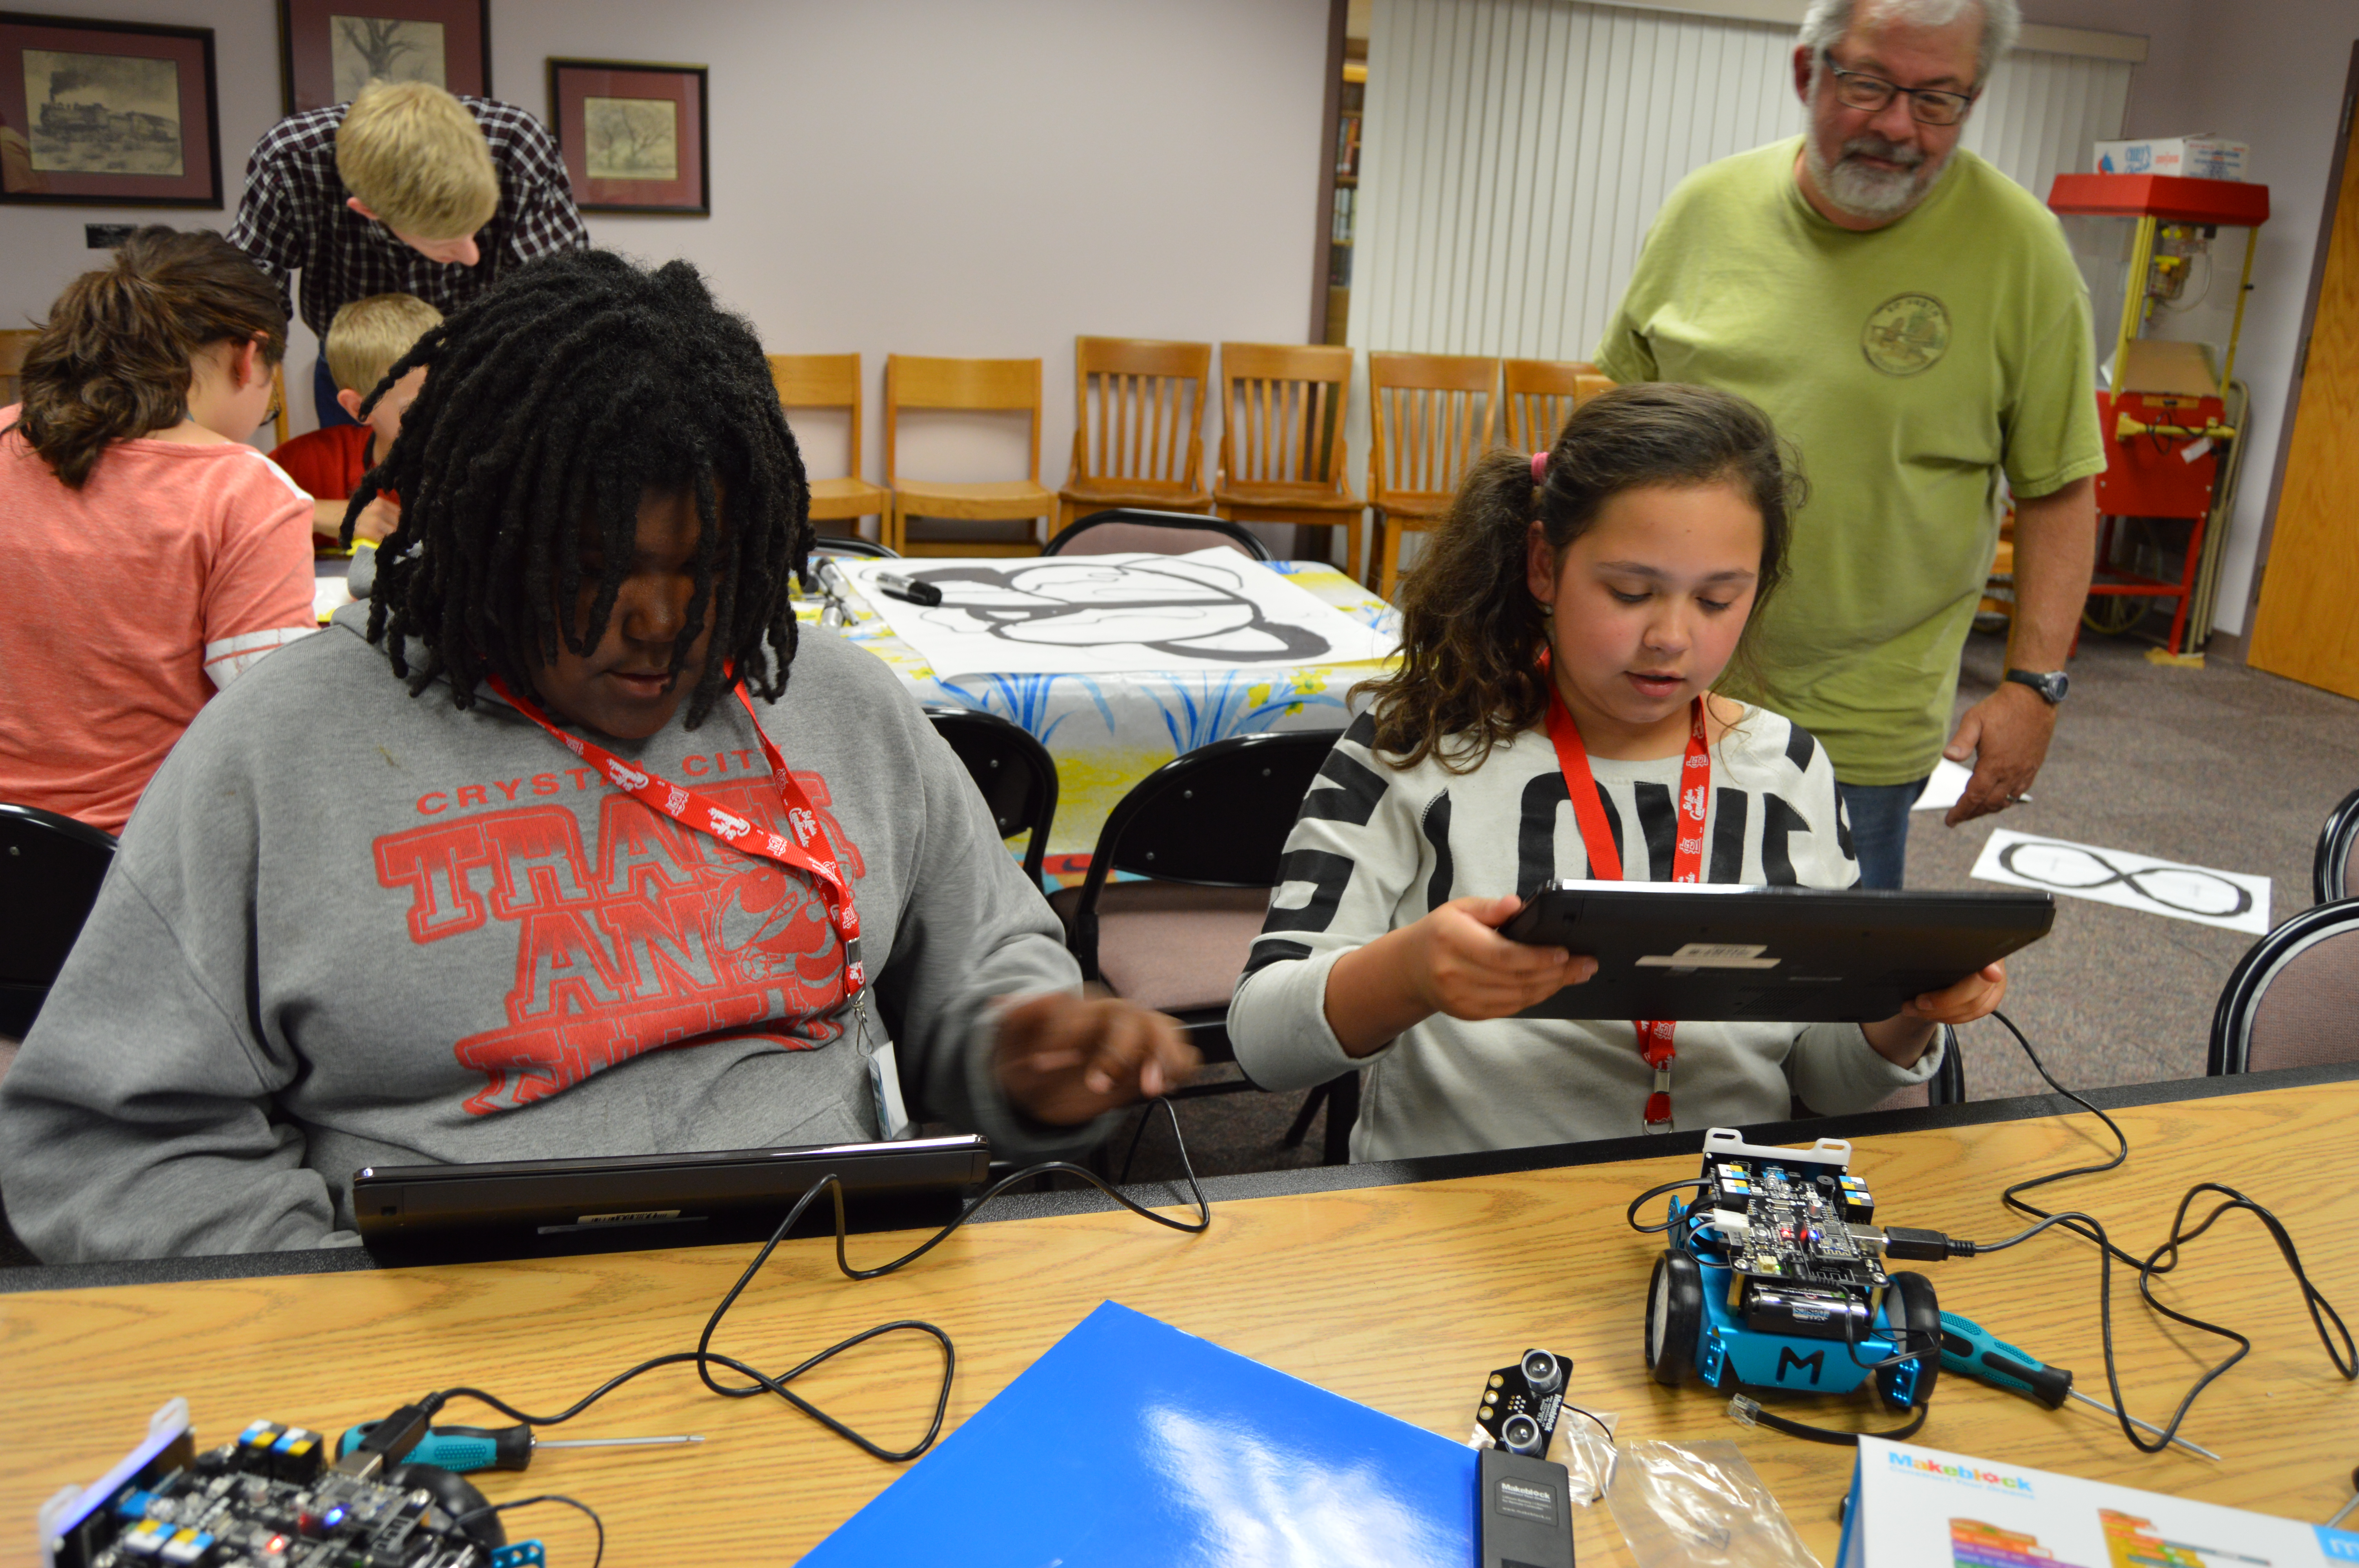
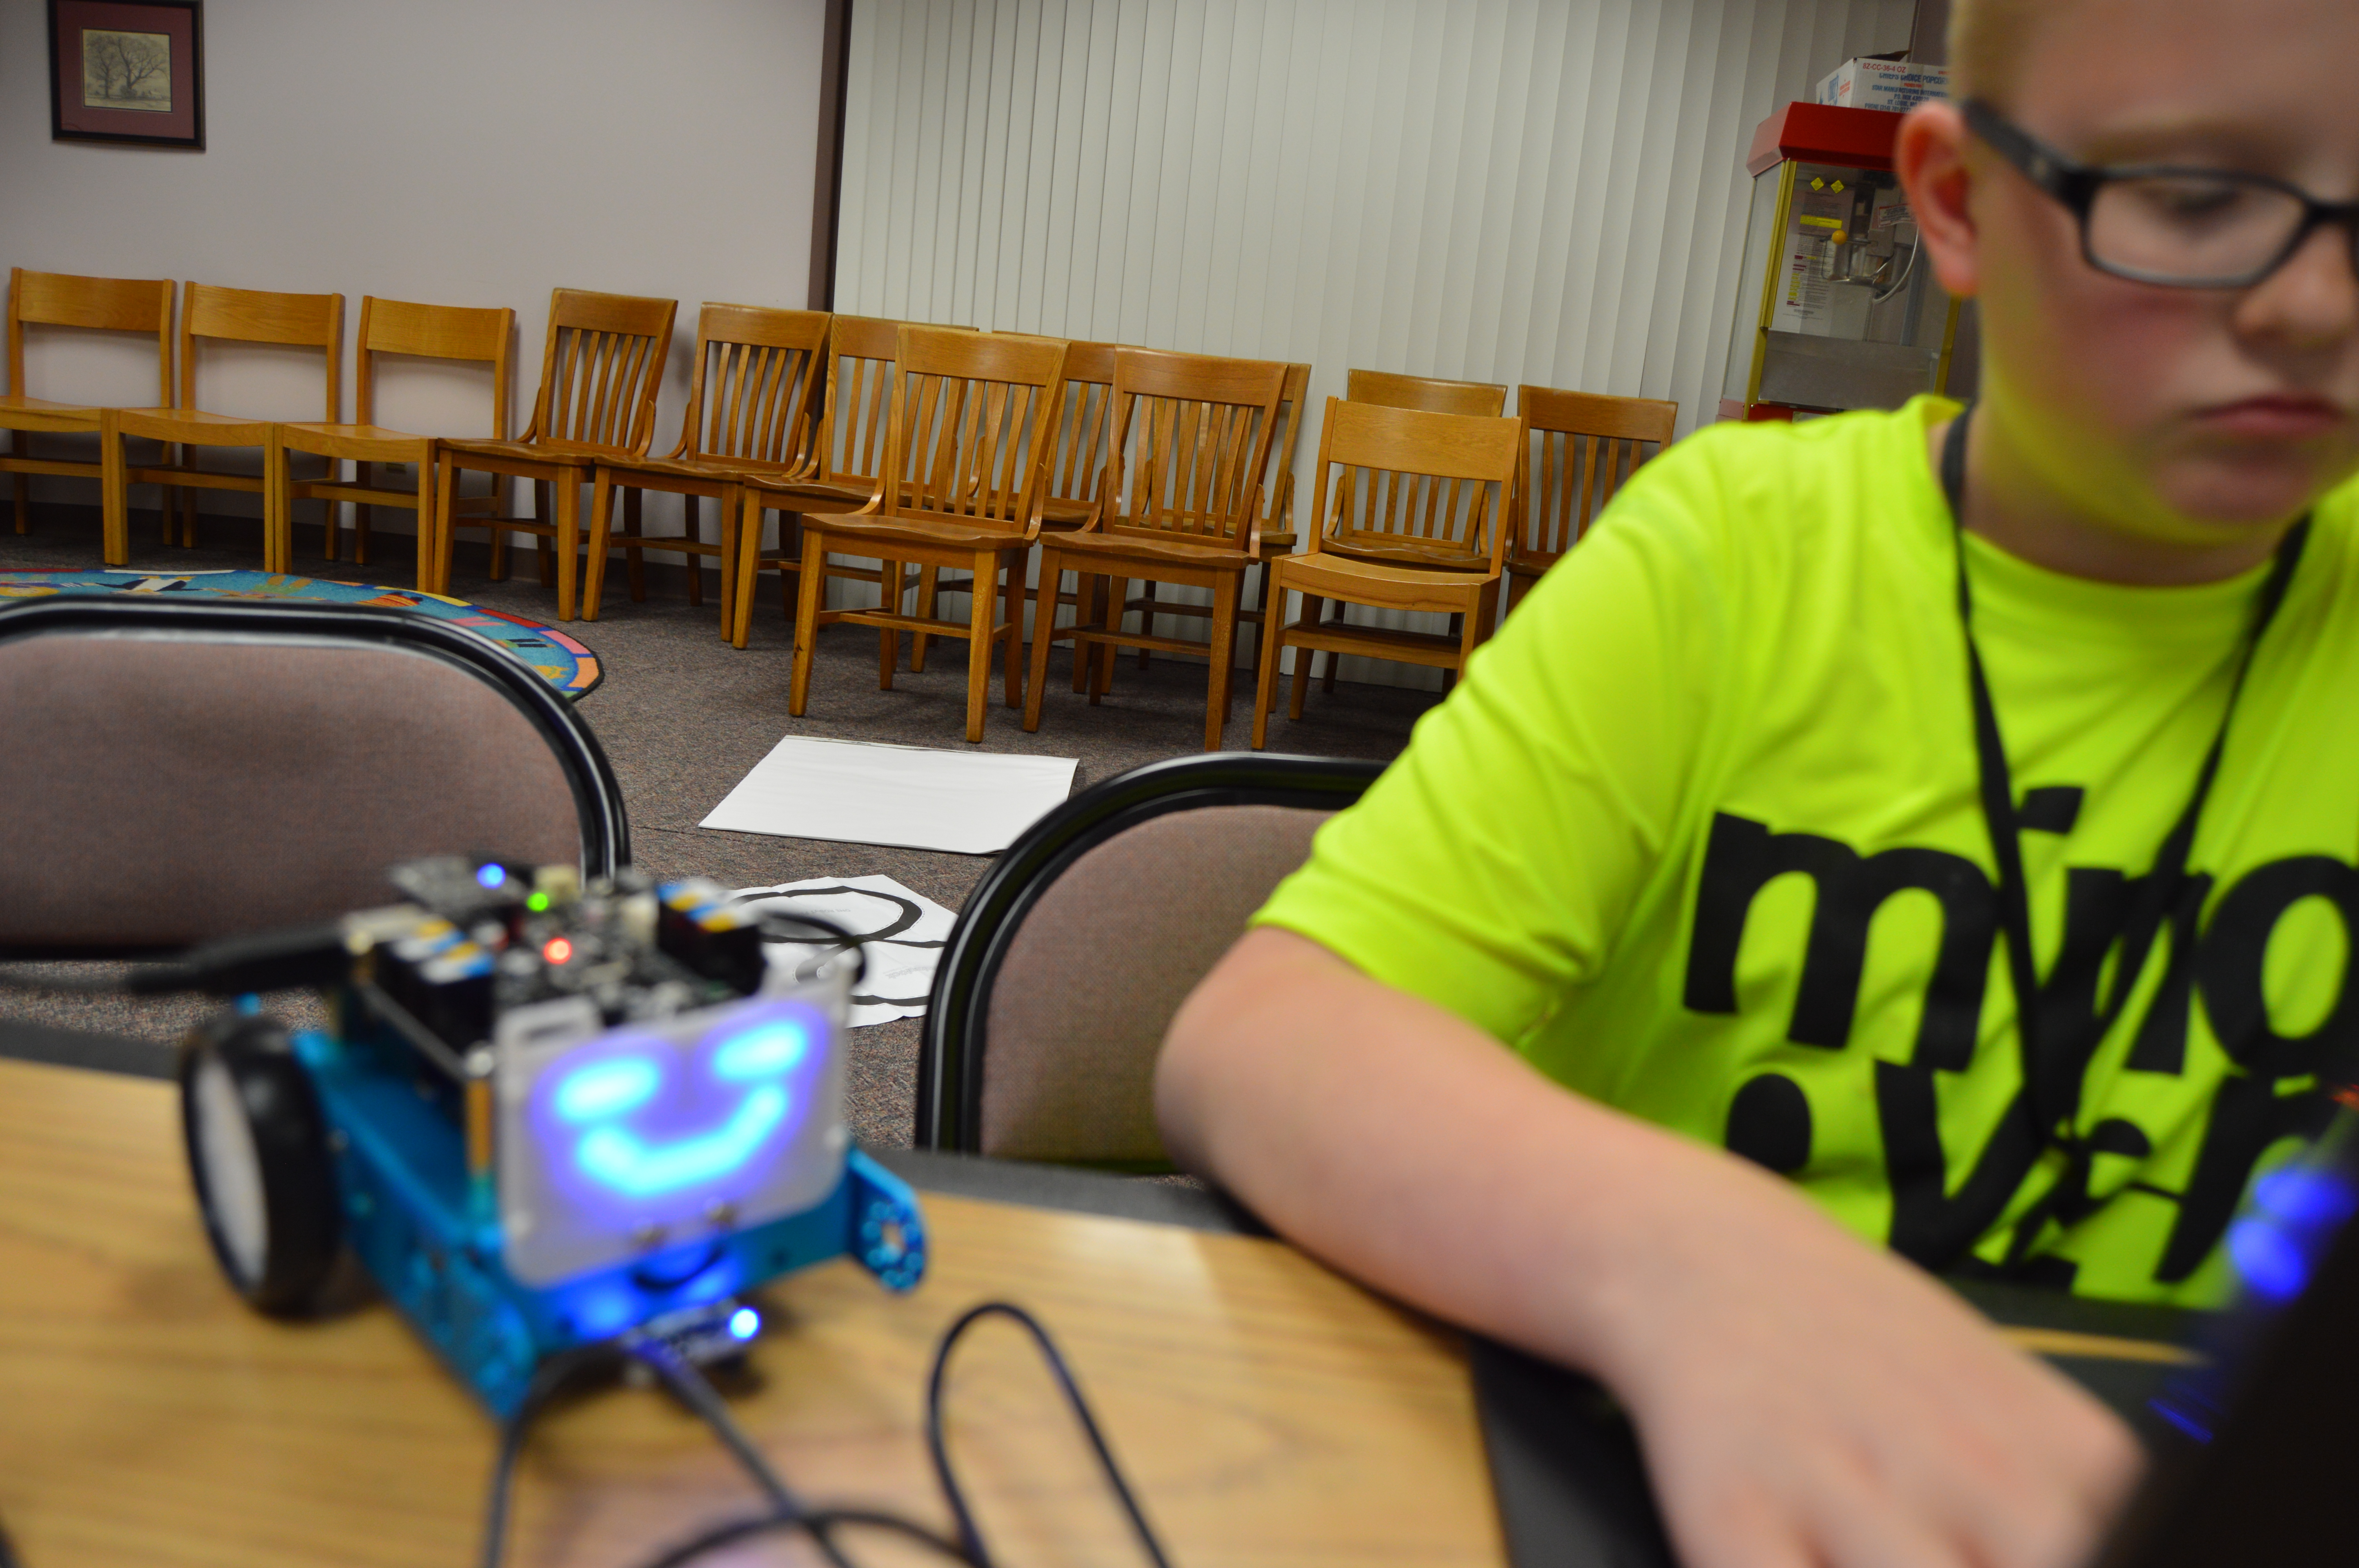
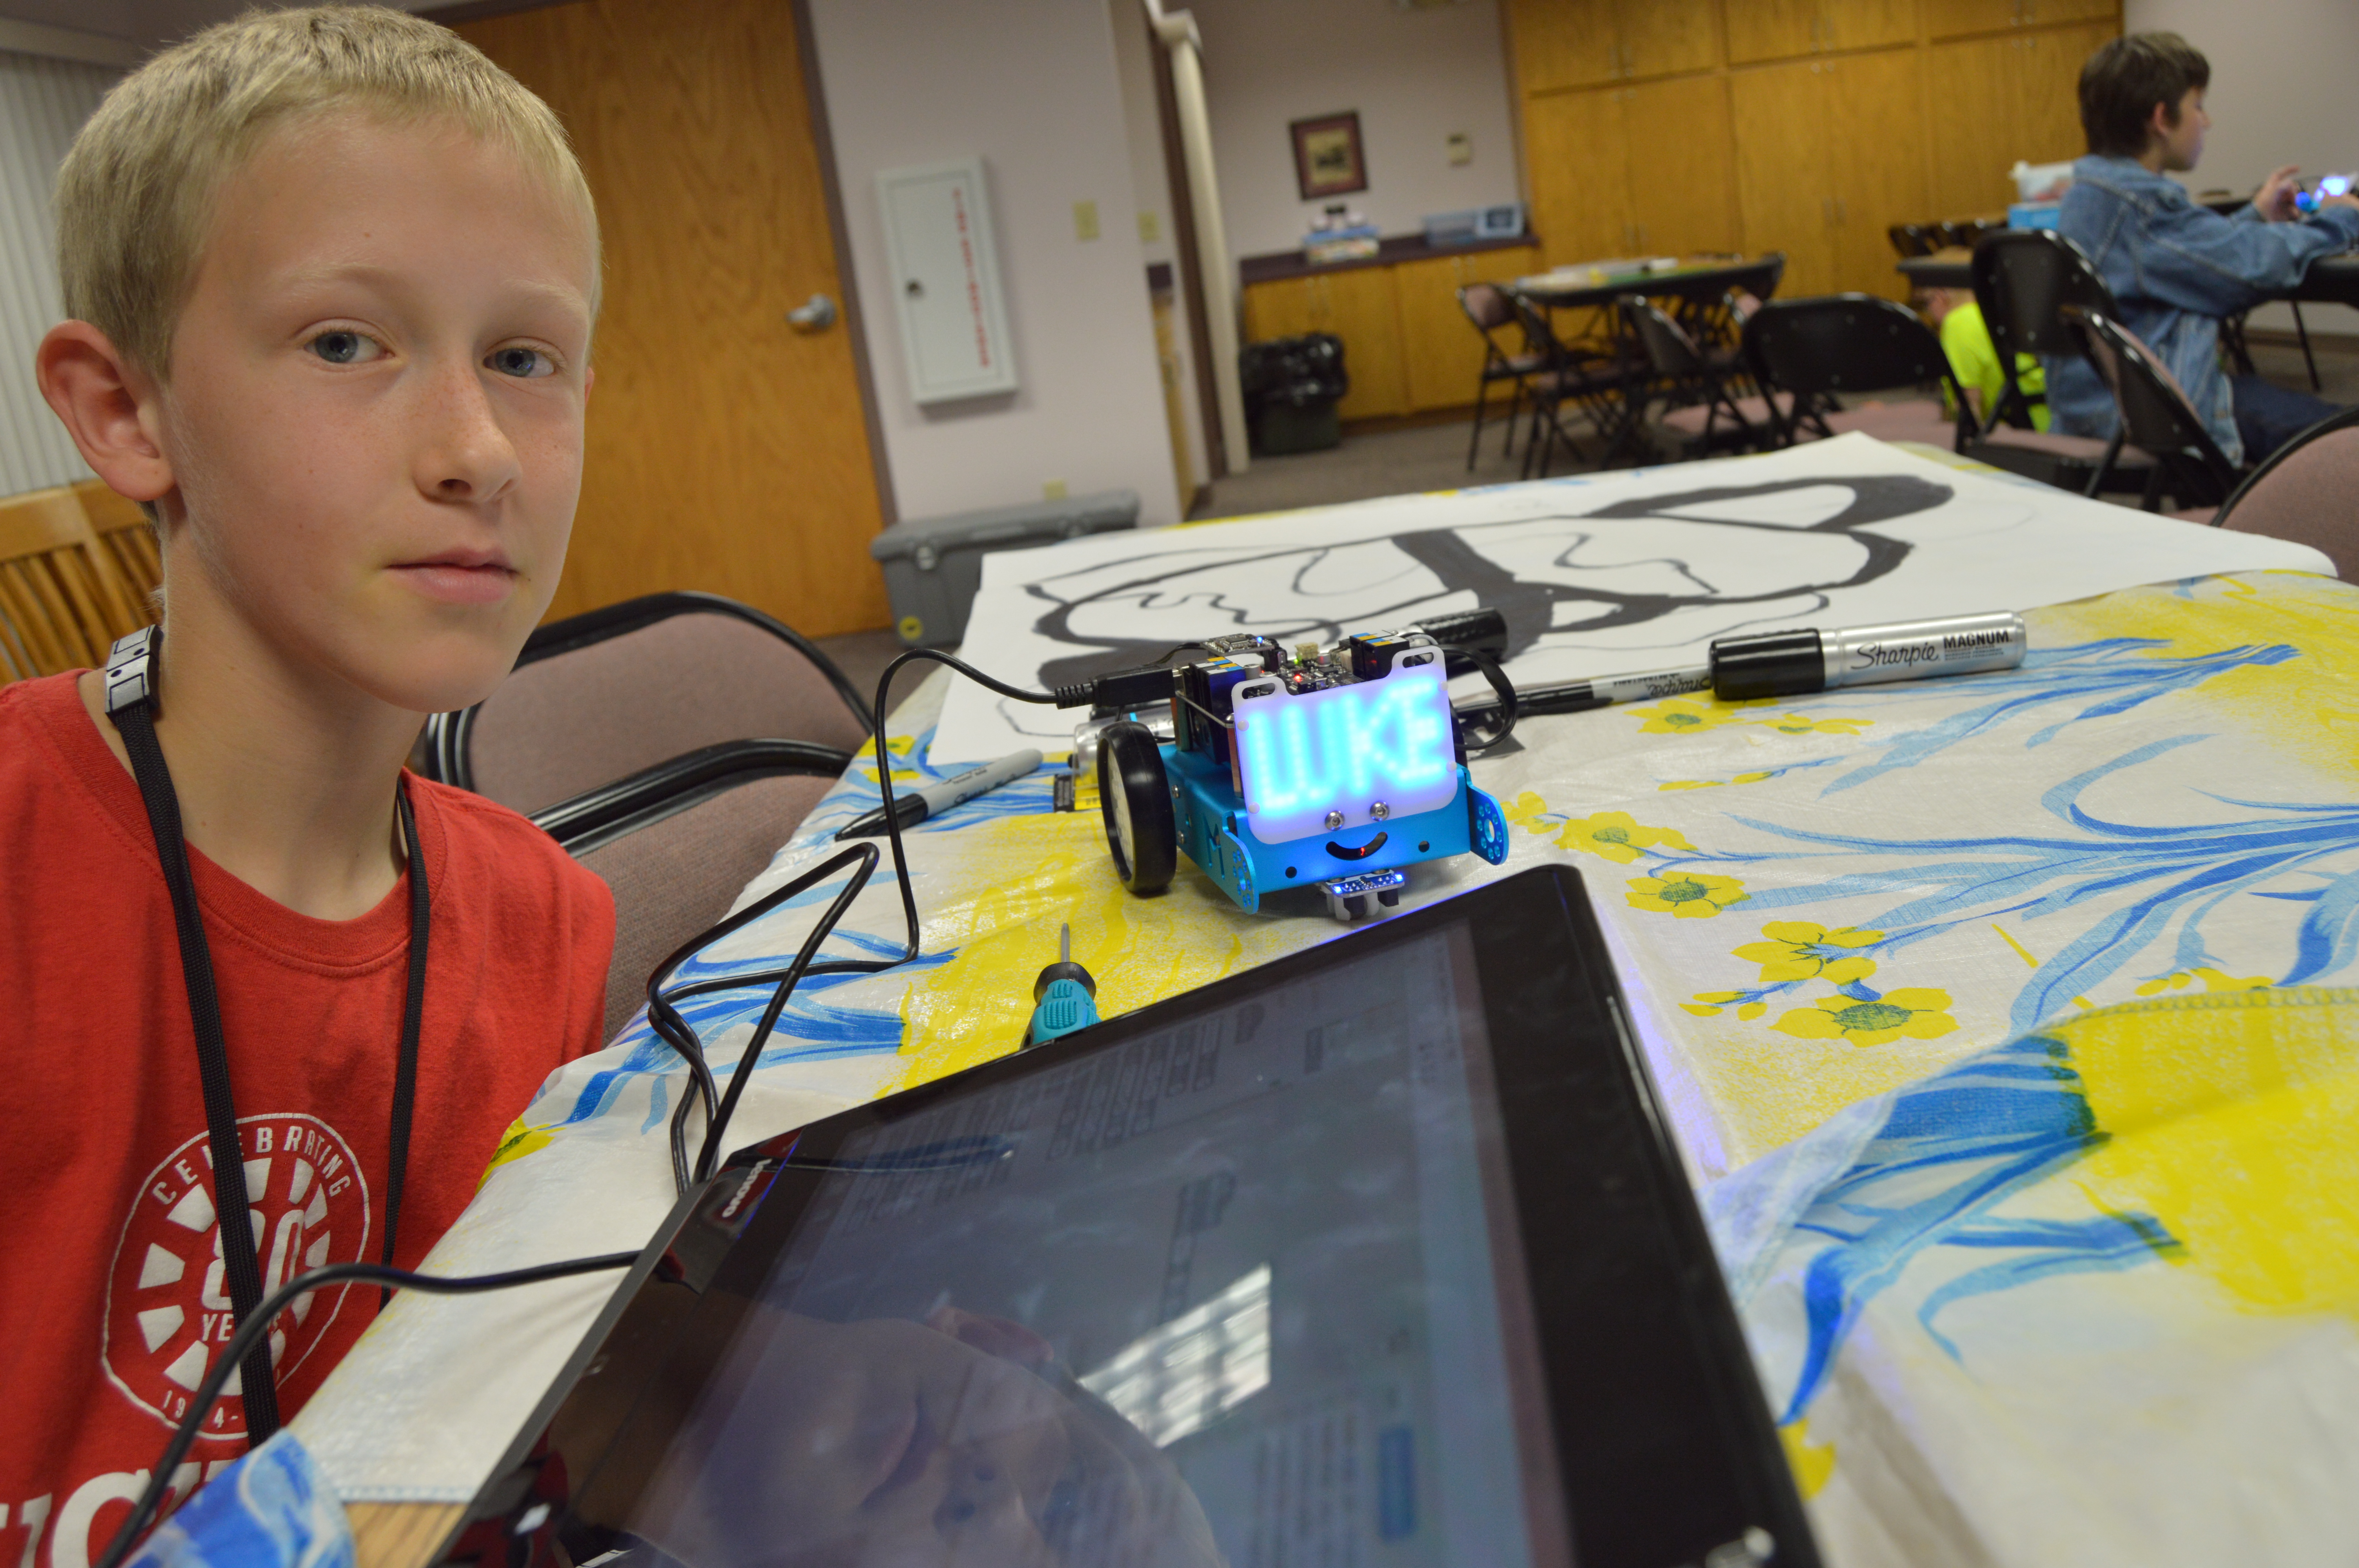
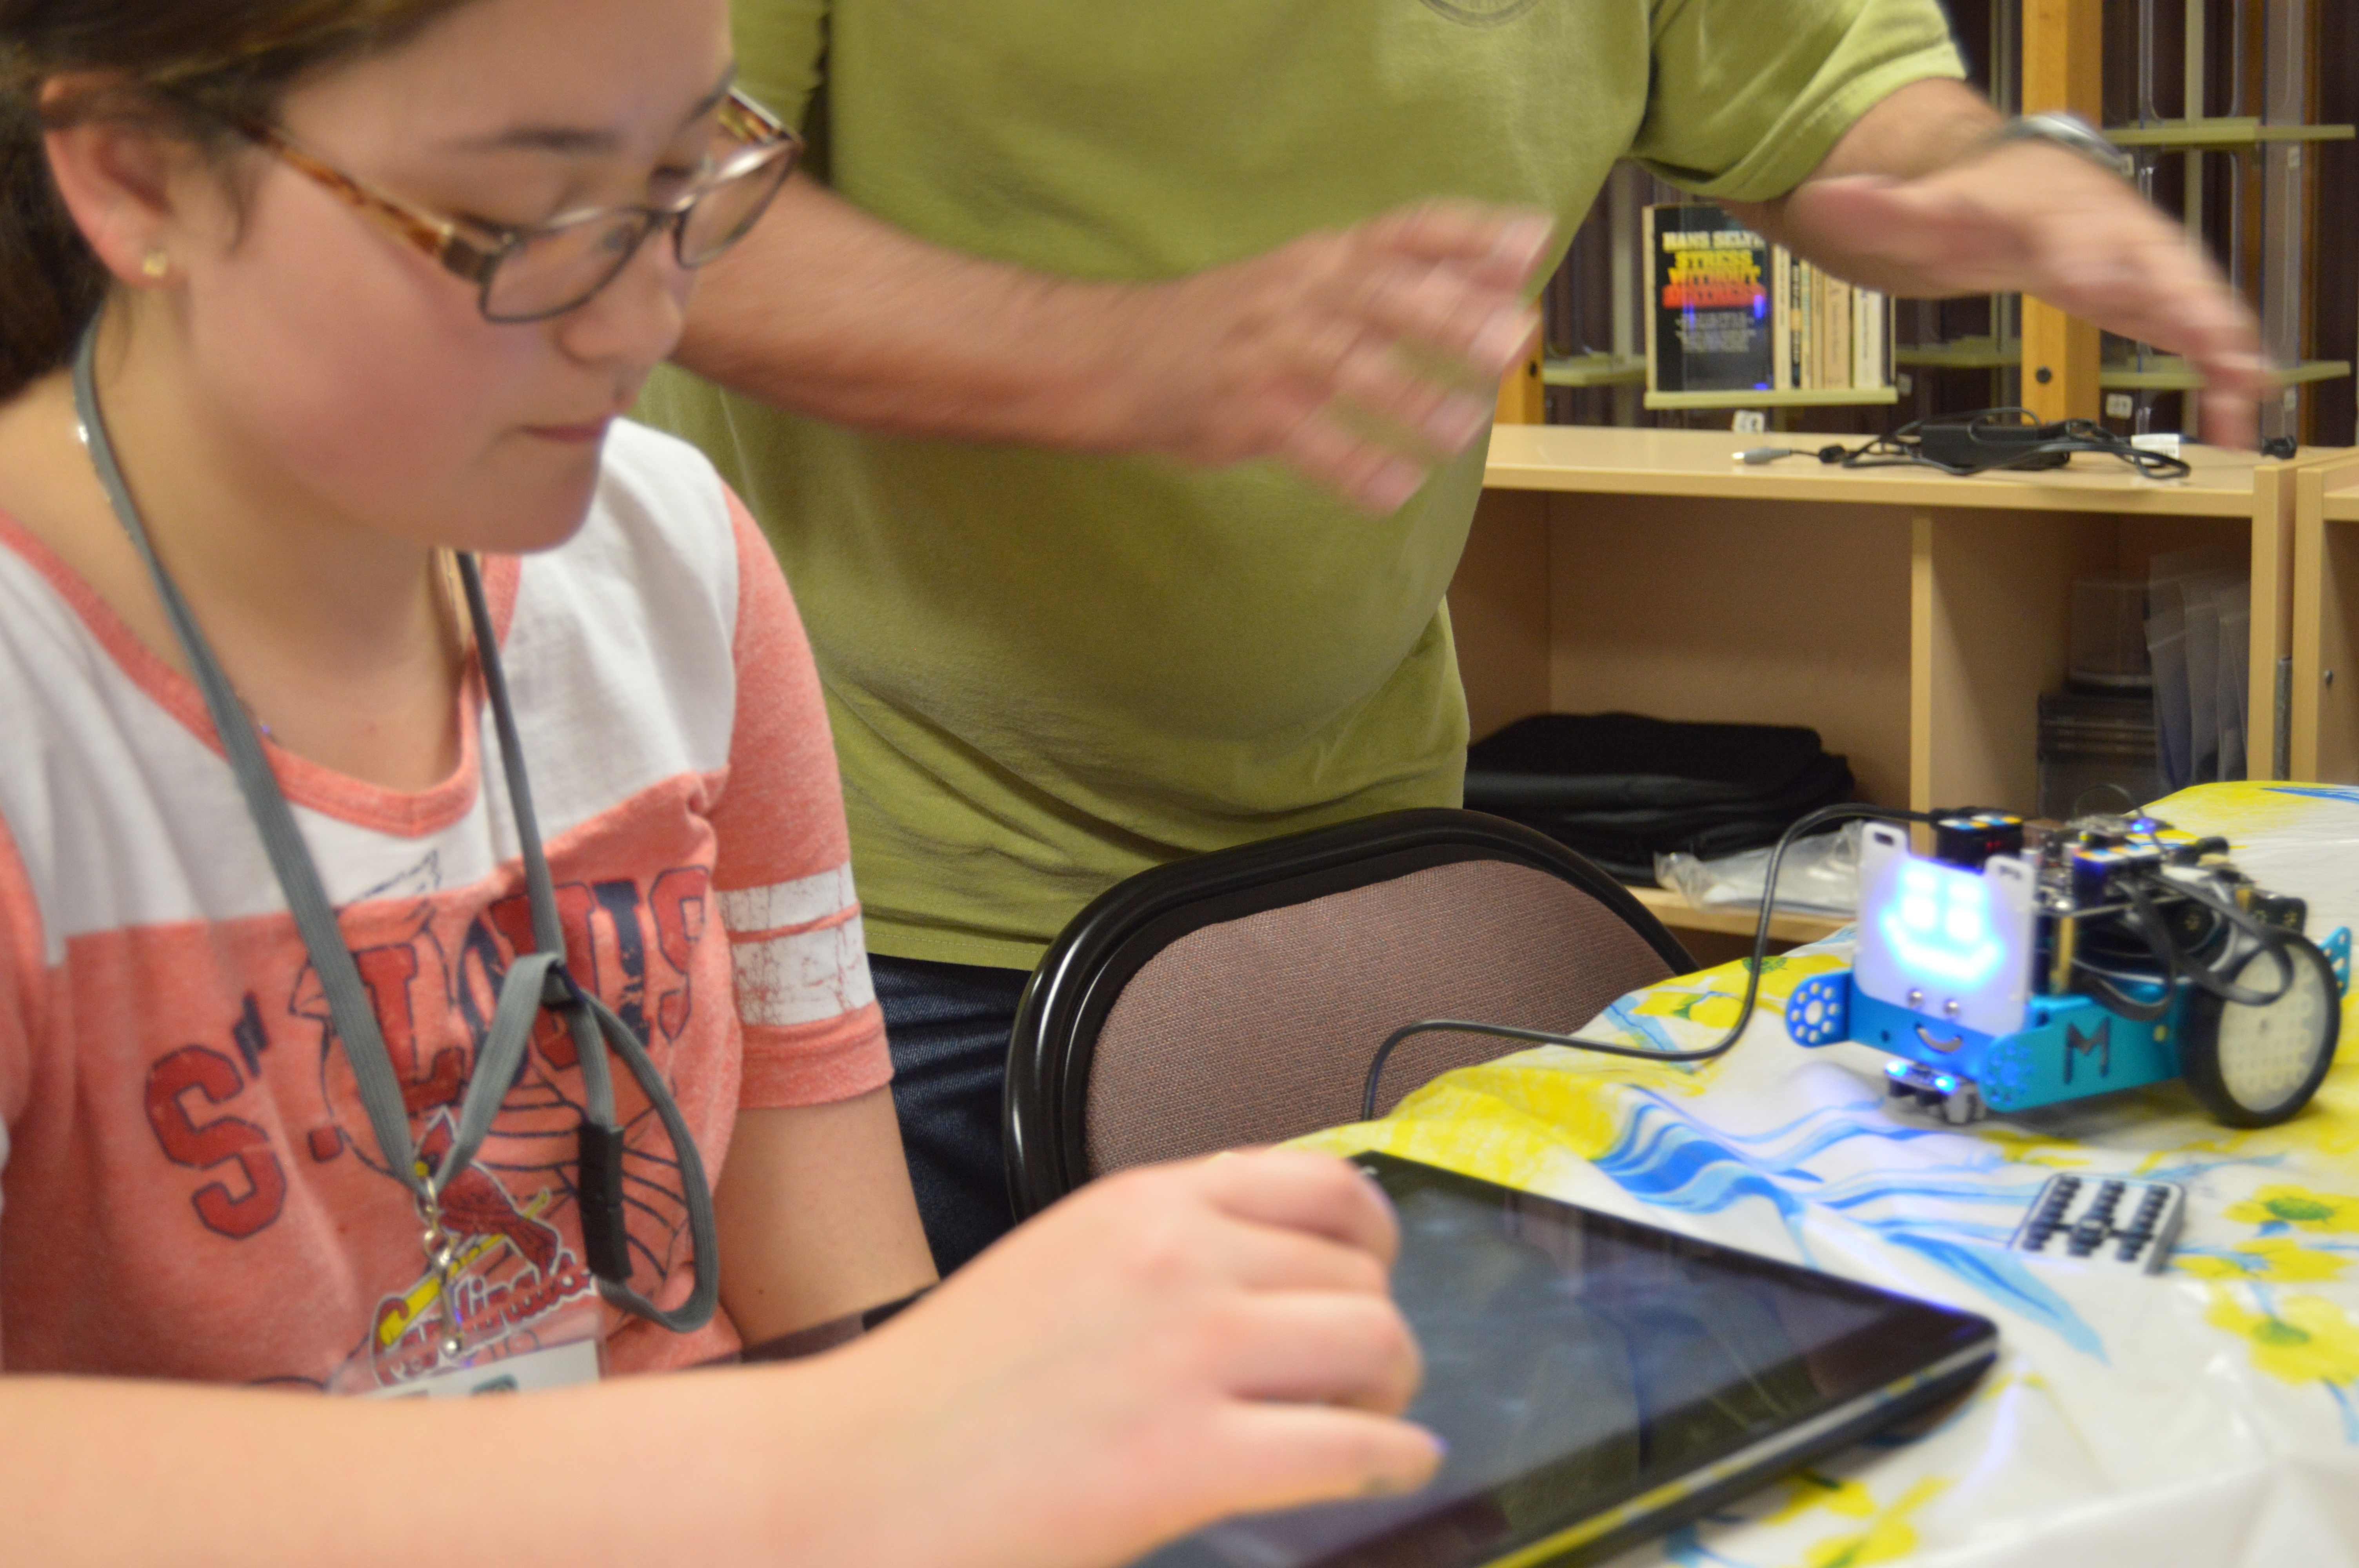
For the first project of this session students were instructed on how to add an 8×16 LED screen to the front of their mBot. Then we taught them how to code messages on their new mBot screen, using a drag and drop interface called Makeblock. Students were assisted in coding their choice of faces, messages, and even some sounds on their mBots.
Although this session focused less on the assembly of mBots, students were instead given valuable knowledge, in learning the beginning steps of basic programming. The mBots are easily programmable, and give many choices for programming them, which makes them a blast to work with.

Session 5: May 12, 2016
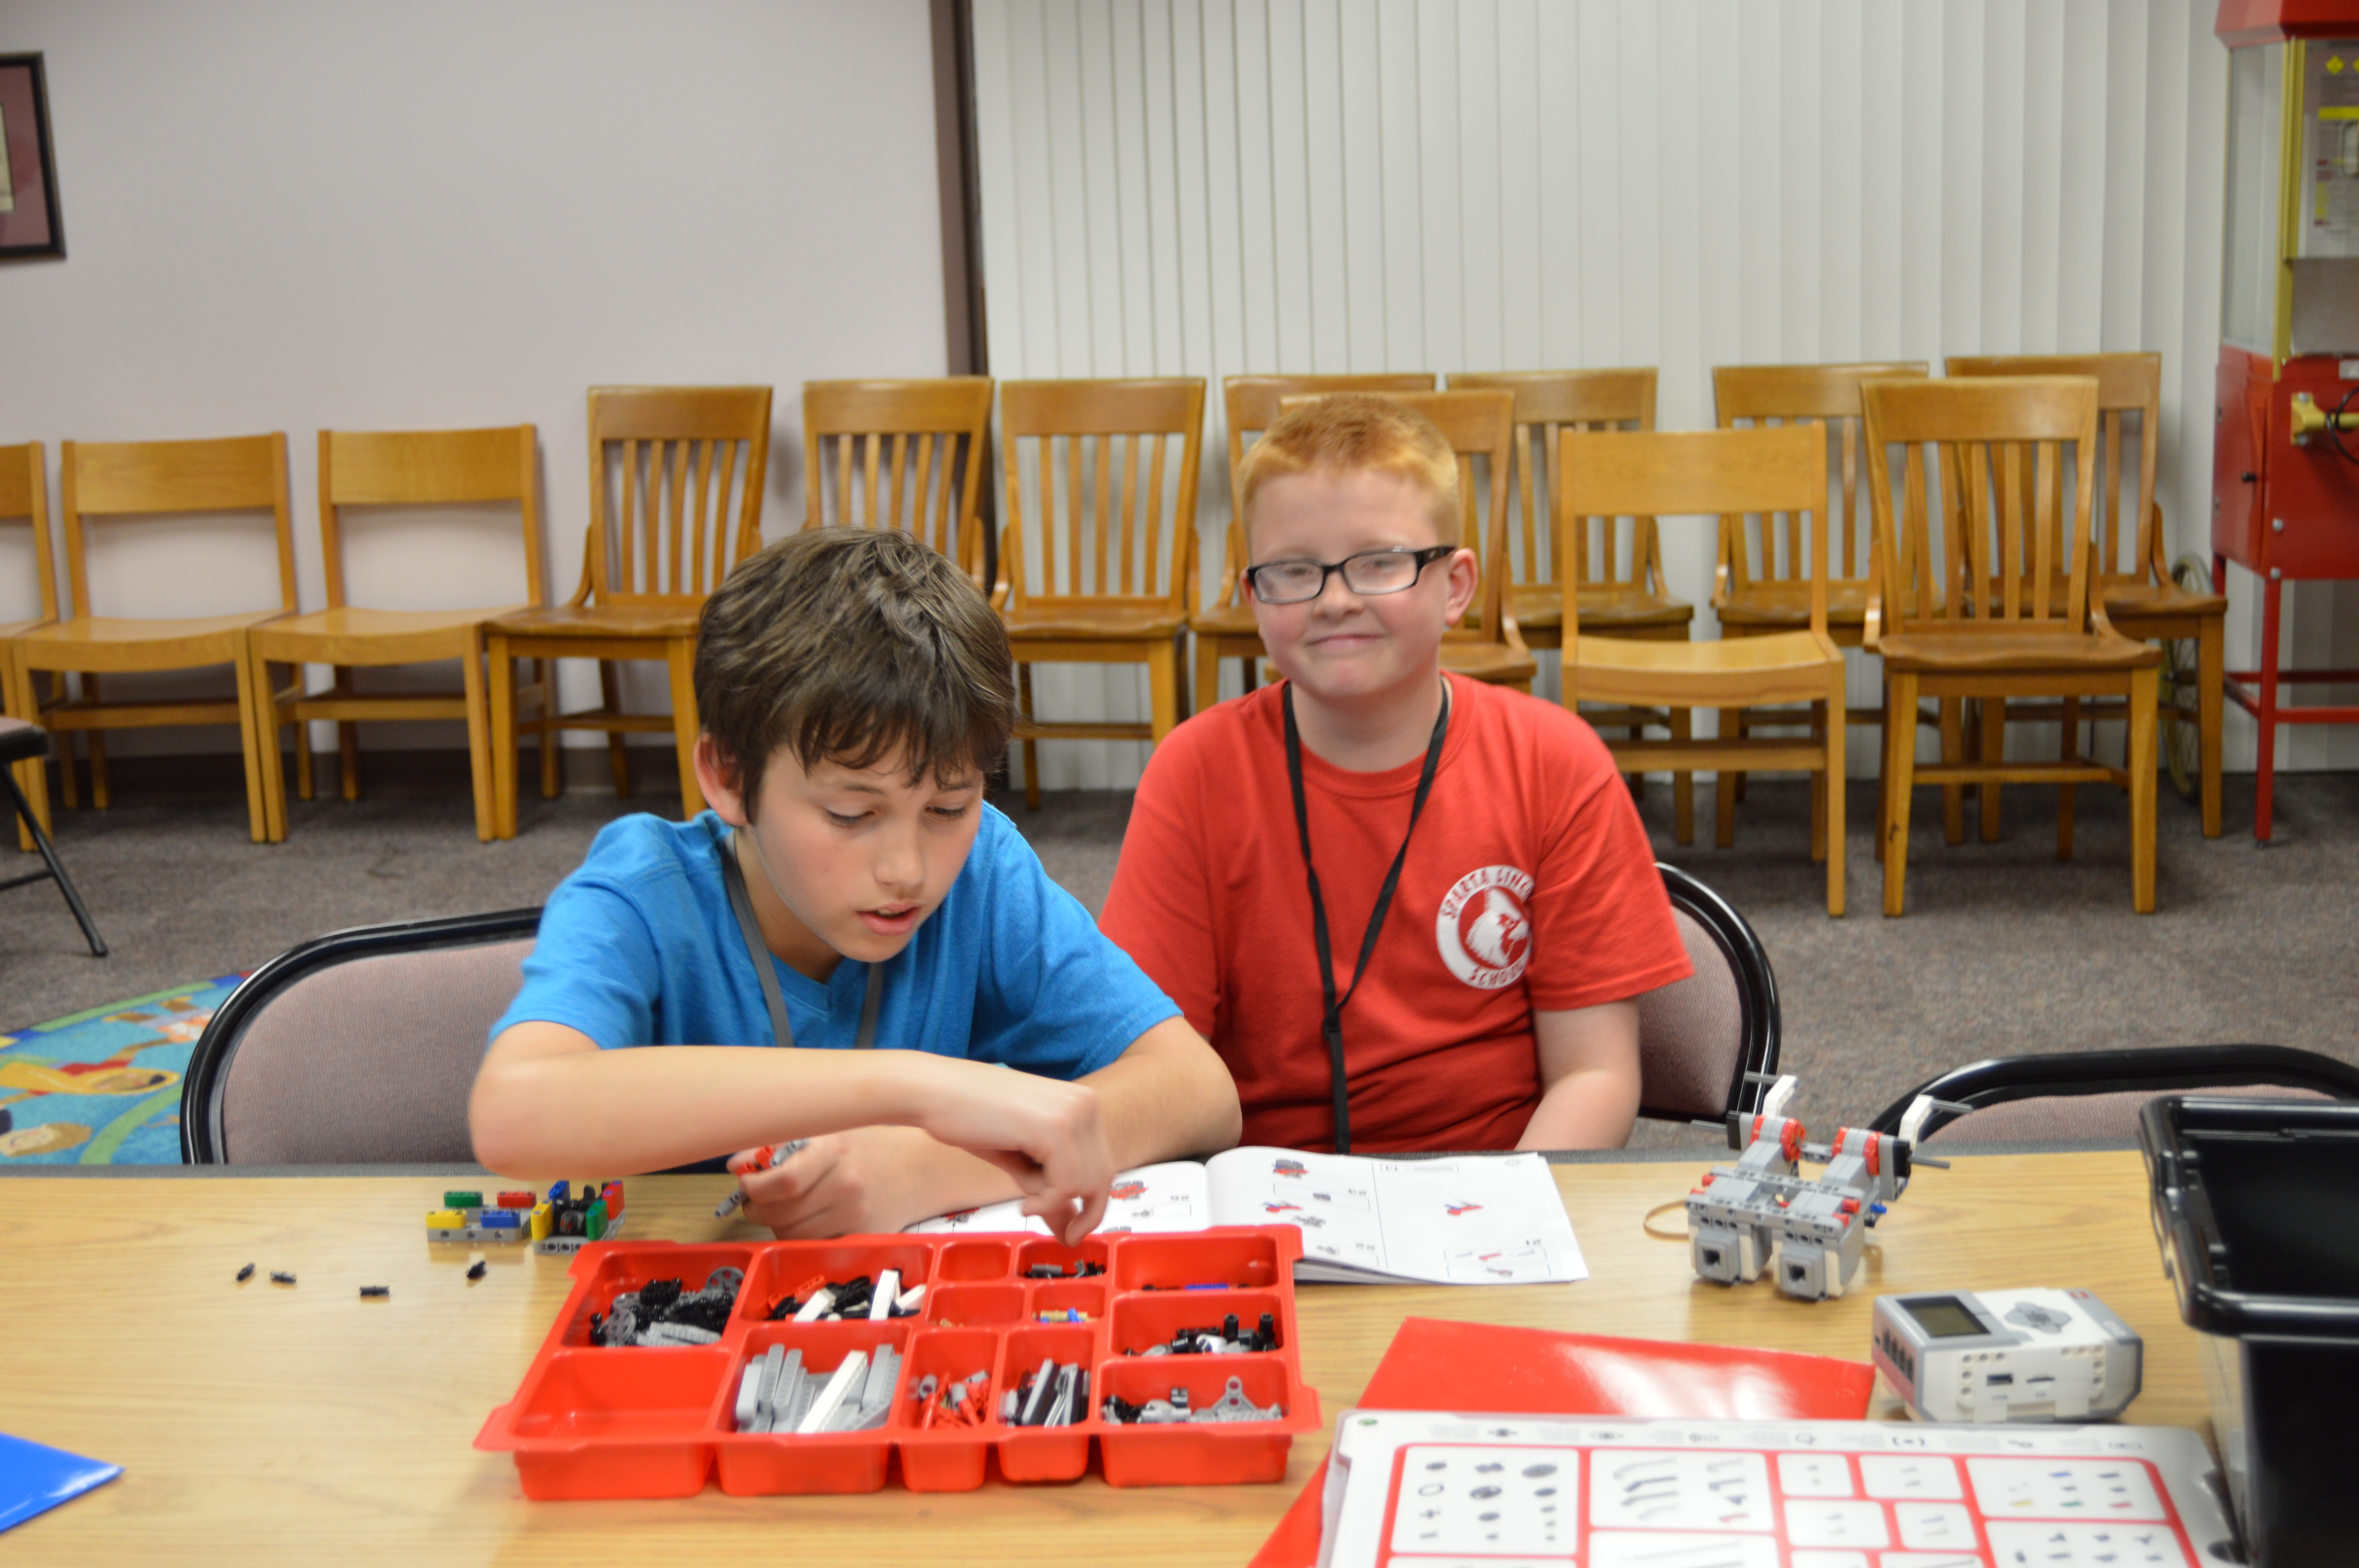
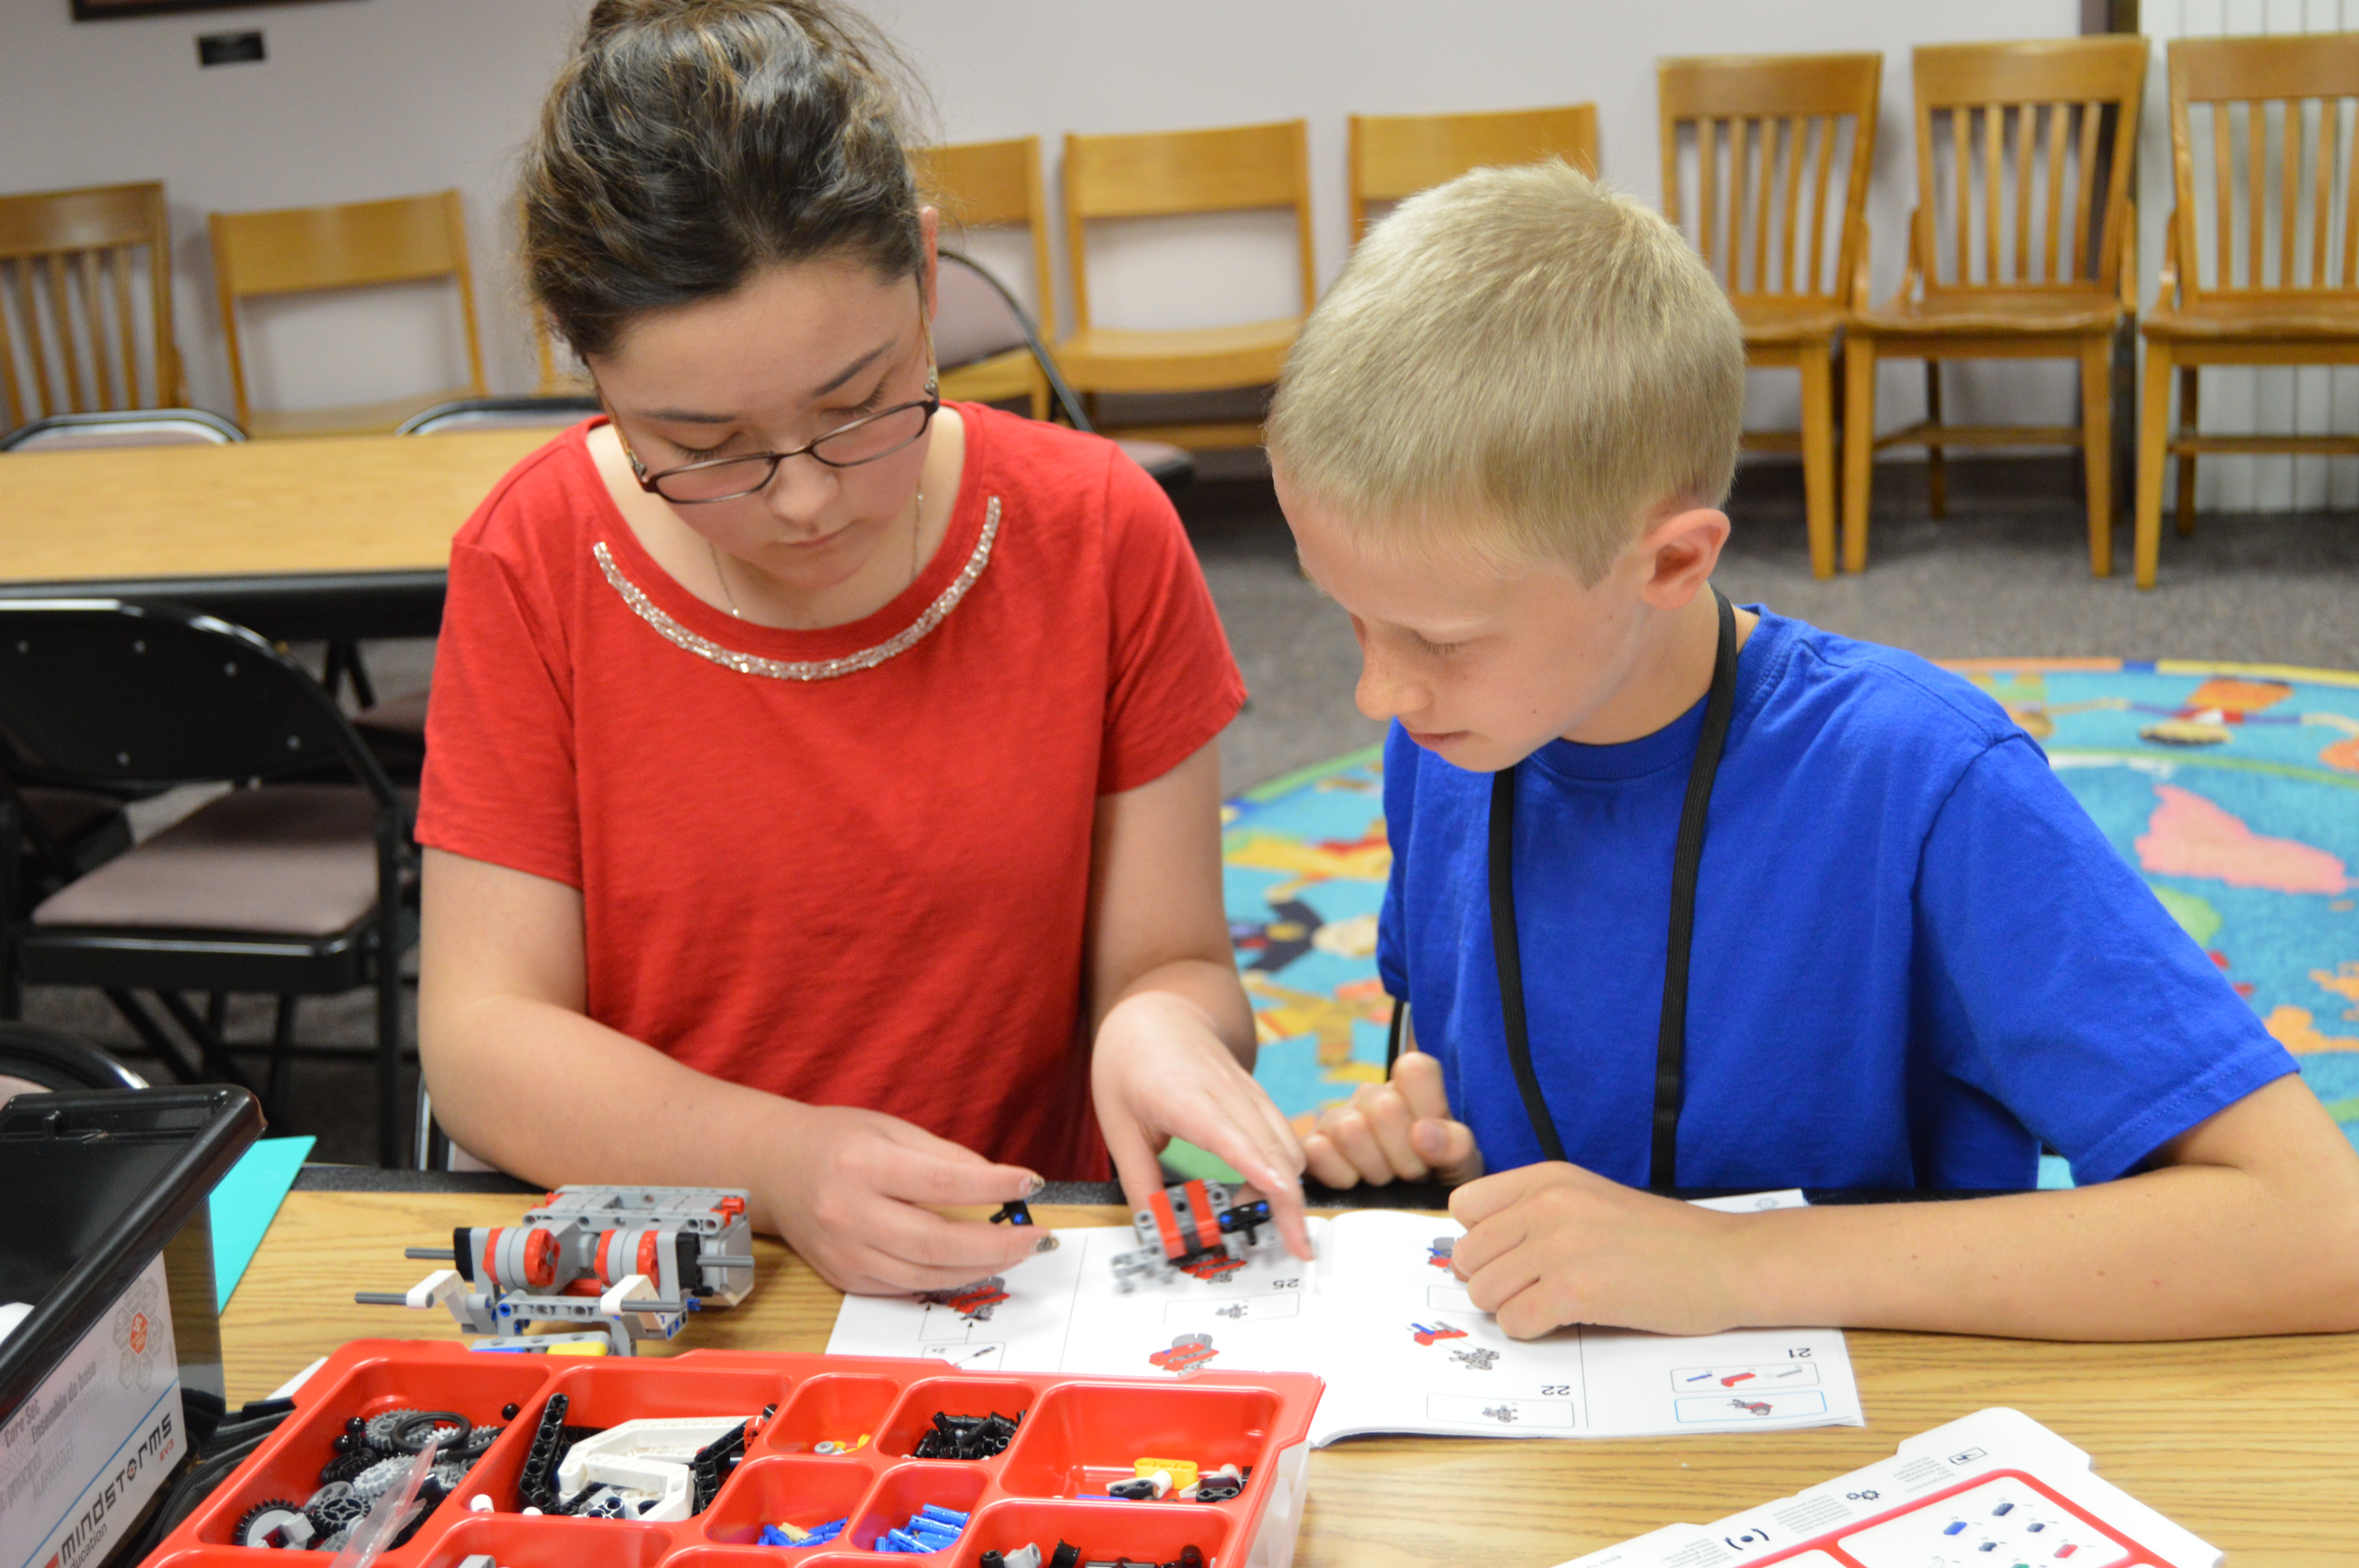
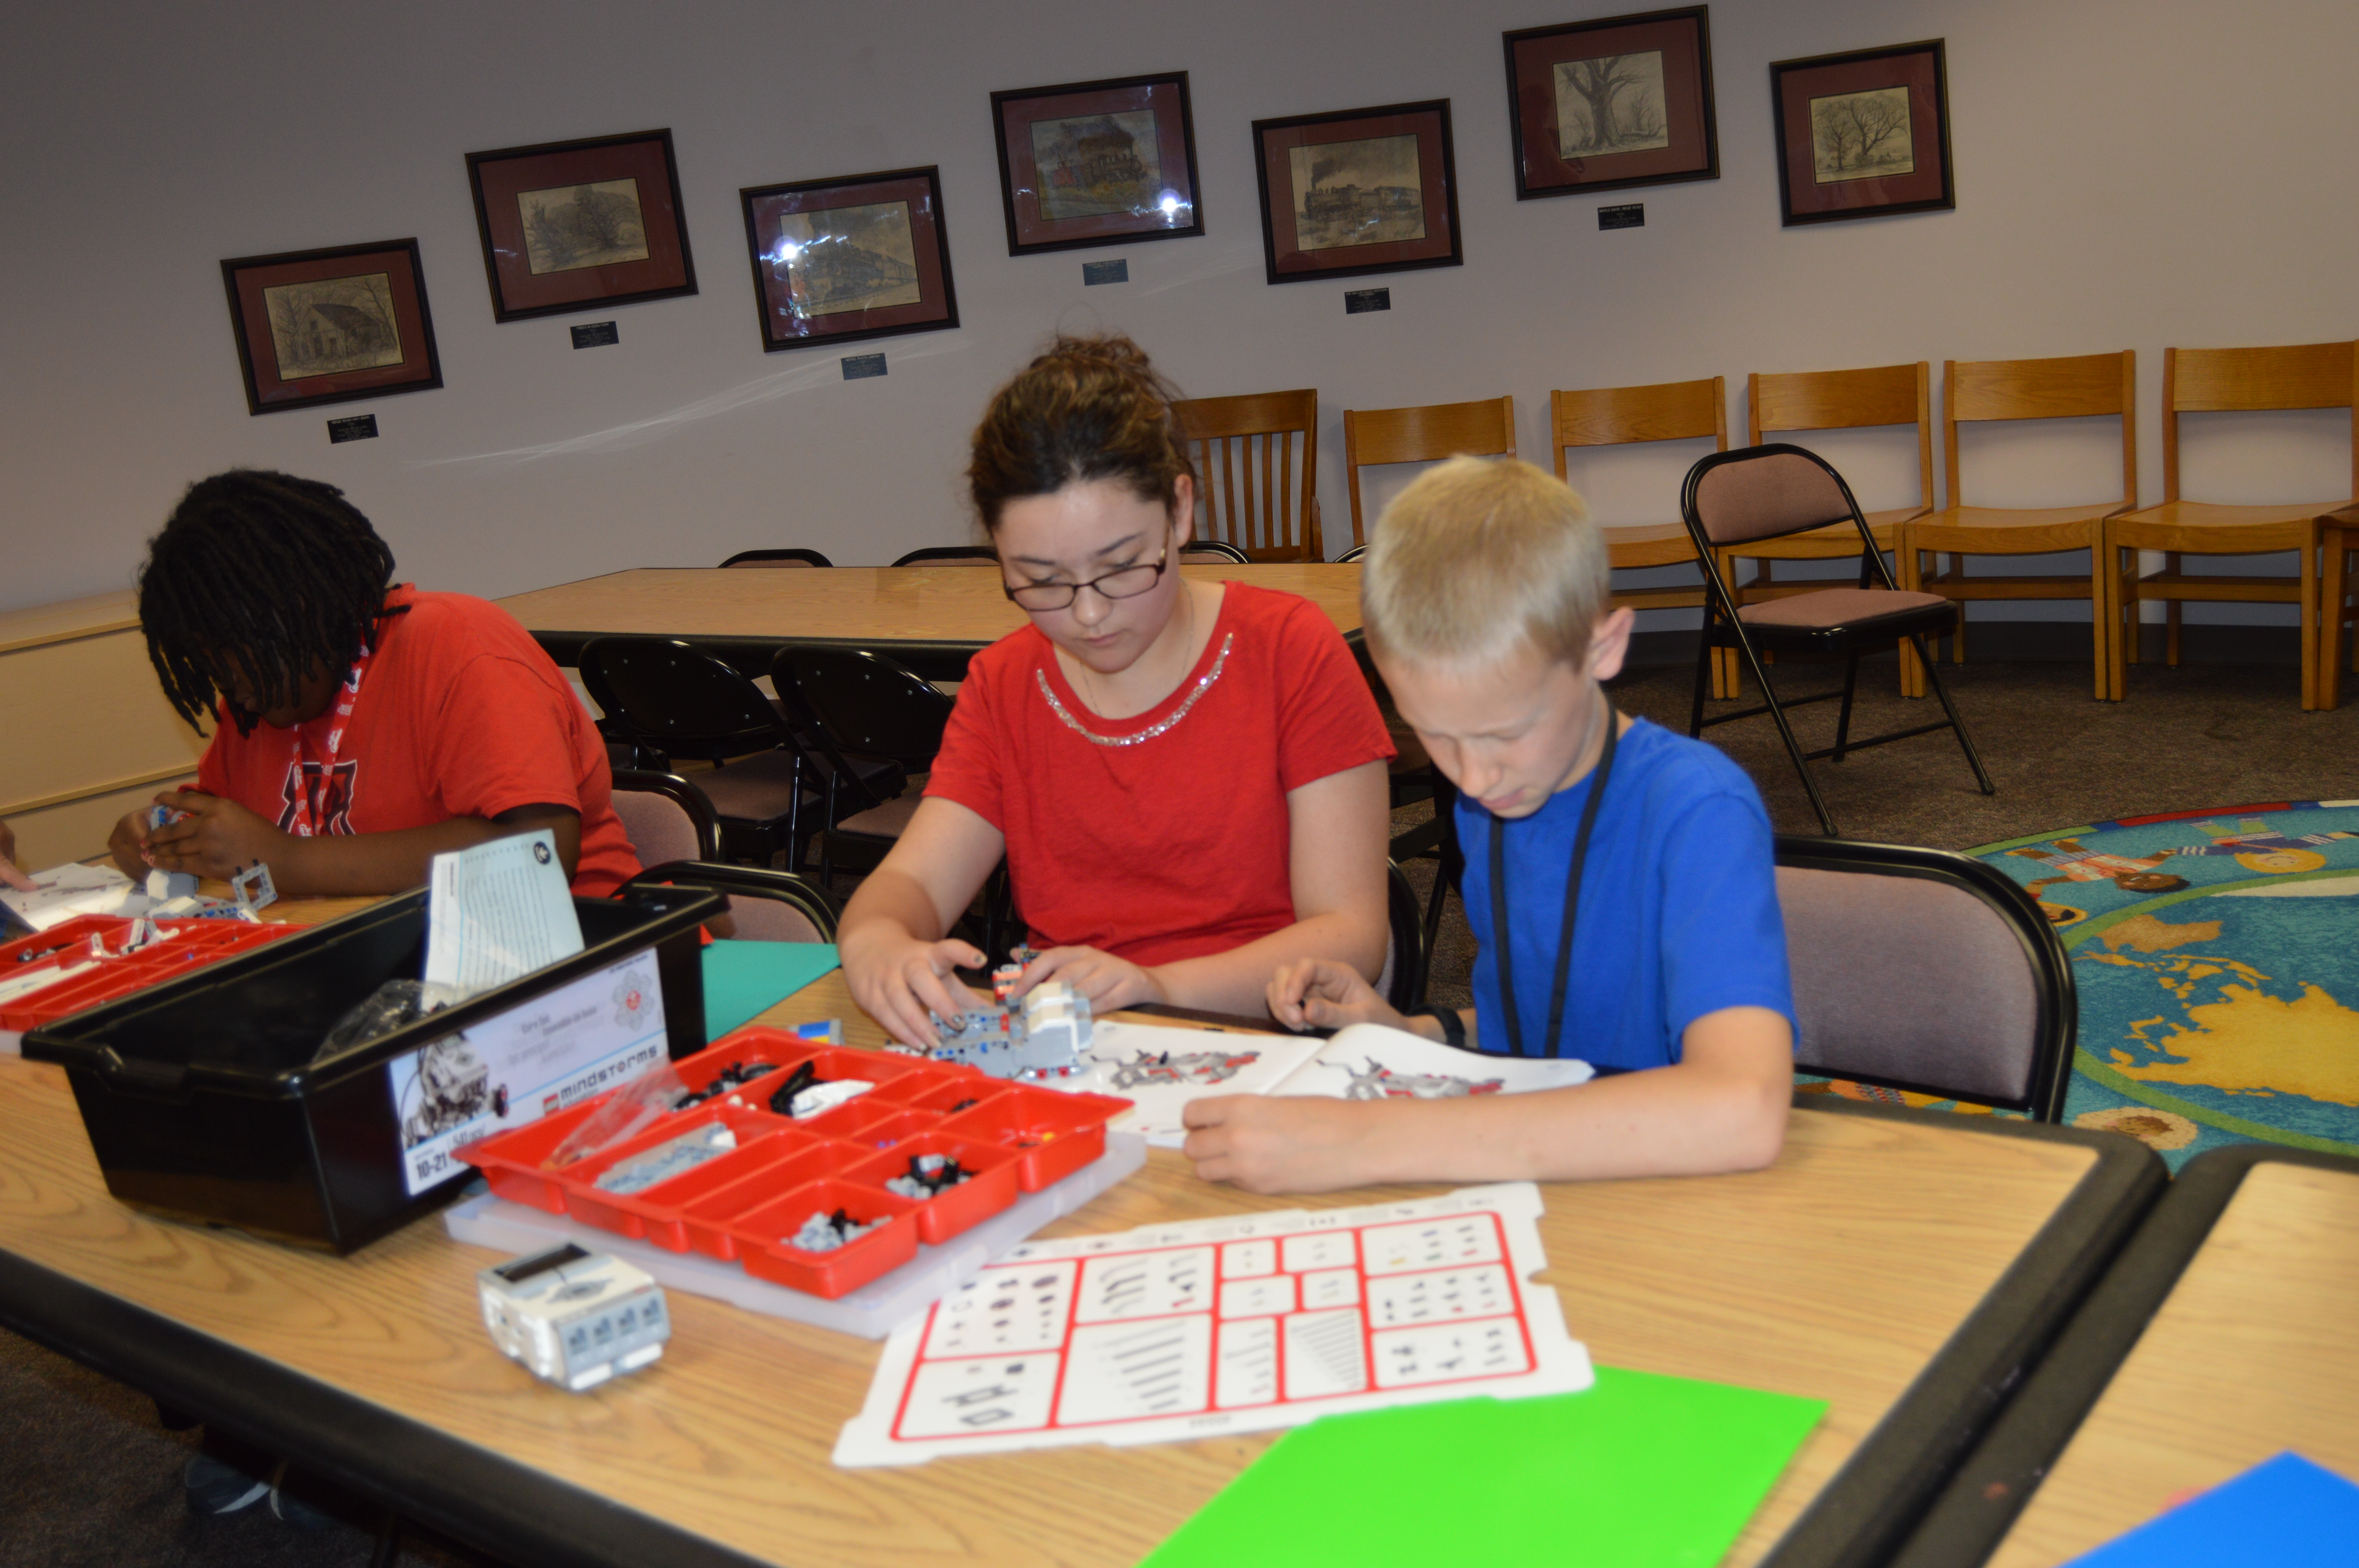
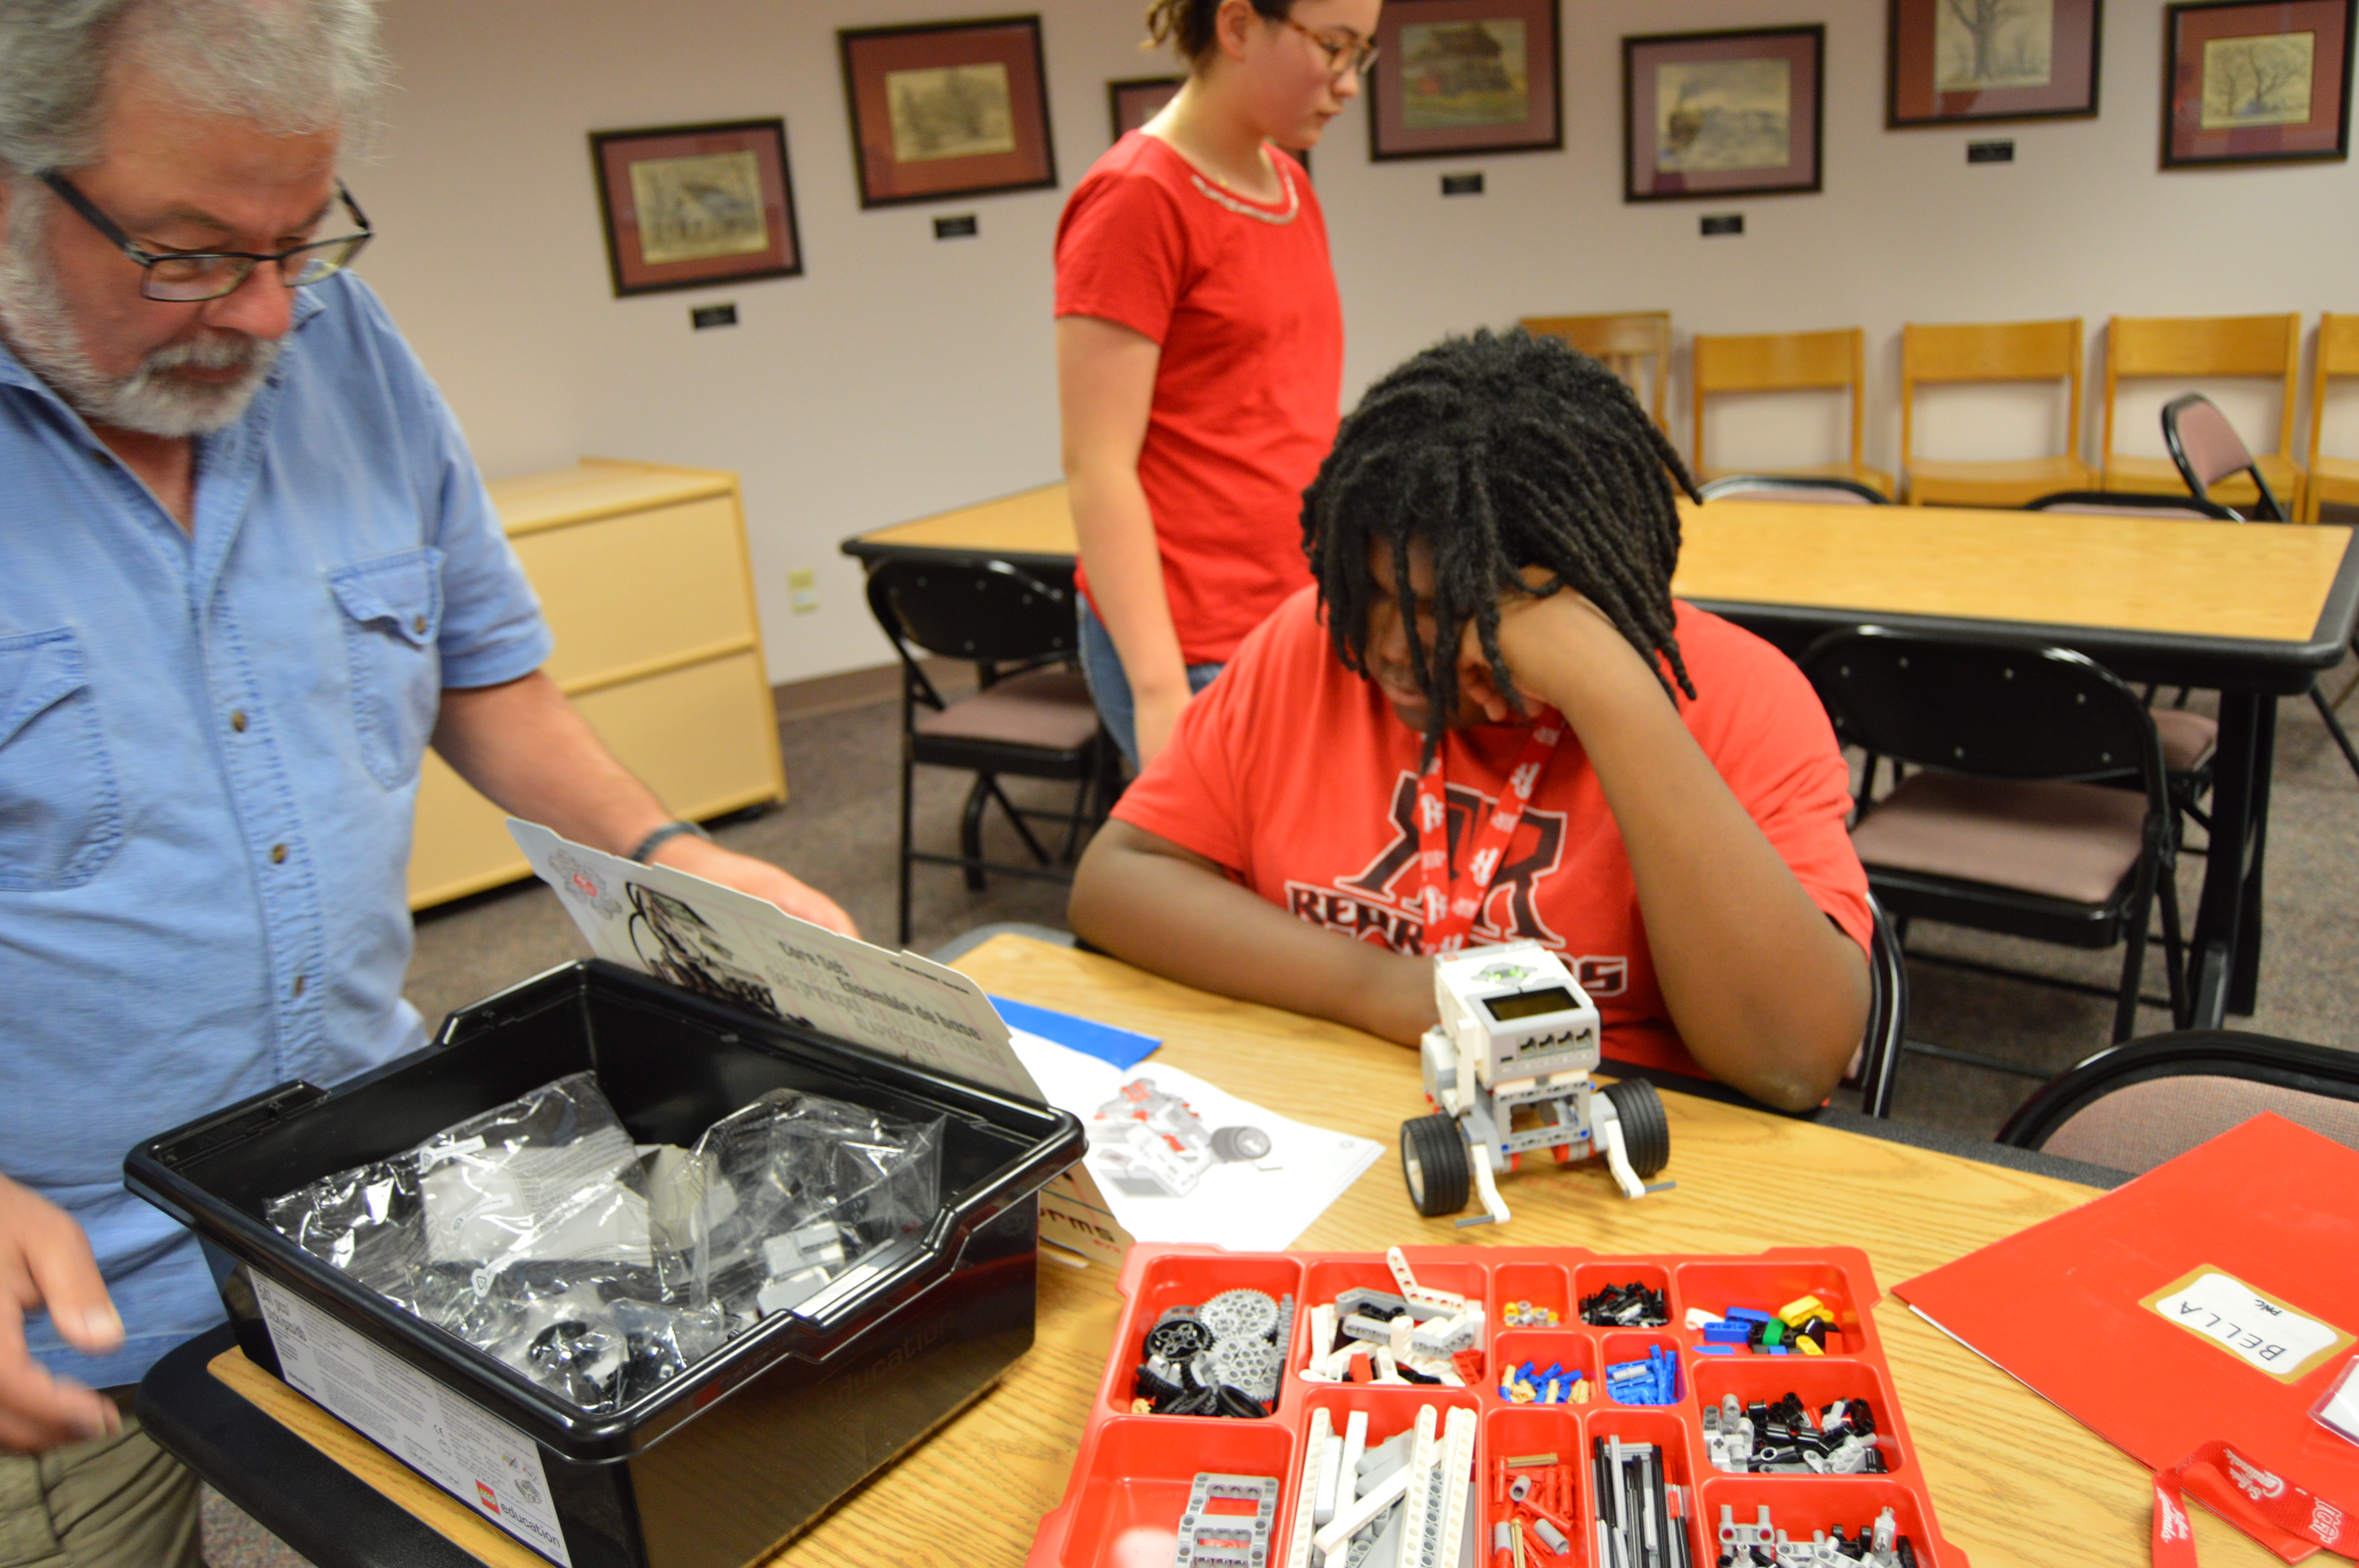
On the 12th of May we met for our fifth Robotics University meeting. The students were excited to be able to begin work on their next project. This week we jumped head first into building and using the fairly advanced, but very cool LEGO Mindstorms EV3 robots.
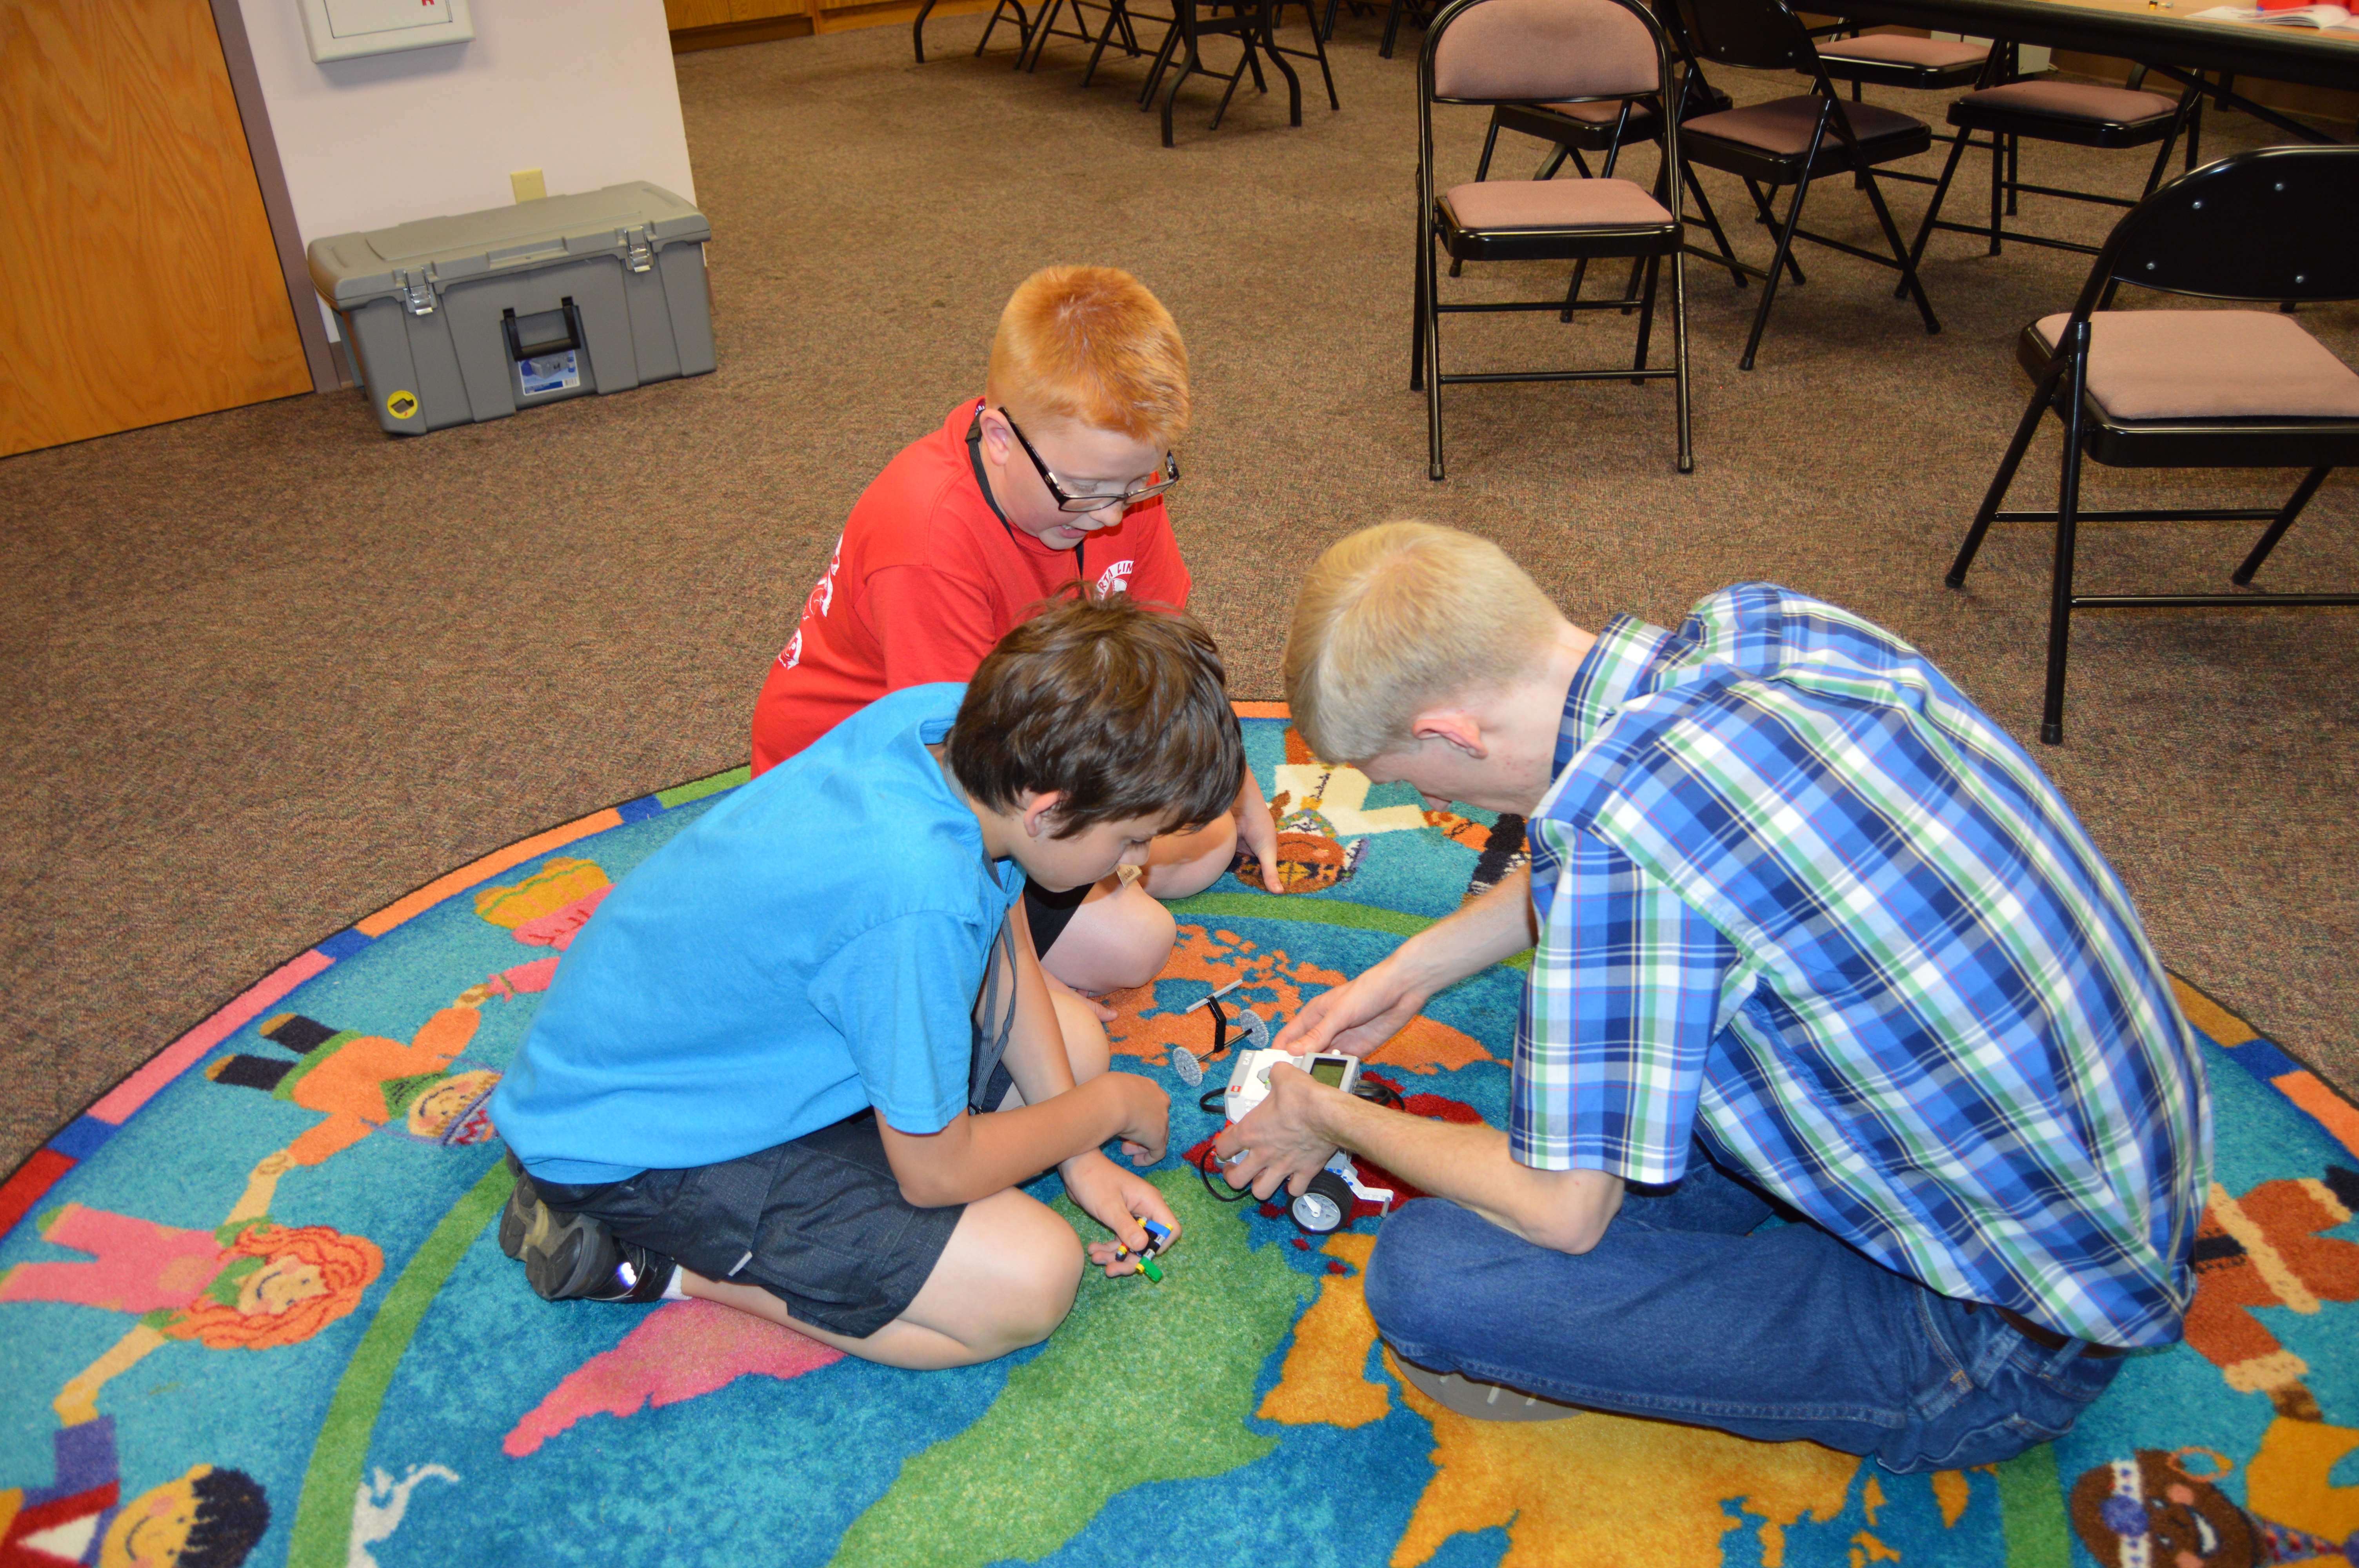
We split the students into three teams to work on the LEGO Mindstorms robots. Students worked together as a team, with a little assistance, to build the robots from scratch. Each team had a step by step instruction book that told them how to build it. Each robot is made up of numerous smaller construction pieces, two motors, a couple of wheels and a programming brick. It took the students most of the session to build the robots.
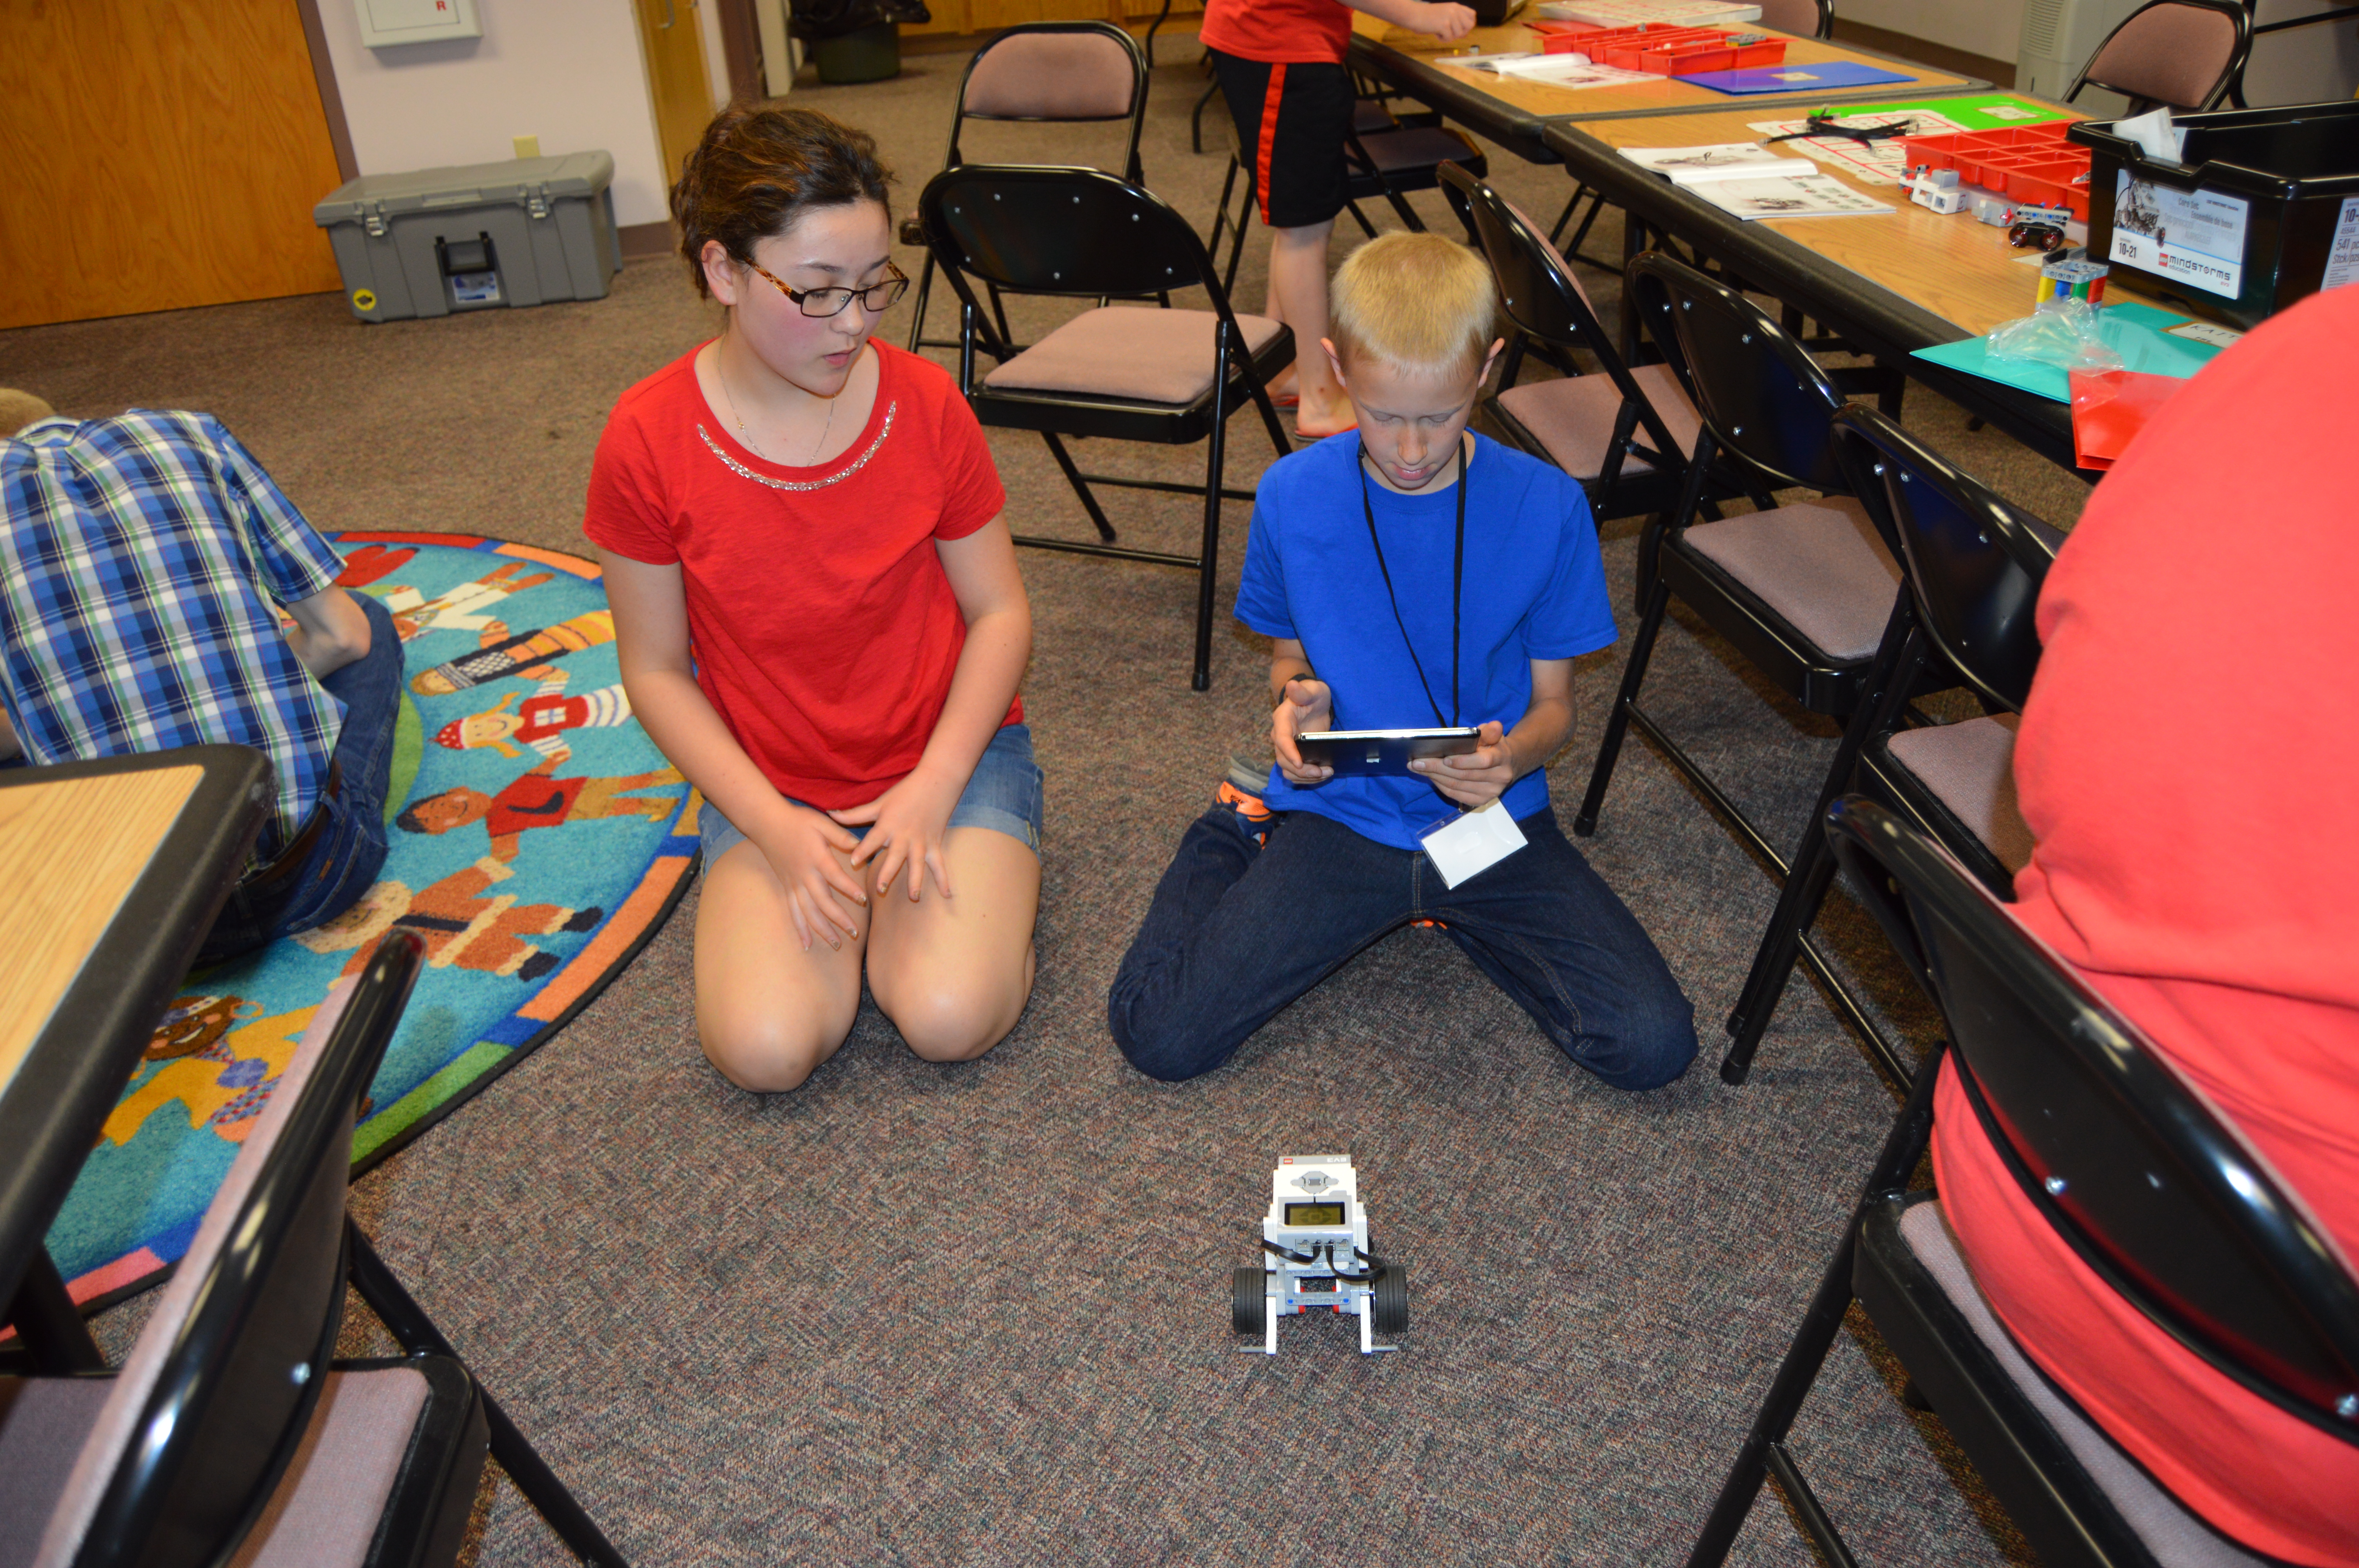
When they were finish they were given a chance to drive the robot around using a Bluetooth connected tablet. Students were also given a quick demonstration on how to code the robot, directly from the programming brick.
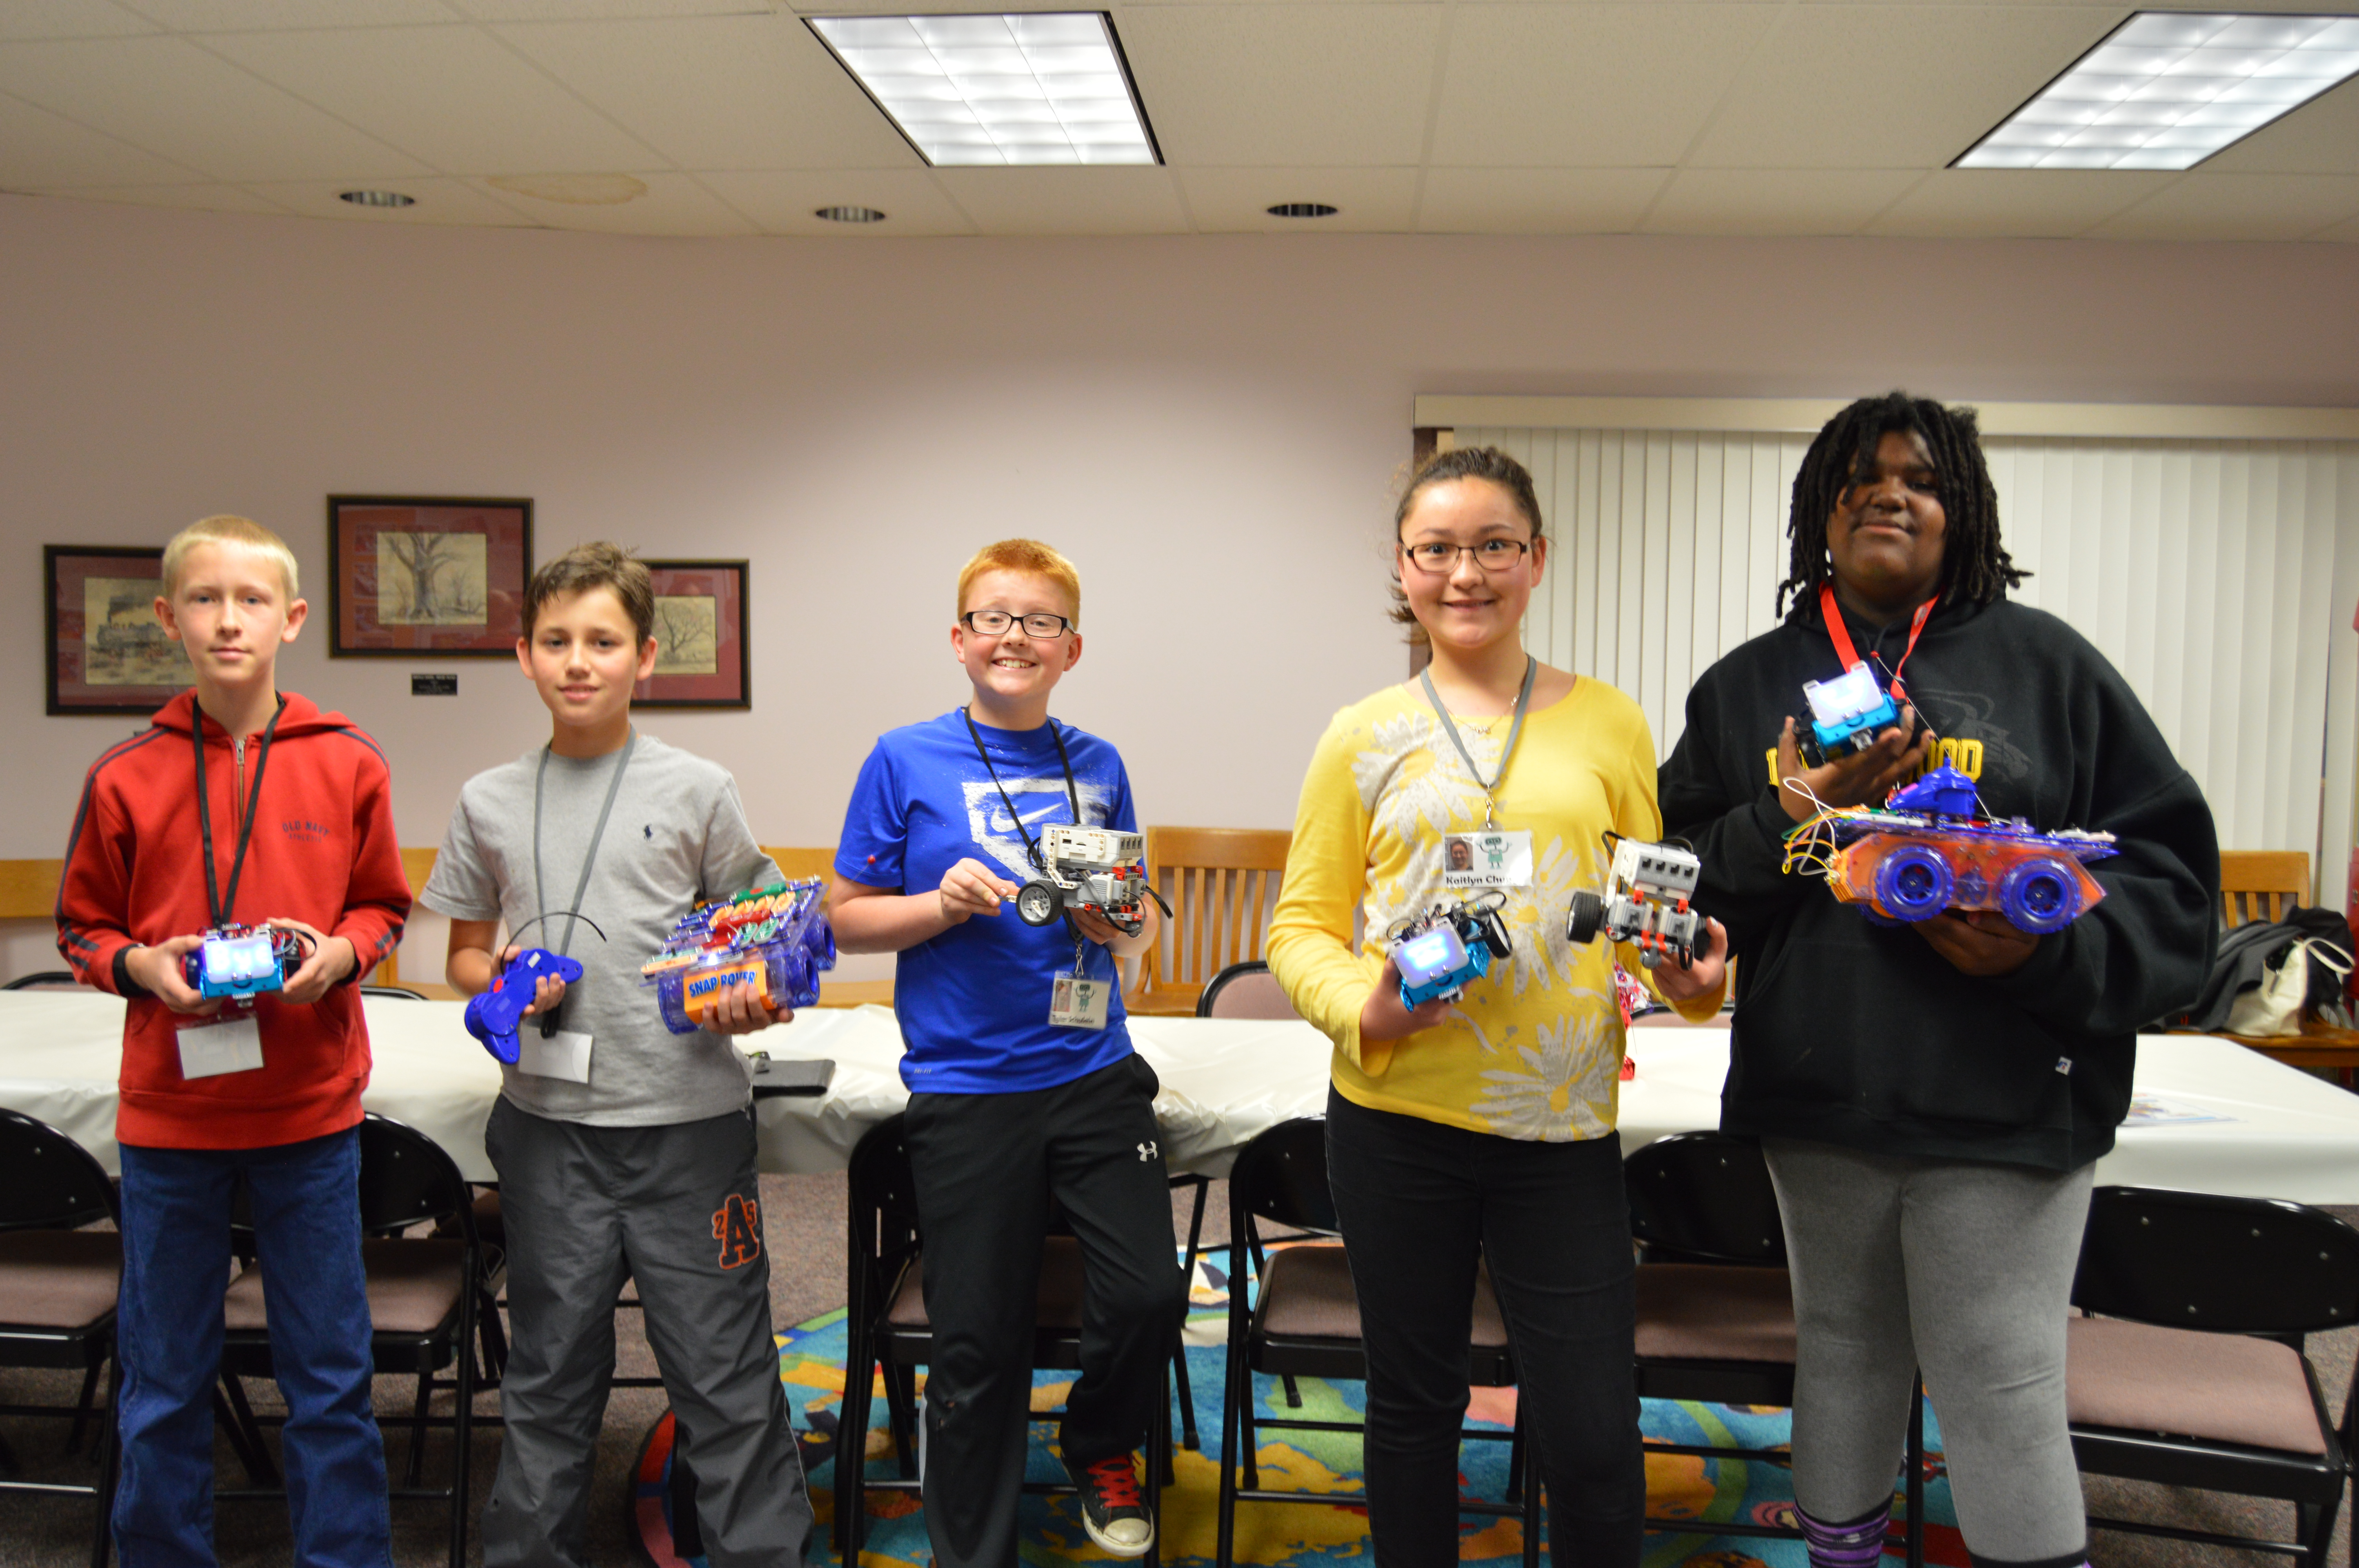
Session 6: May 17, 2016
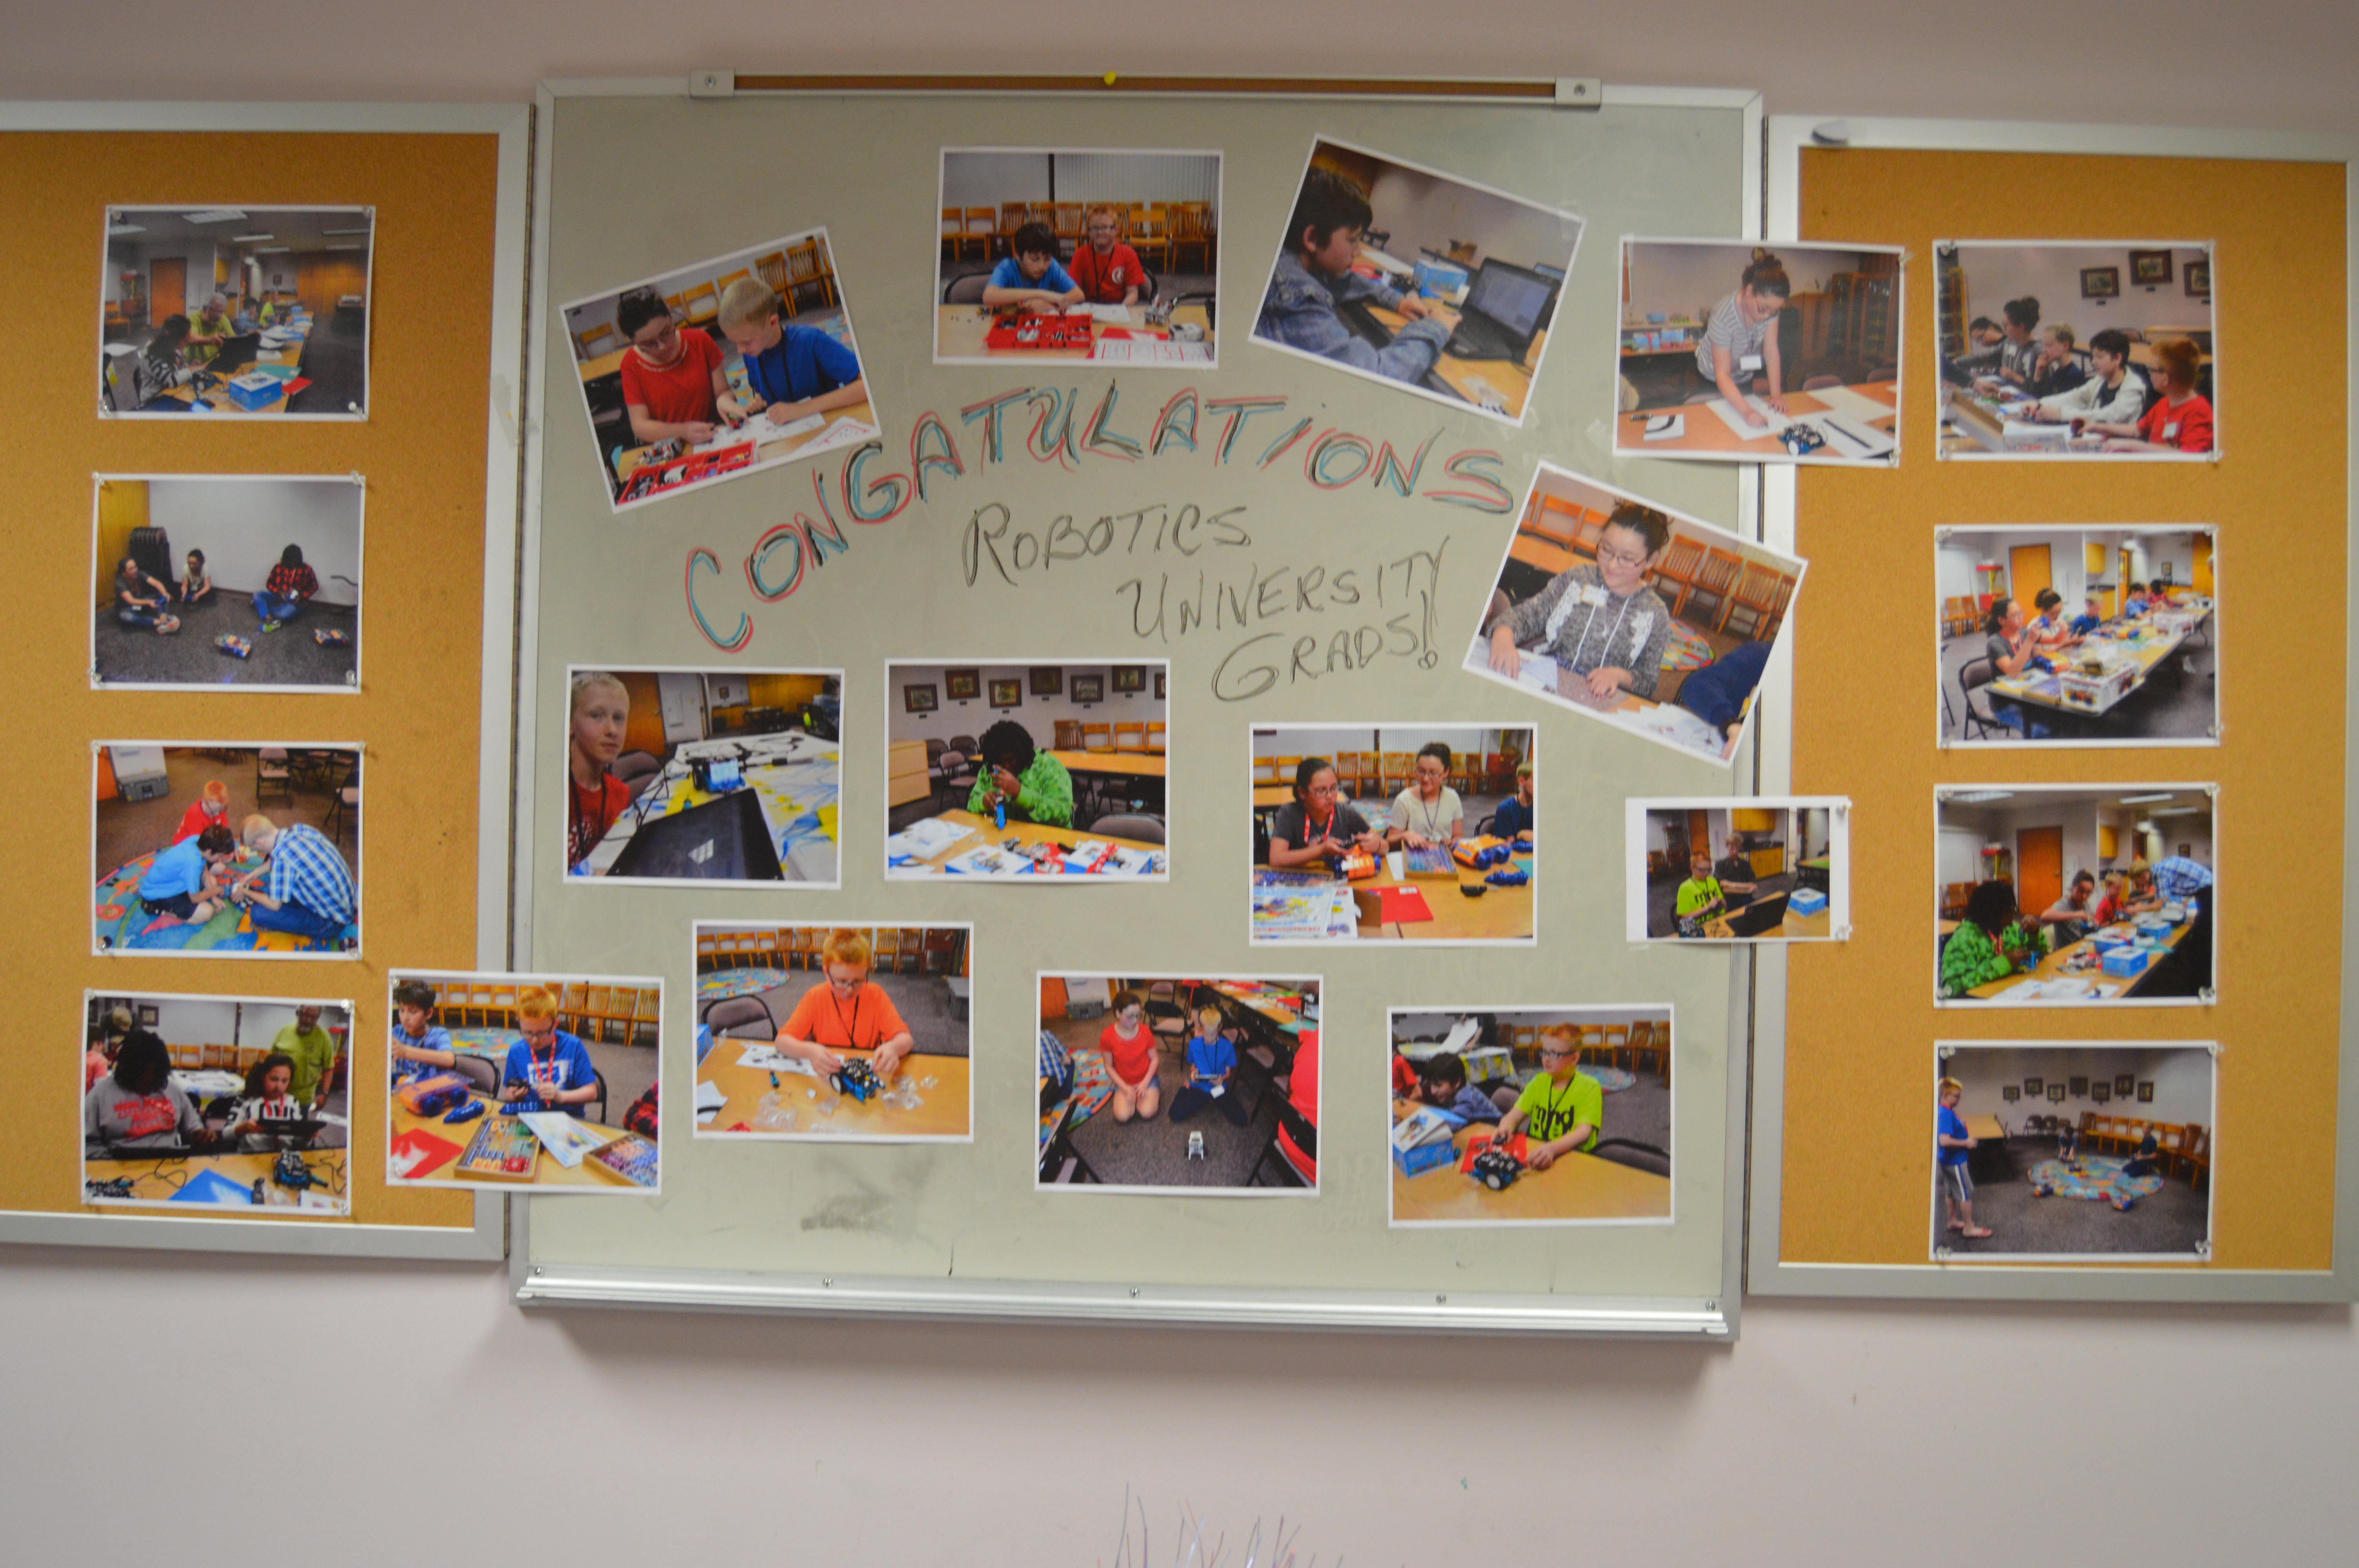
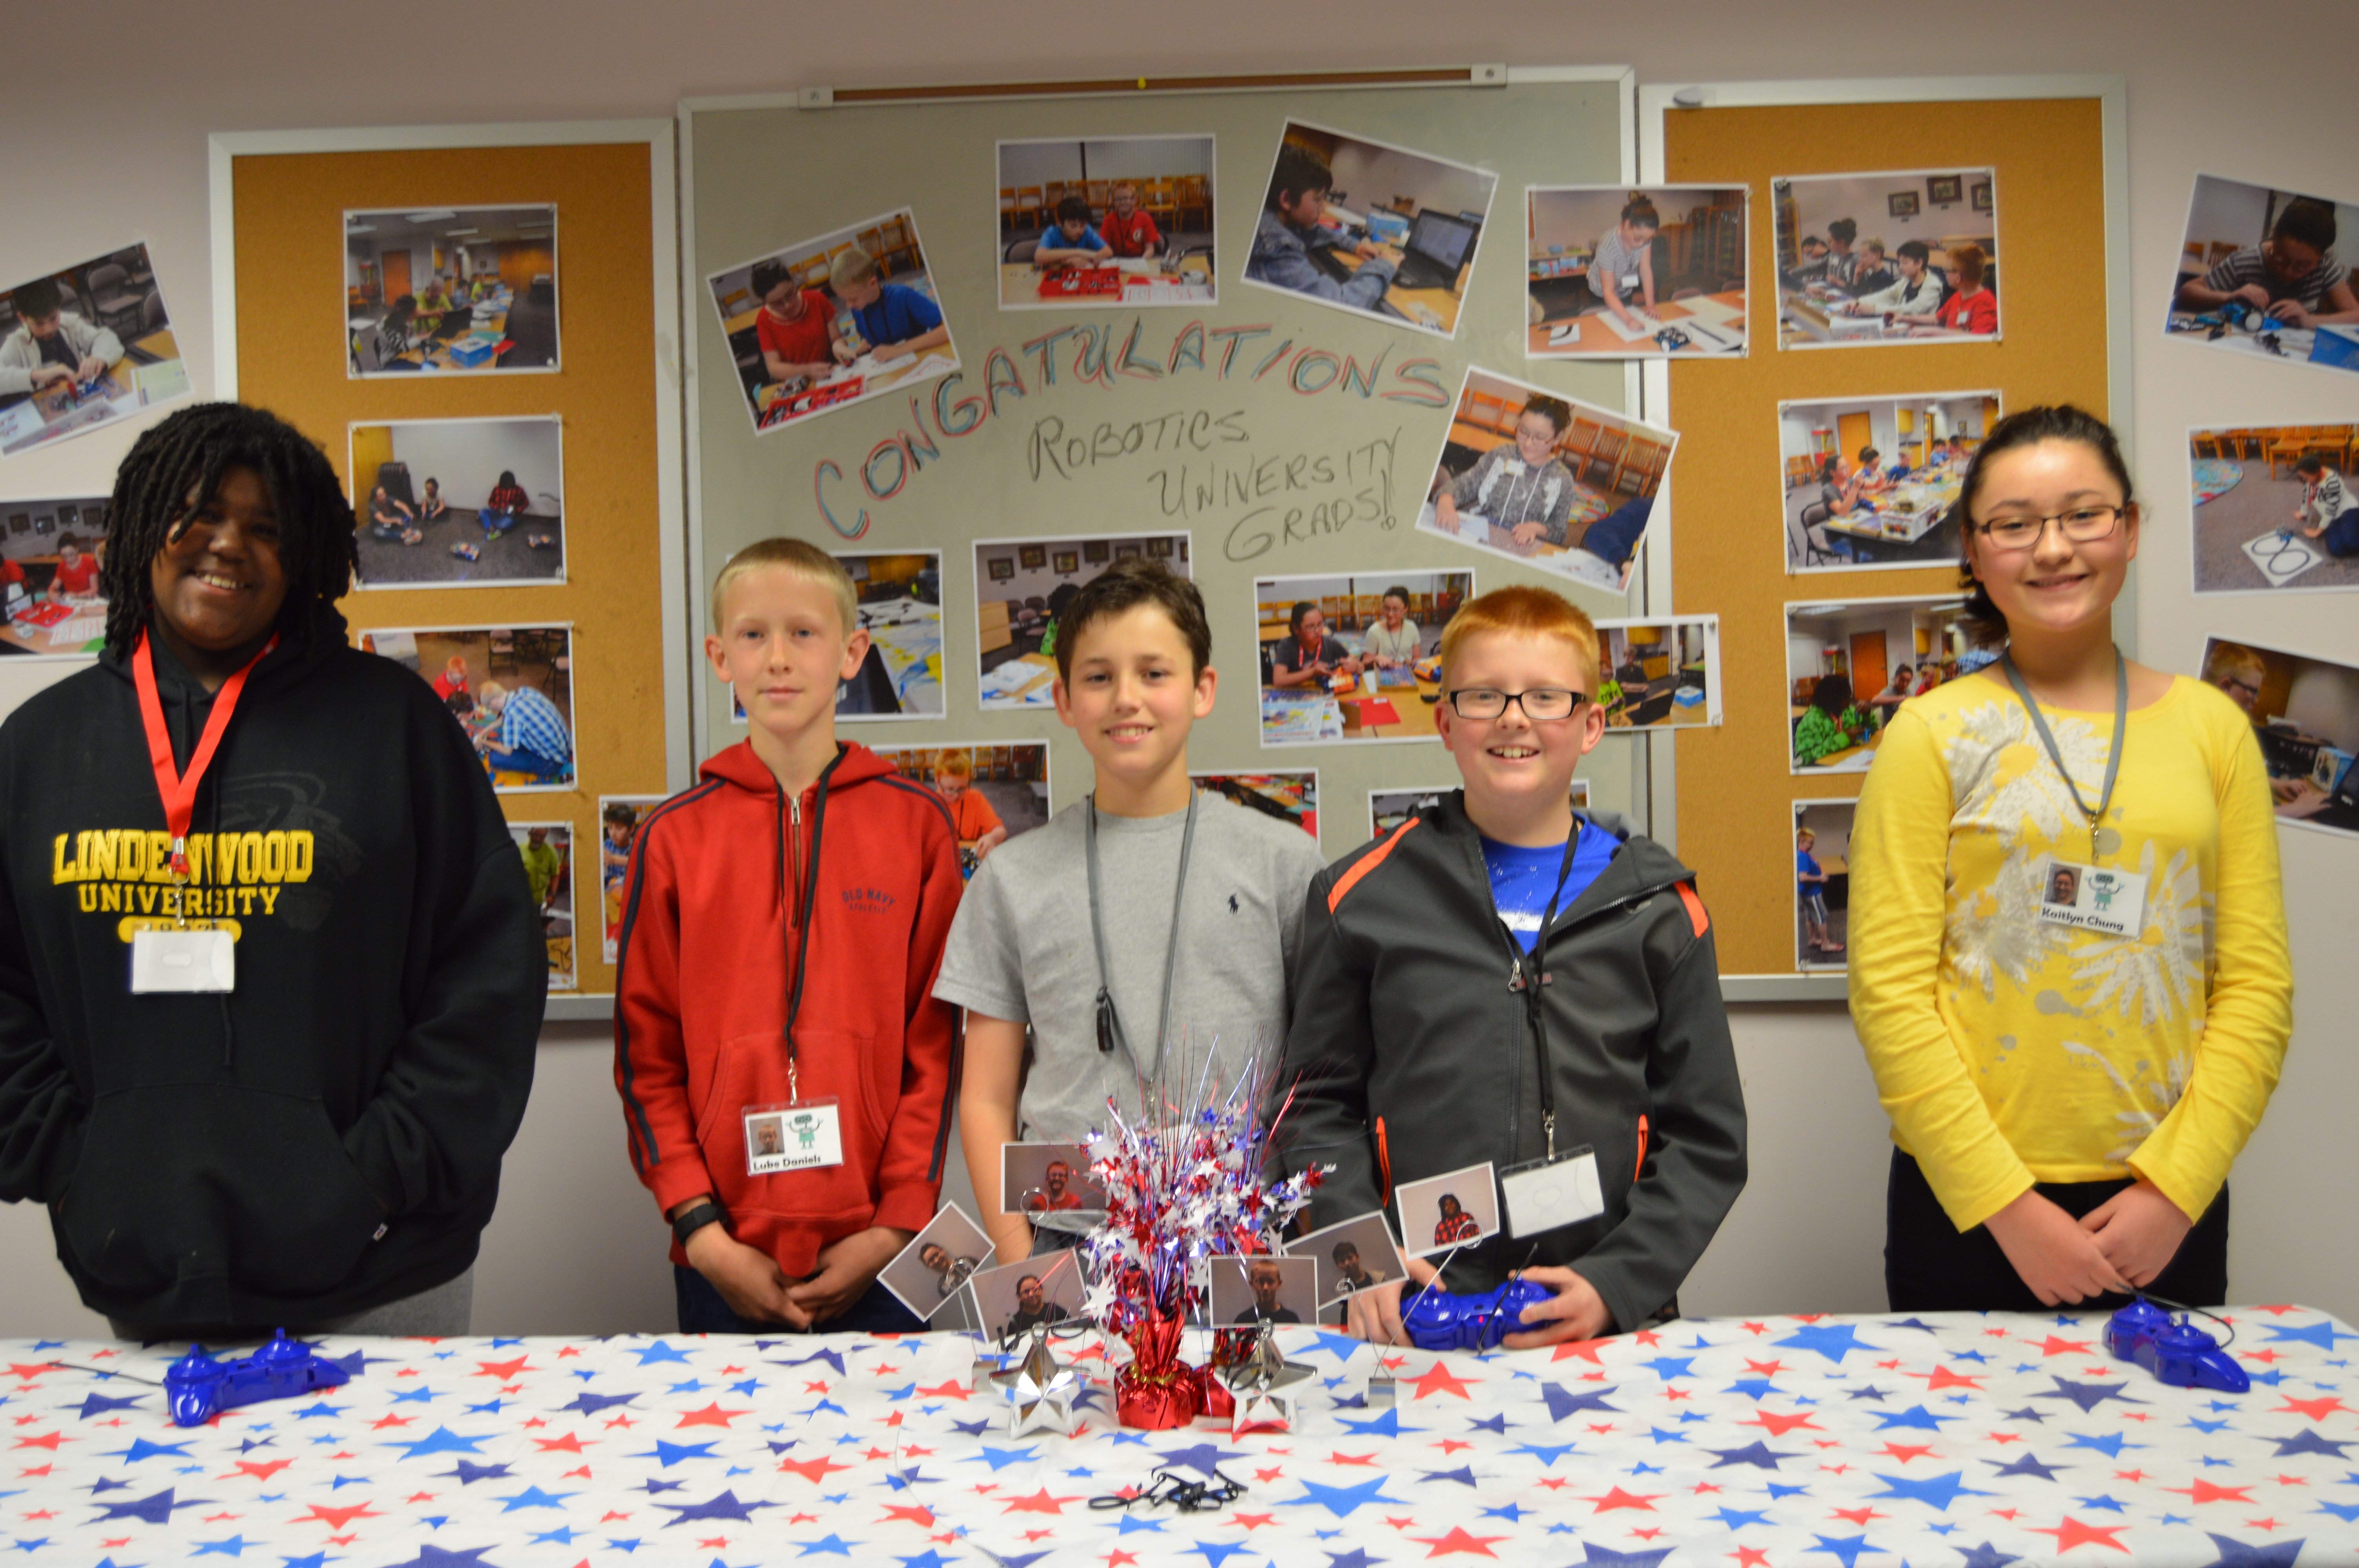
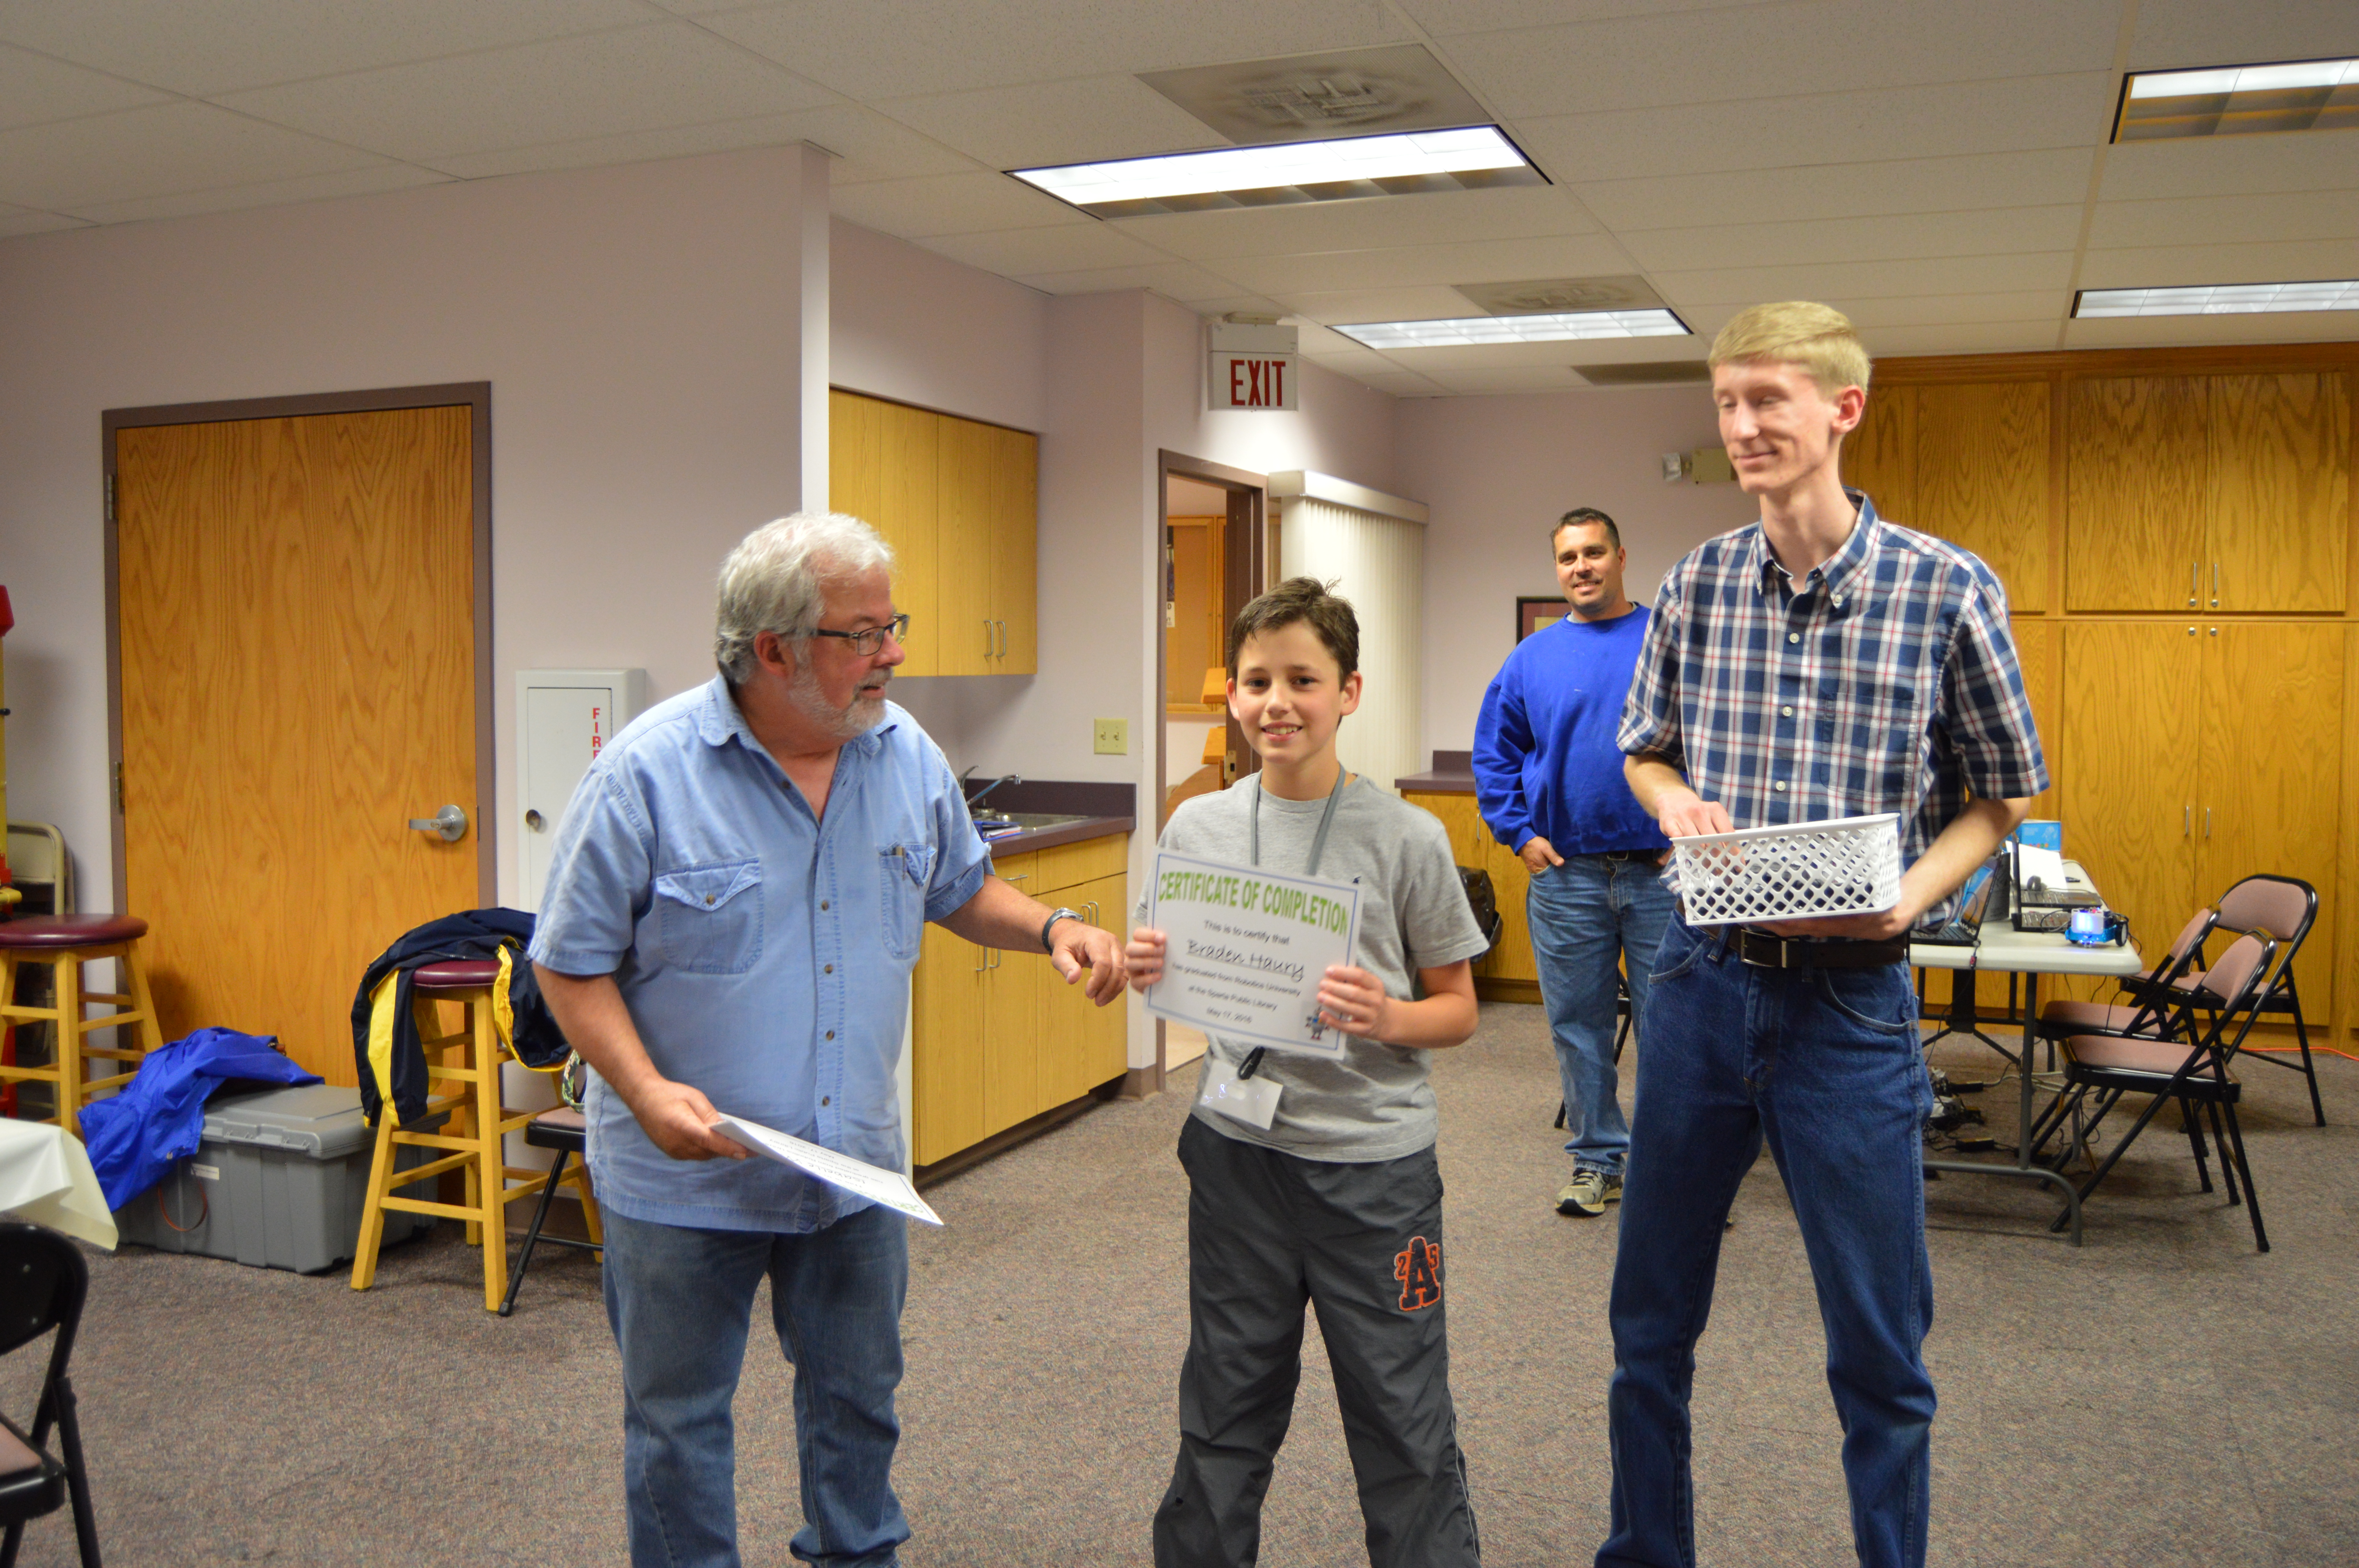
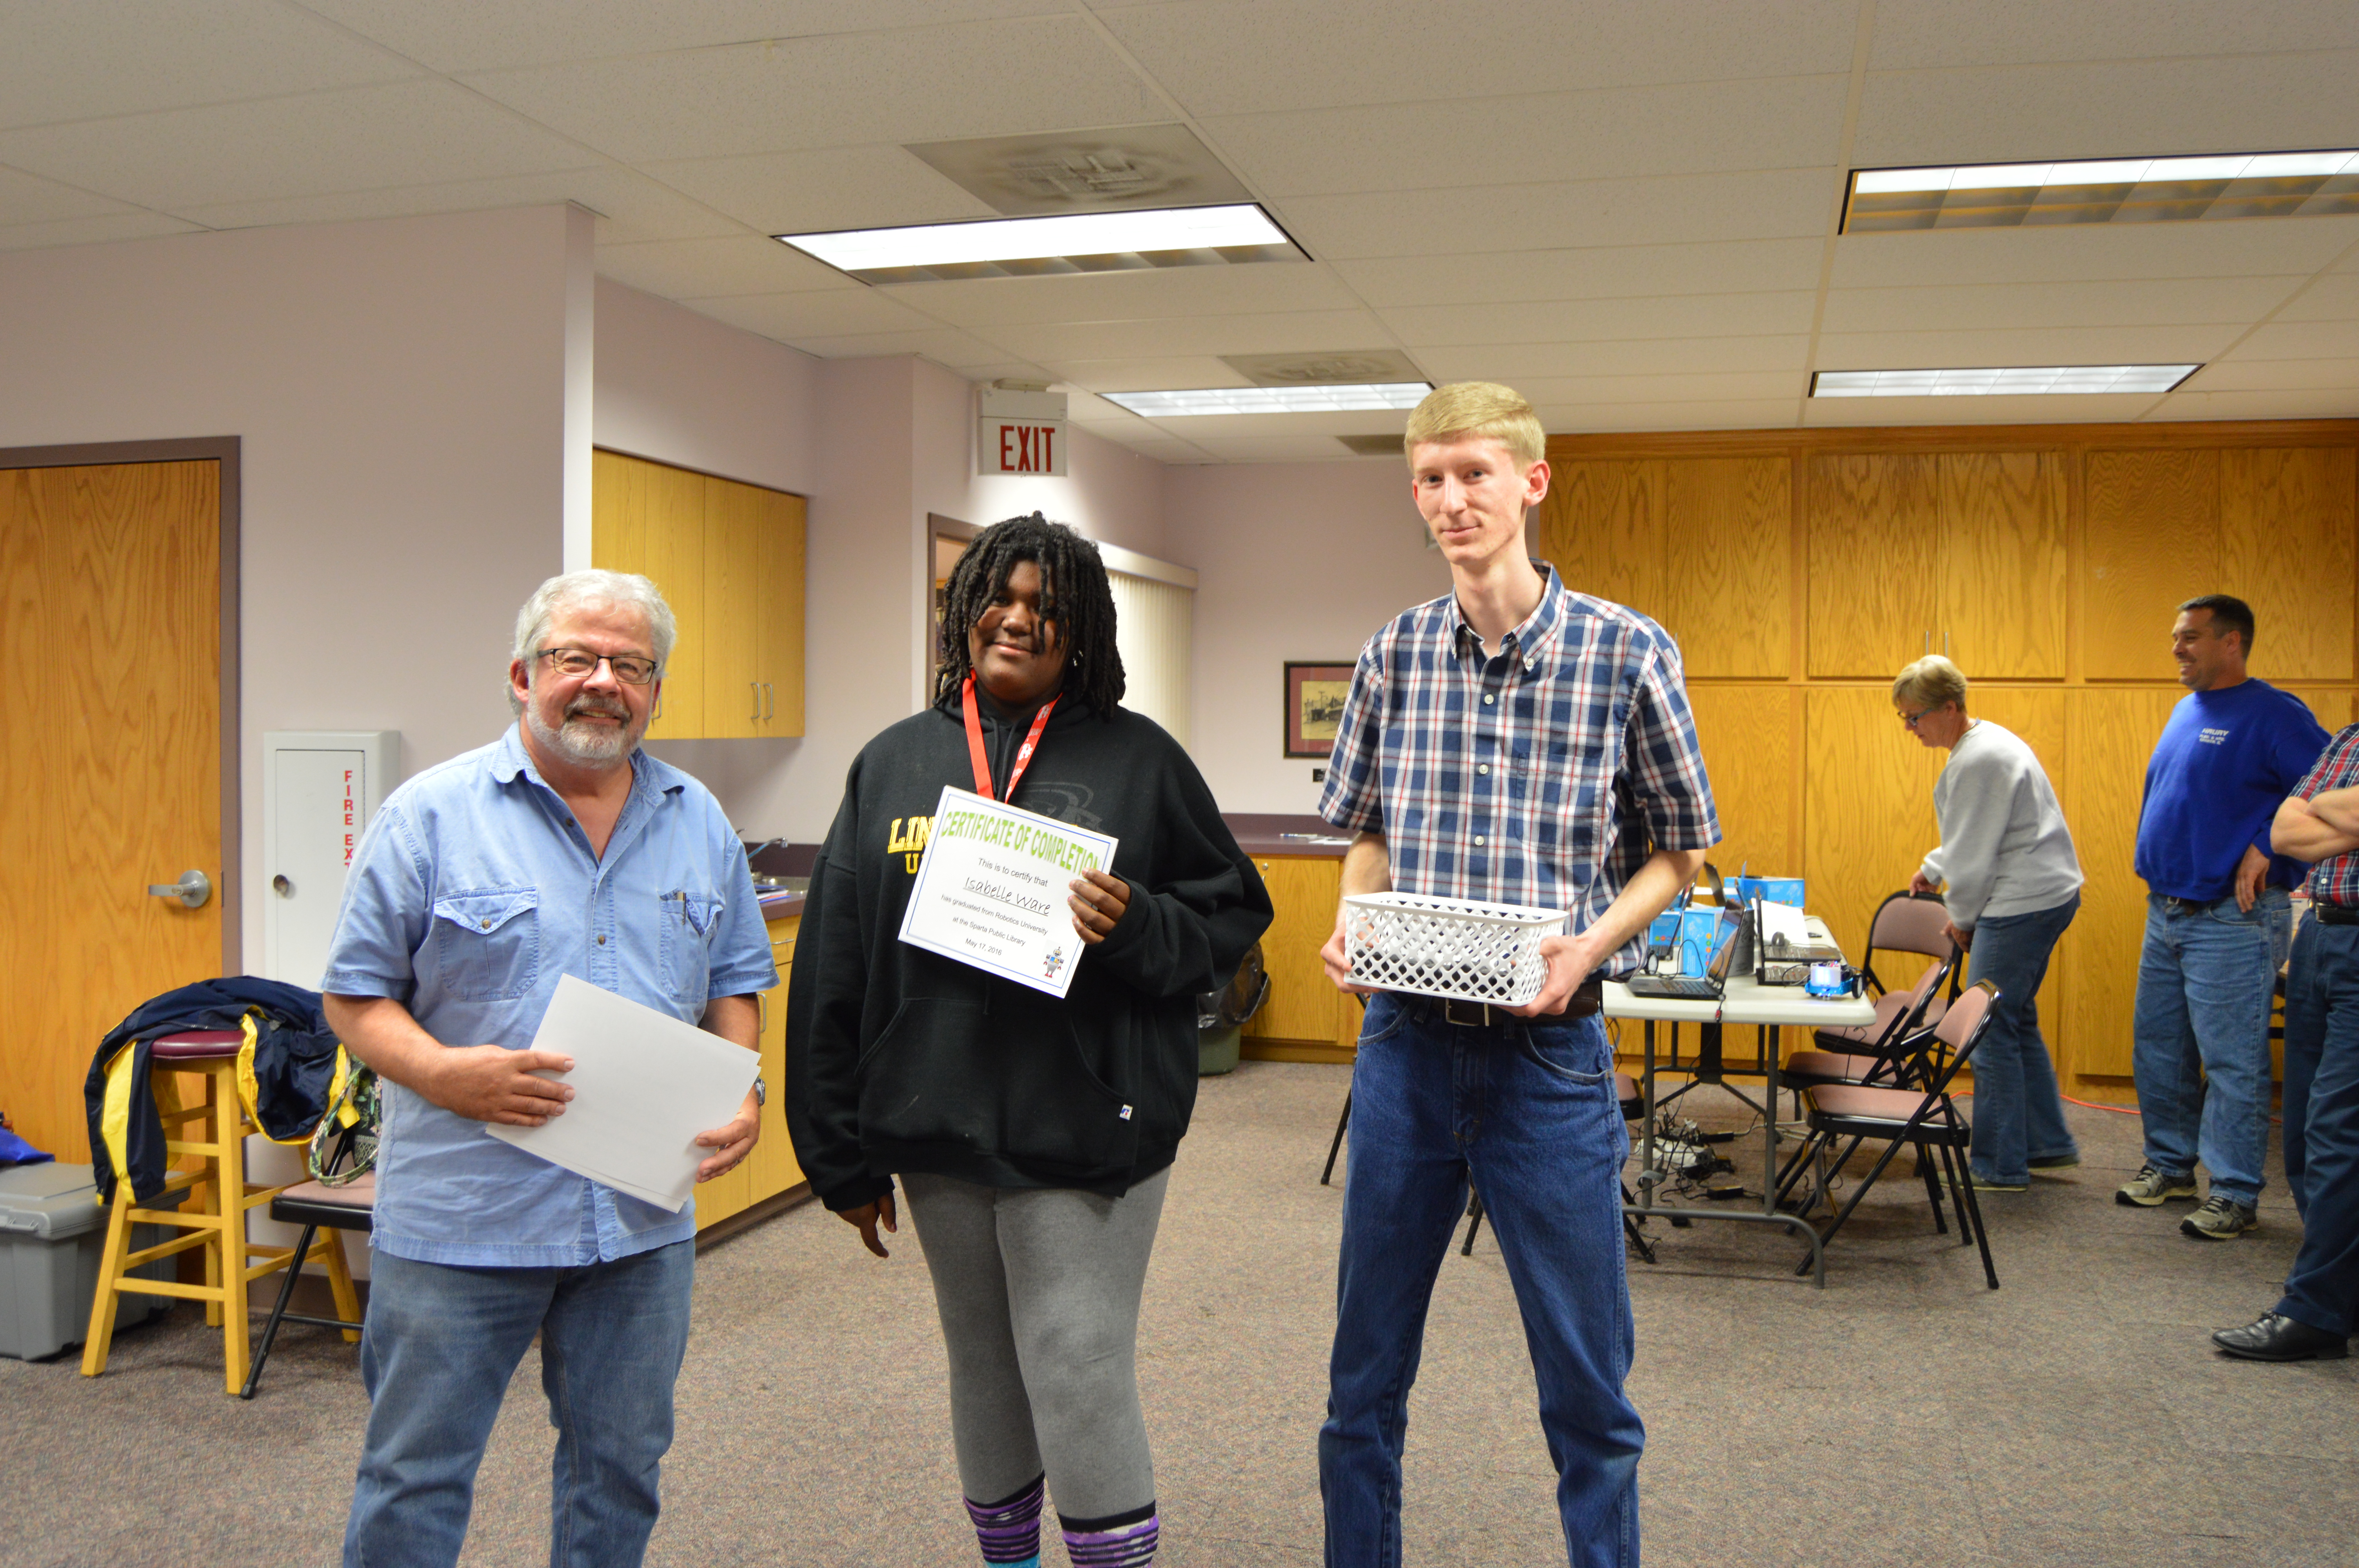
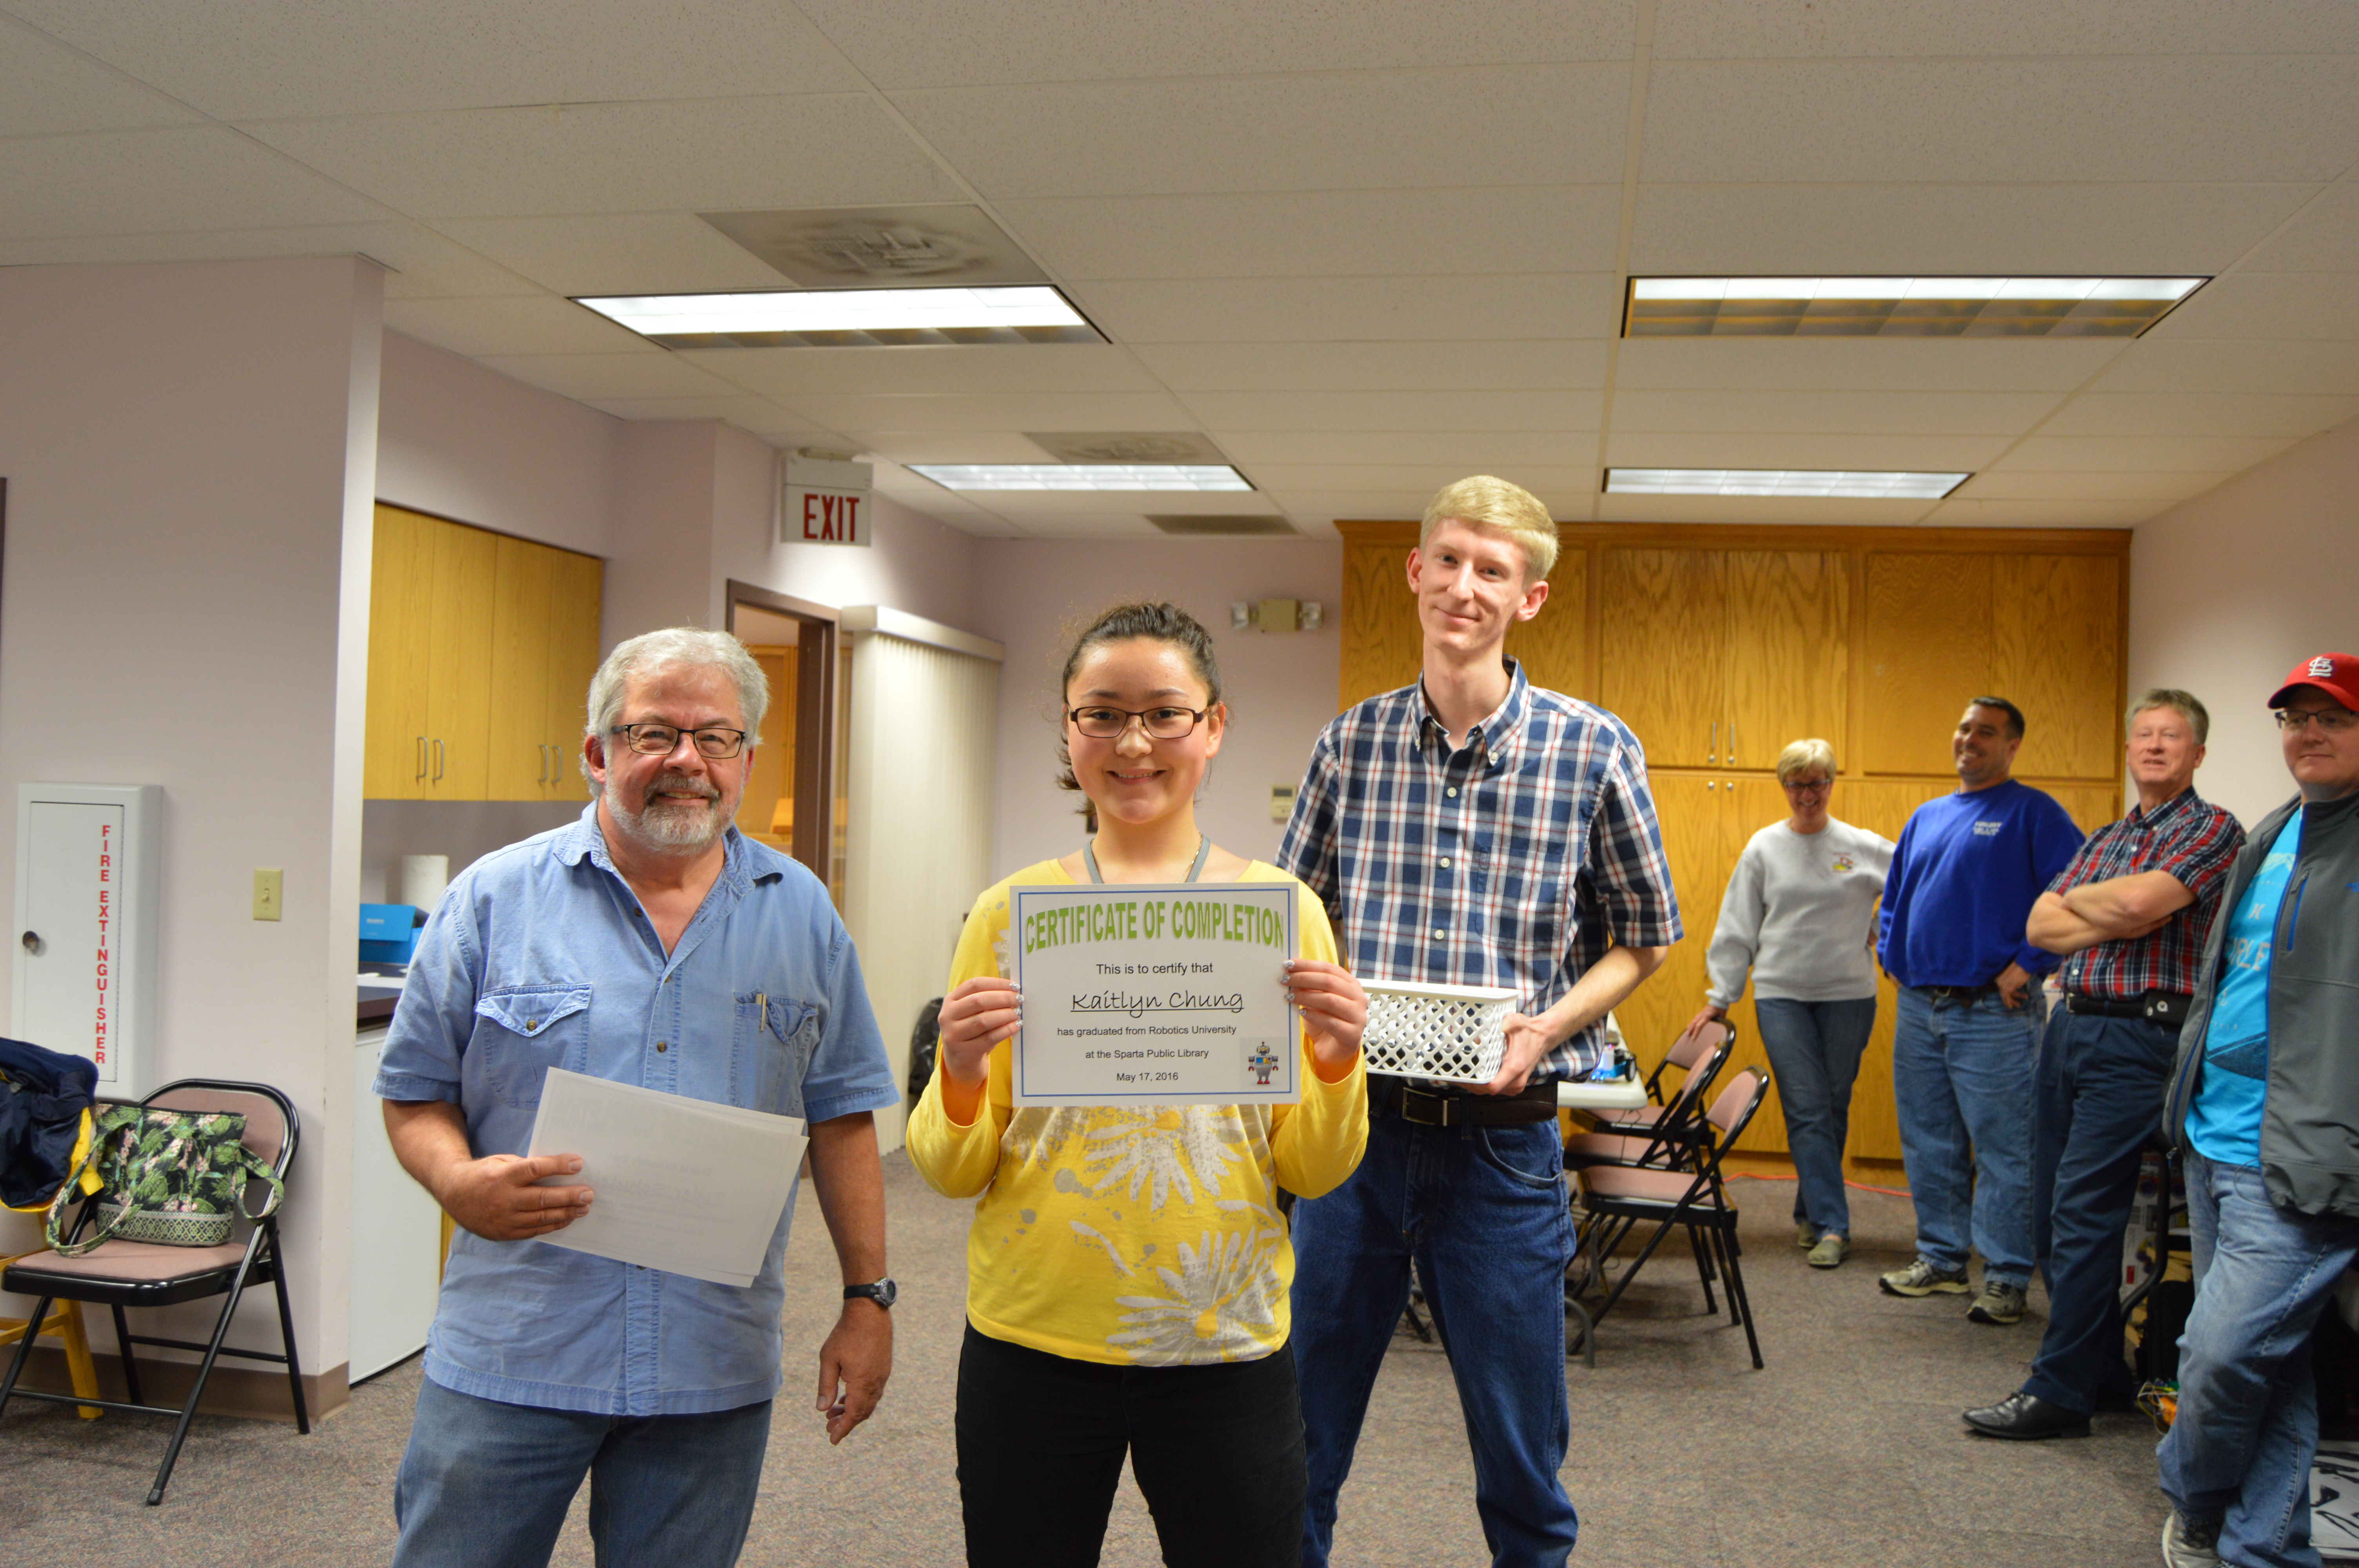
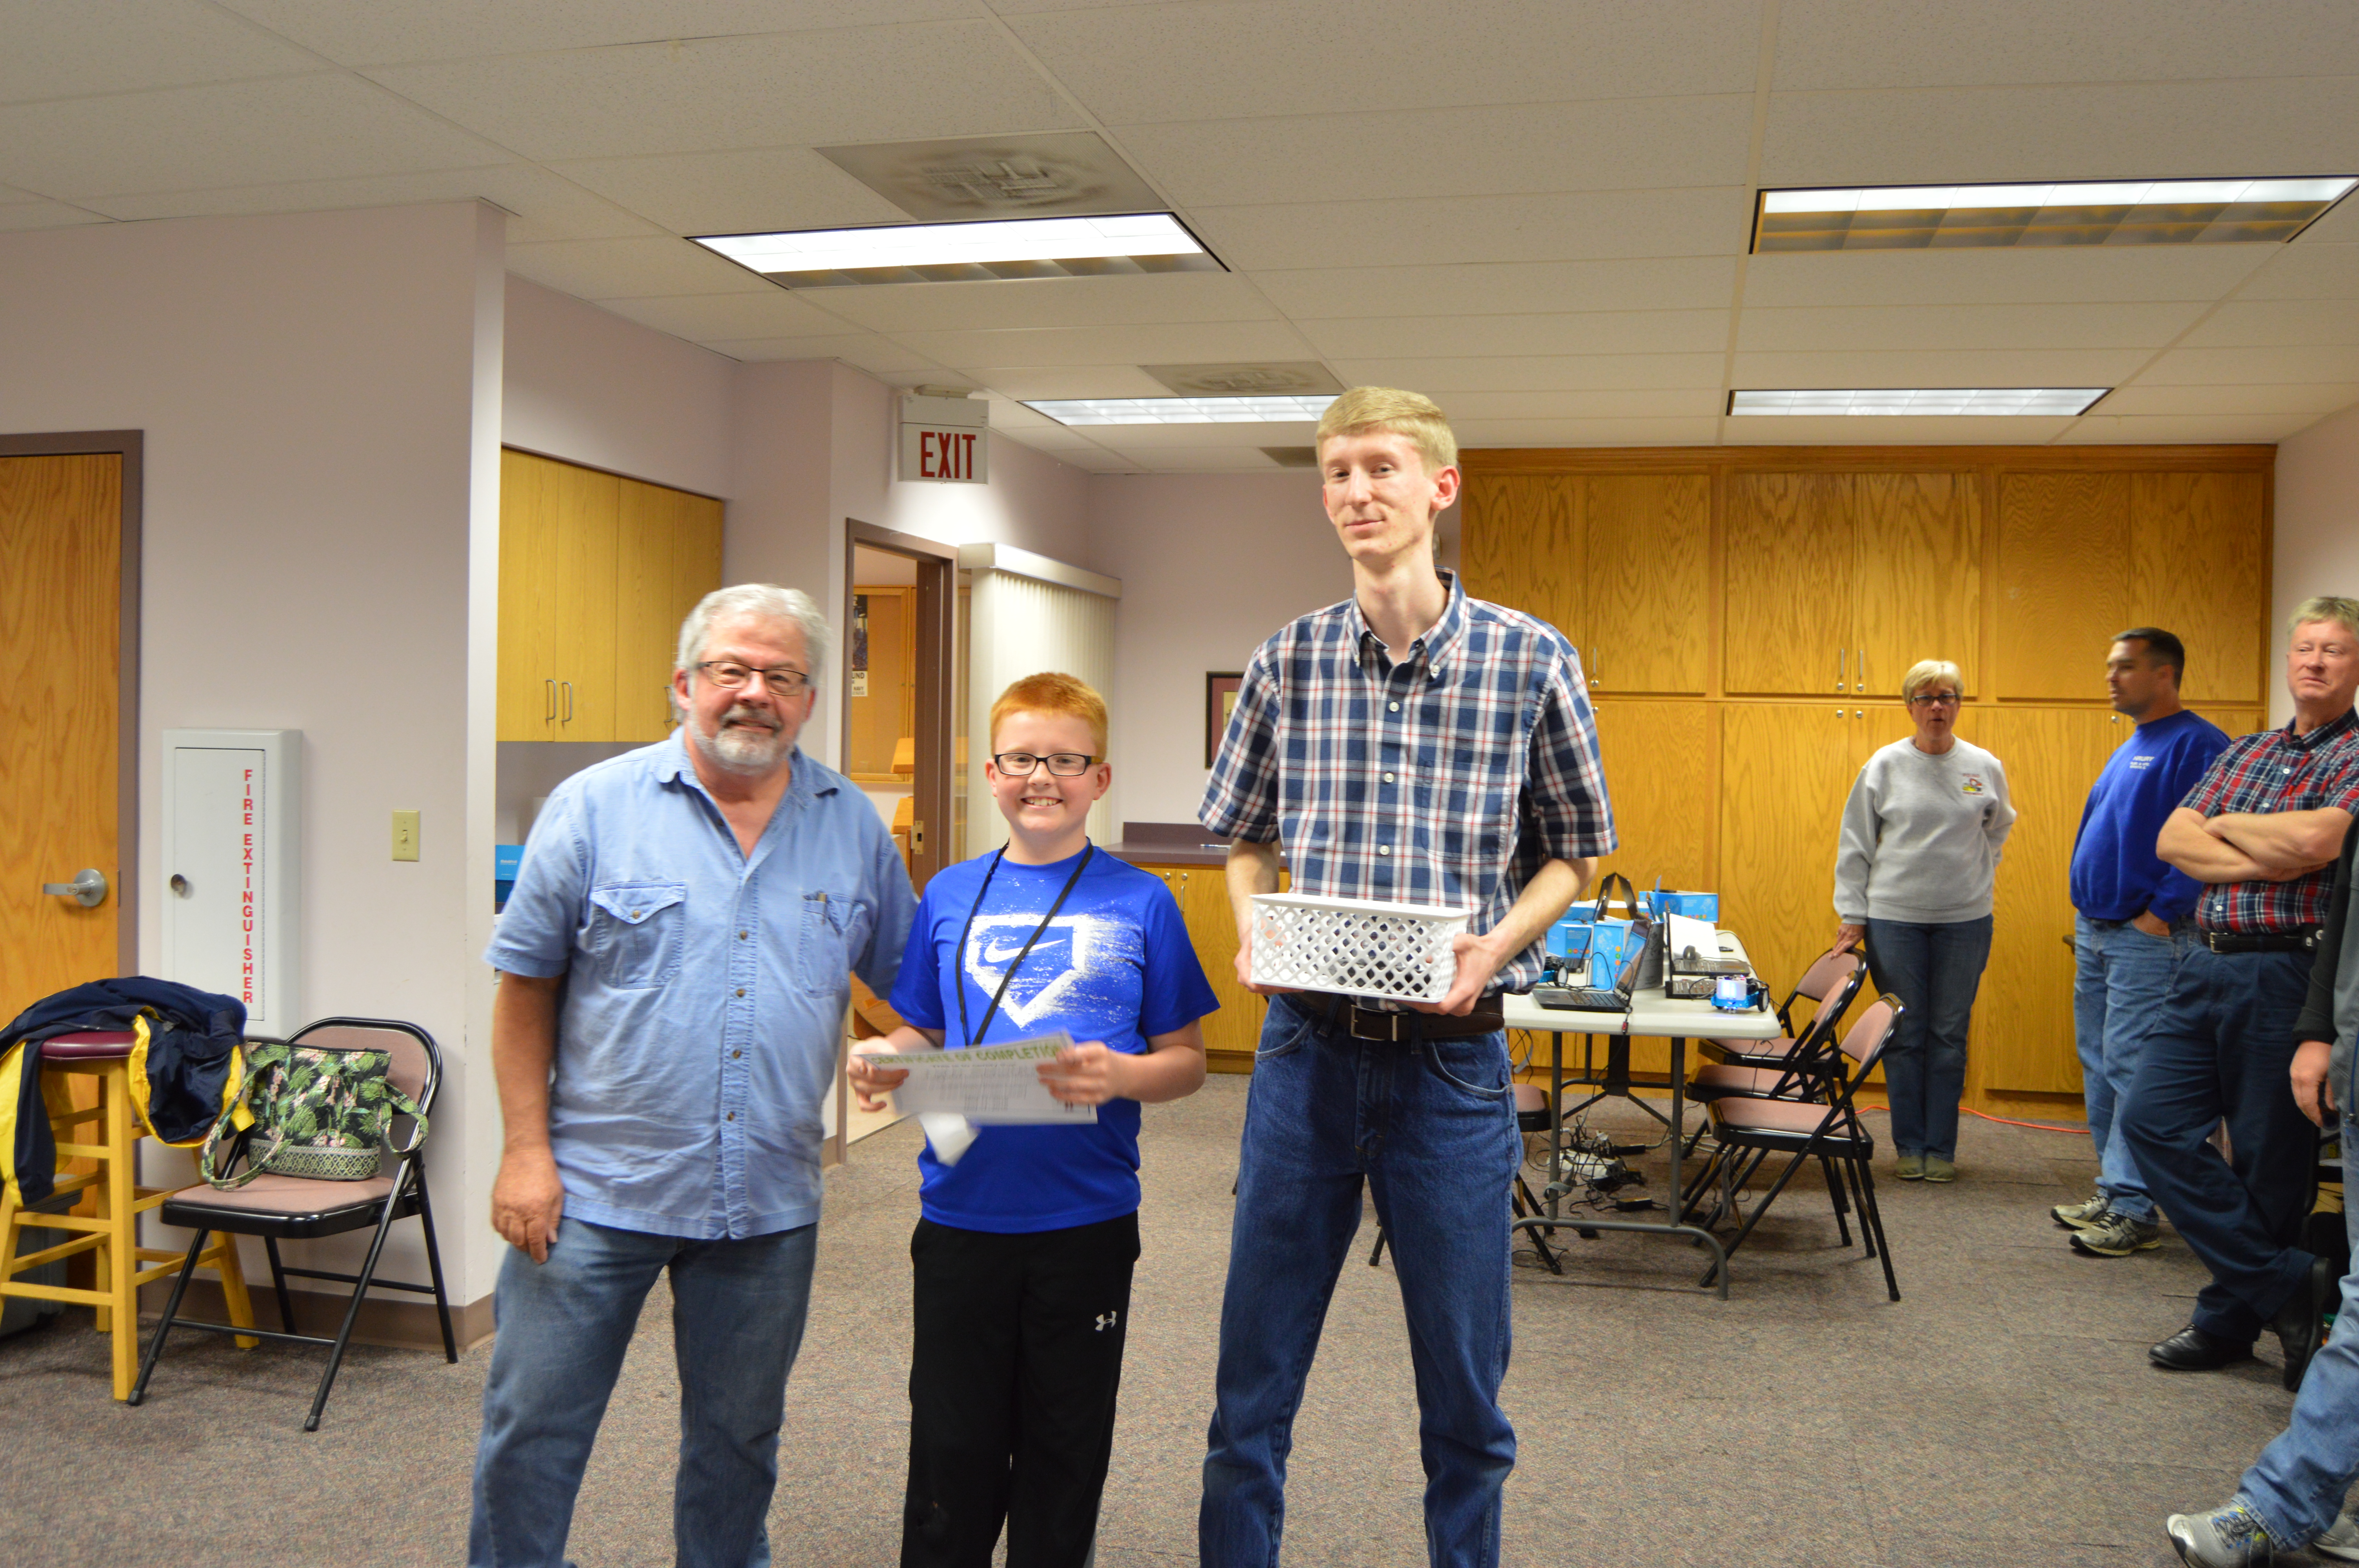
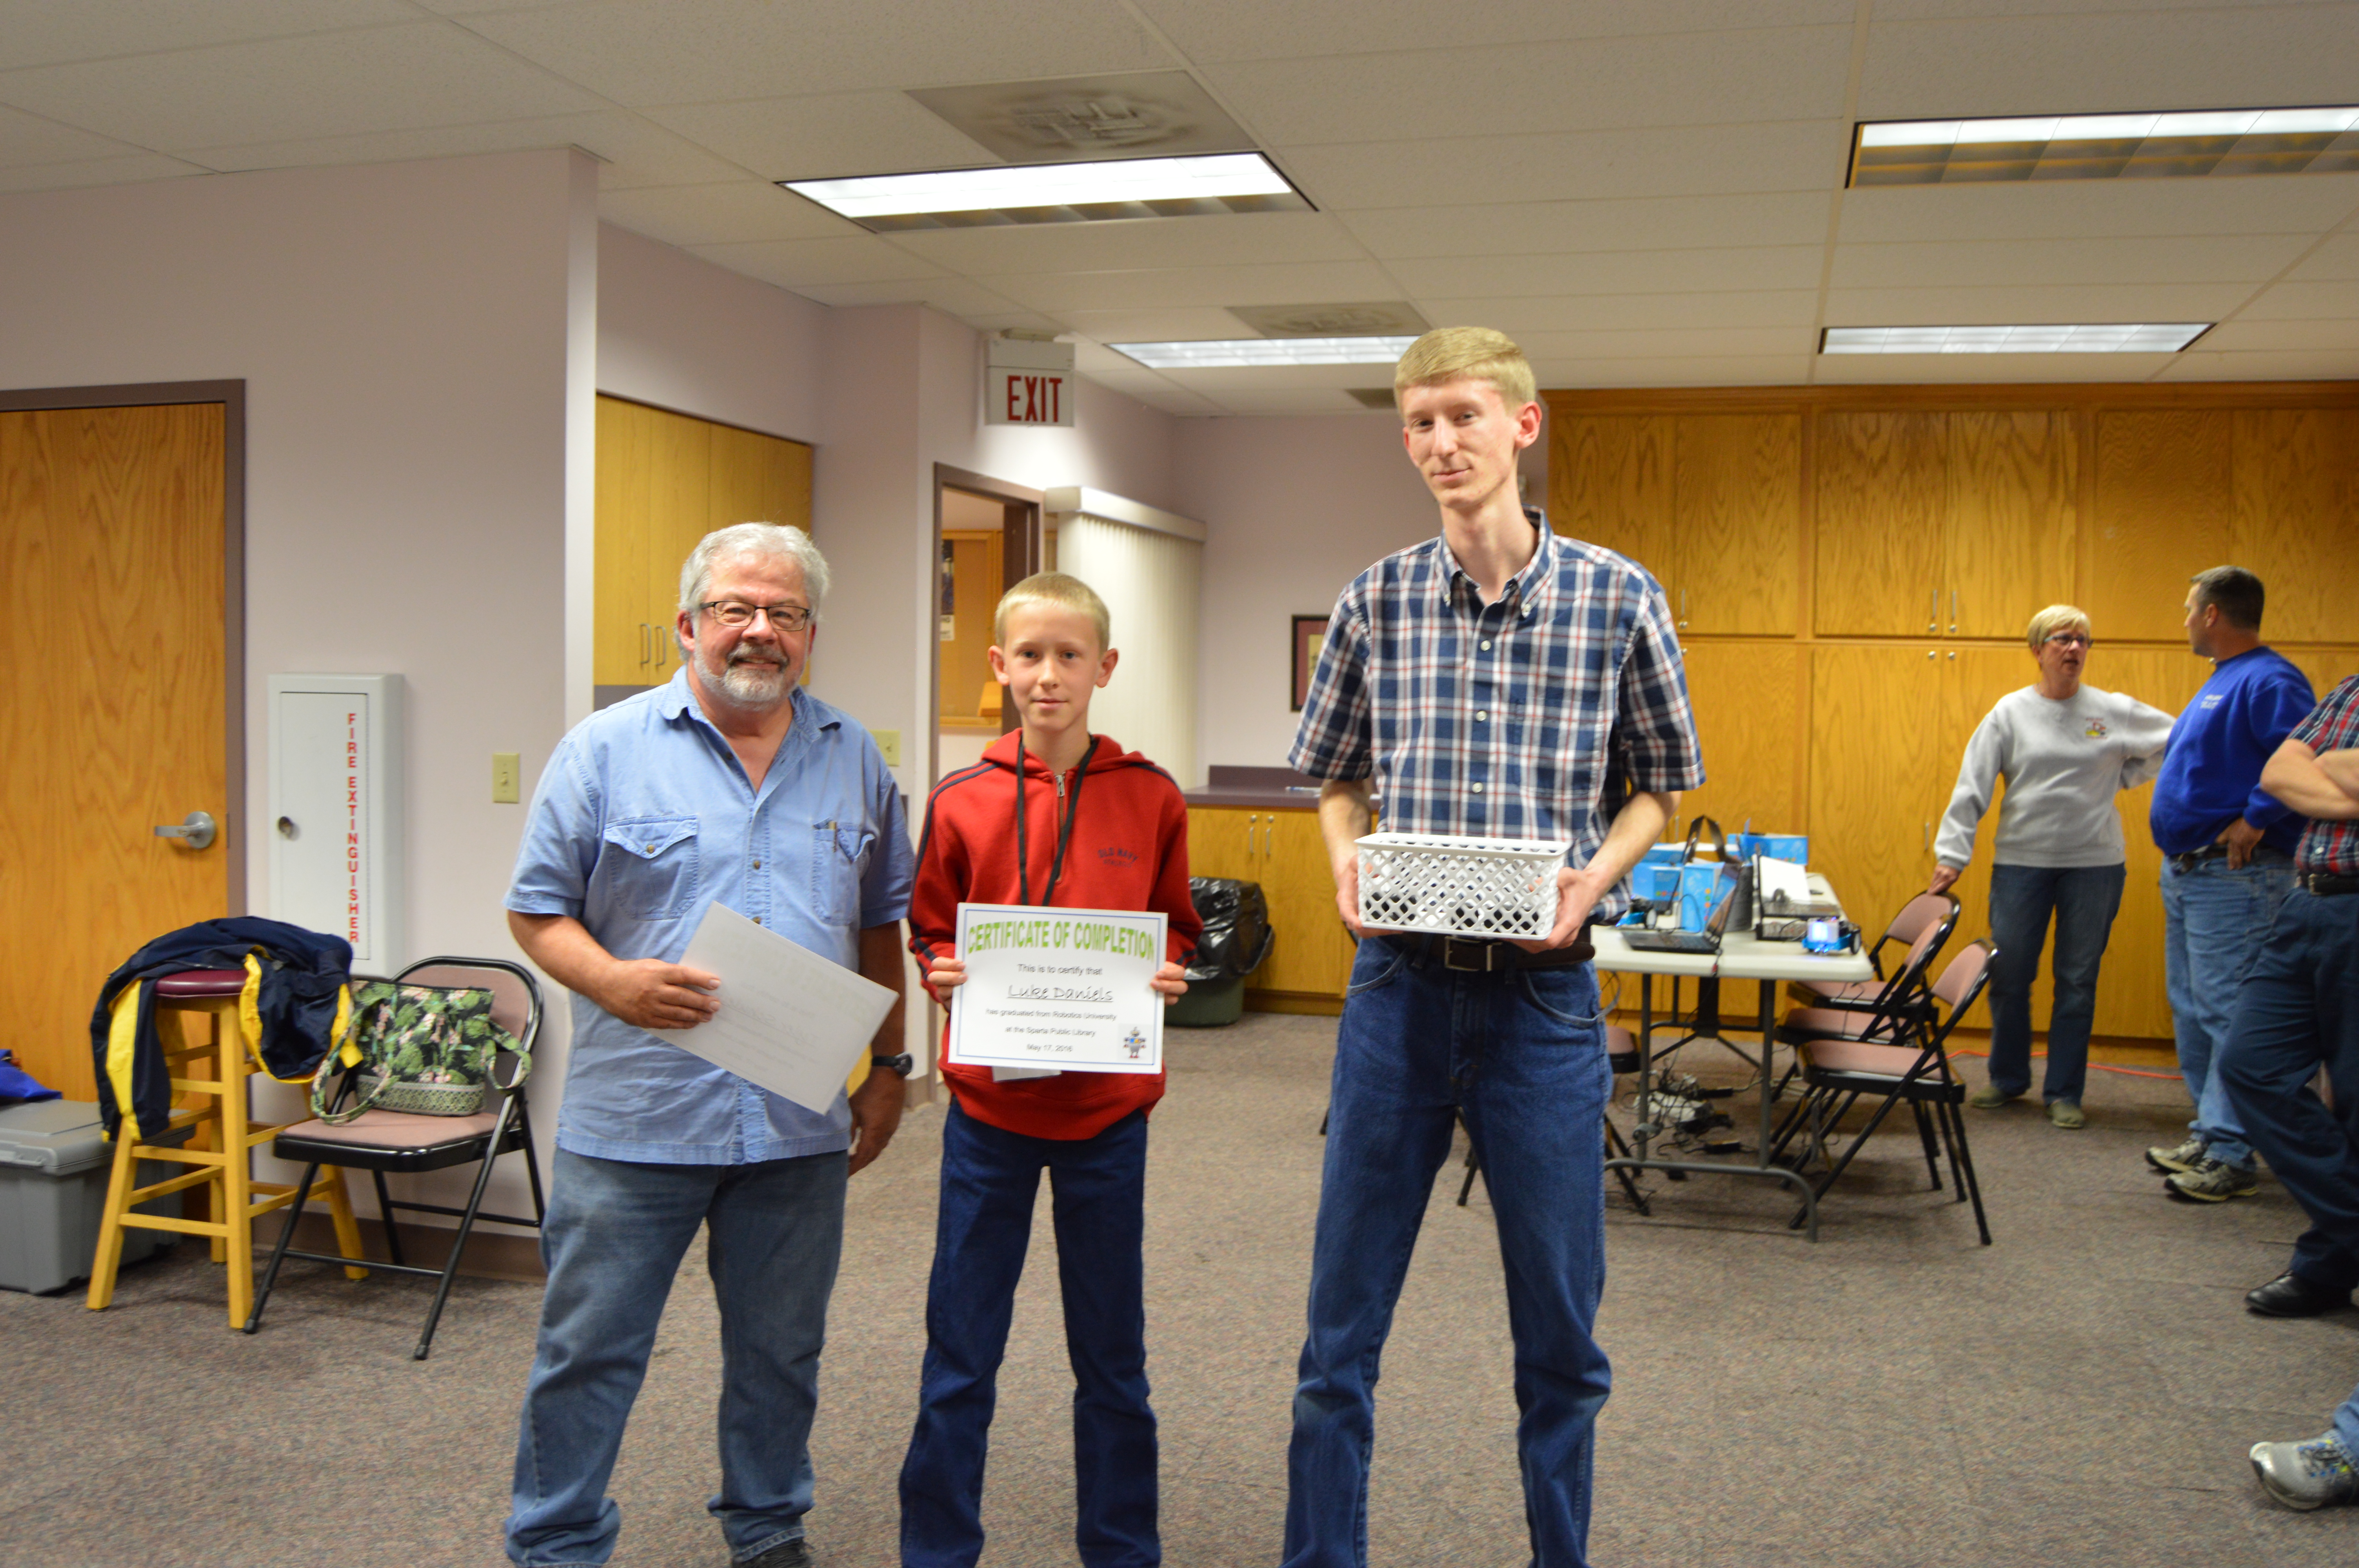
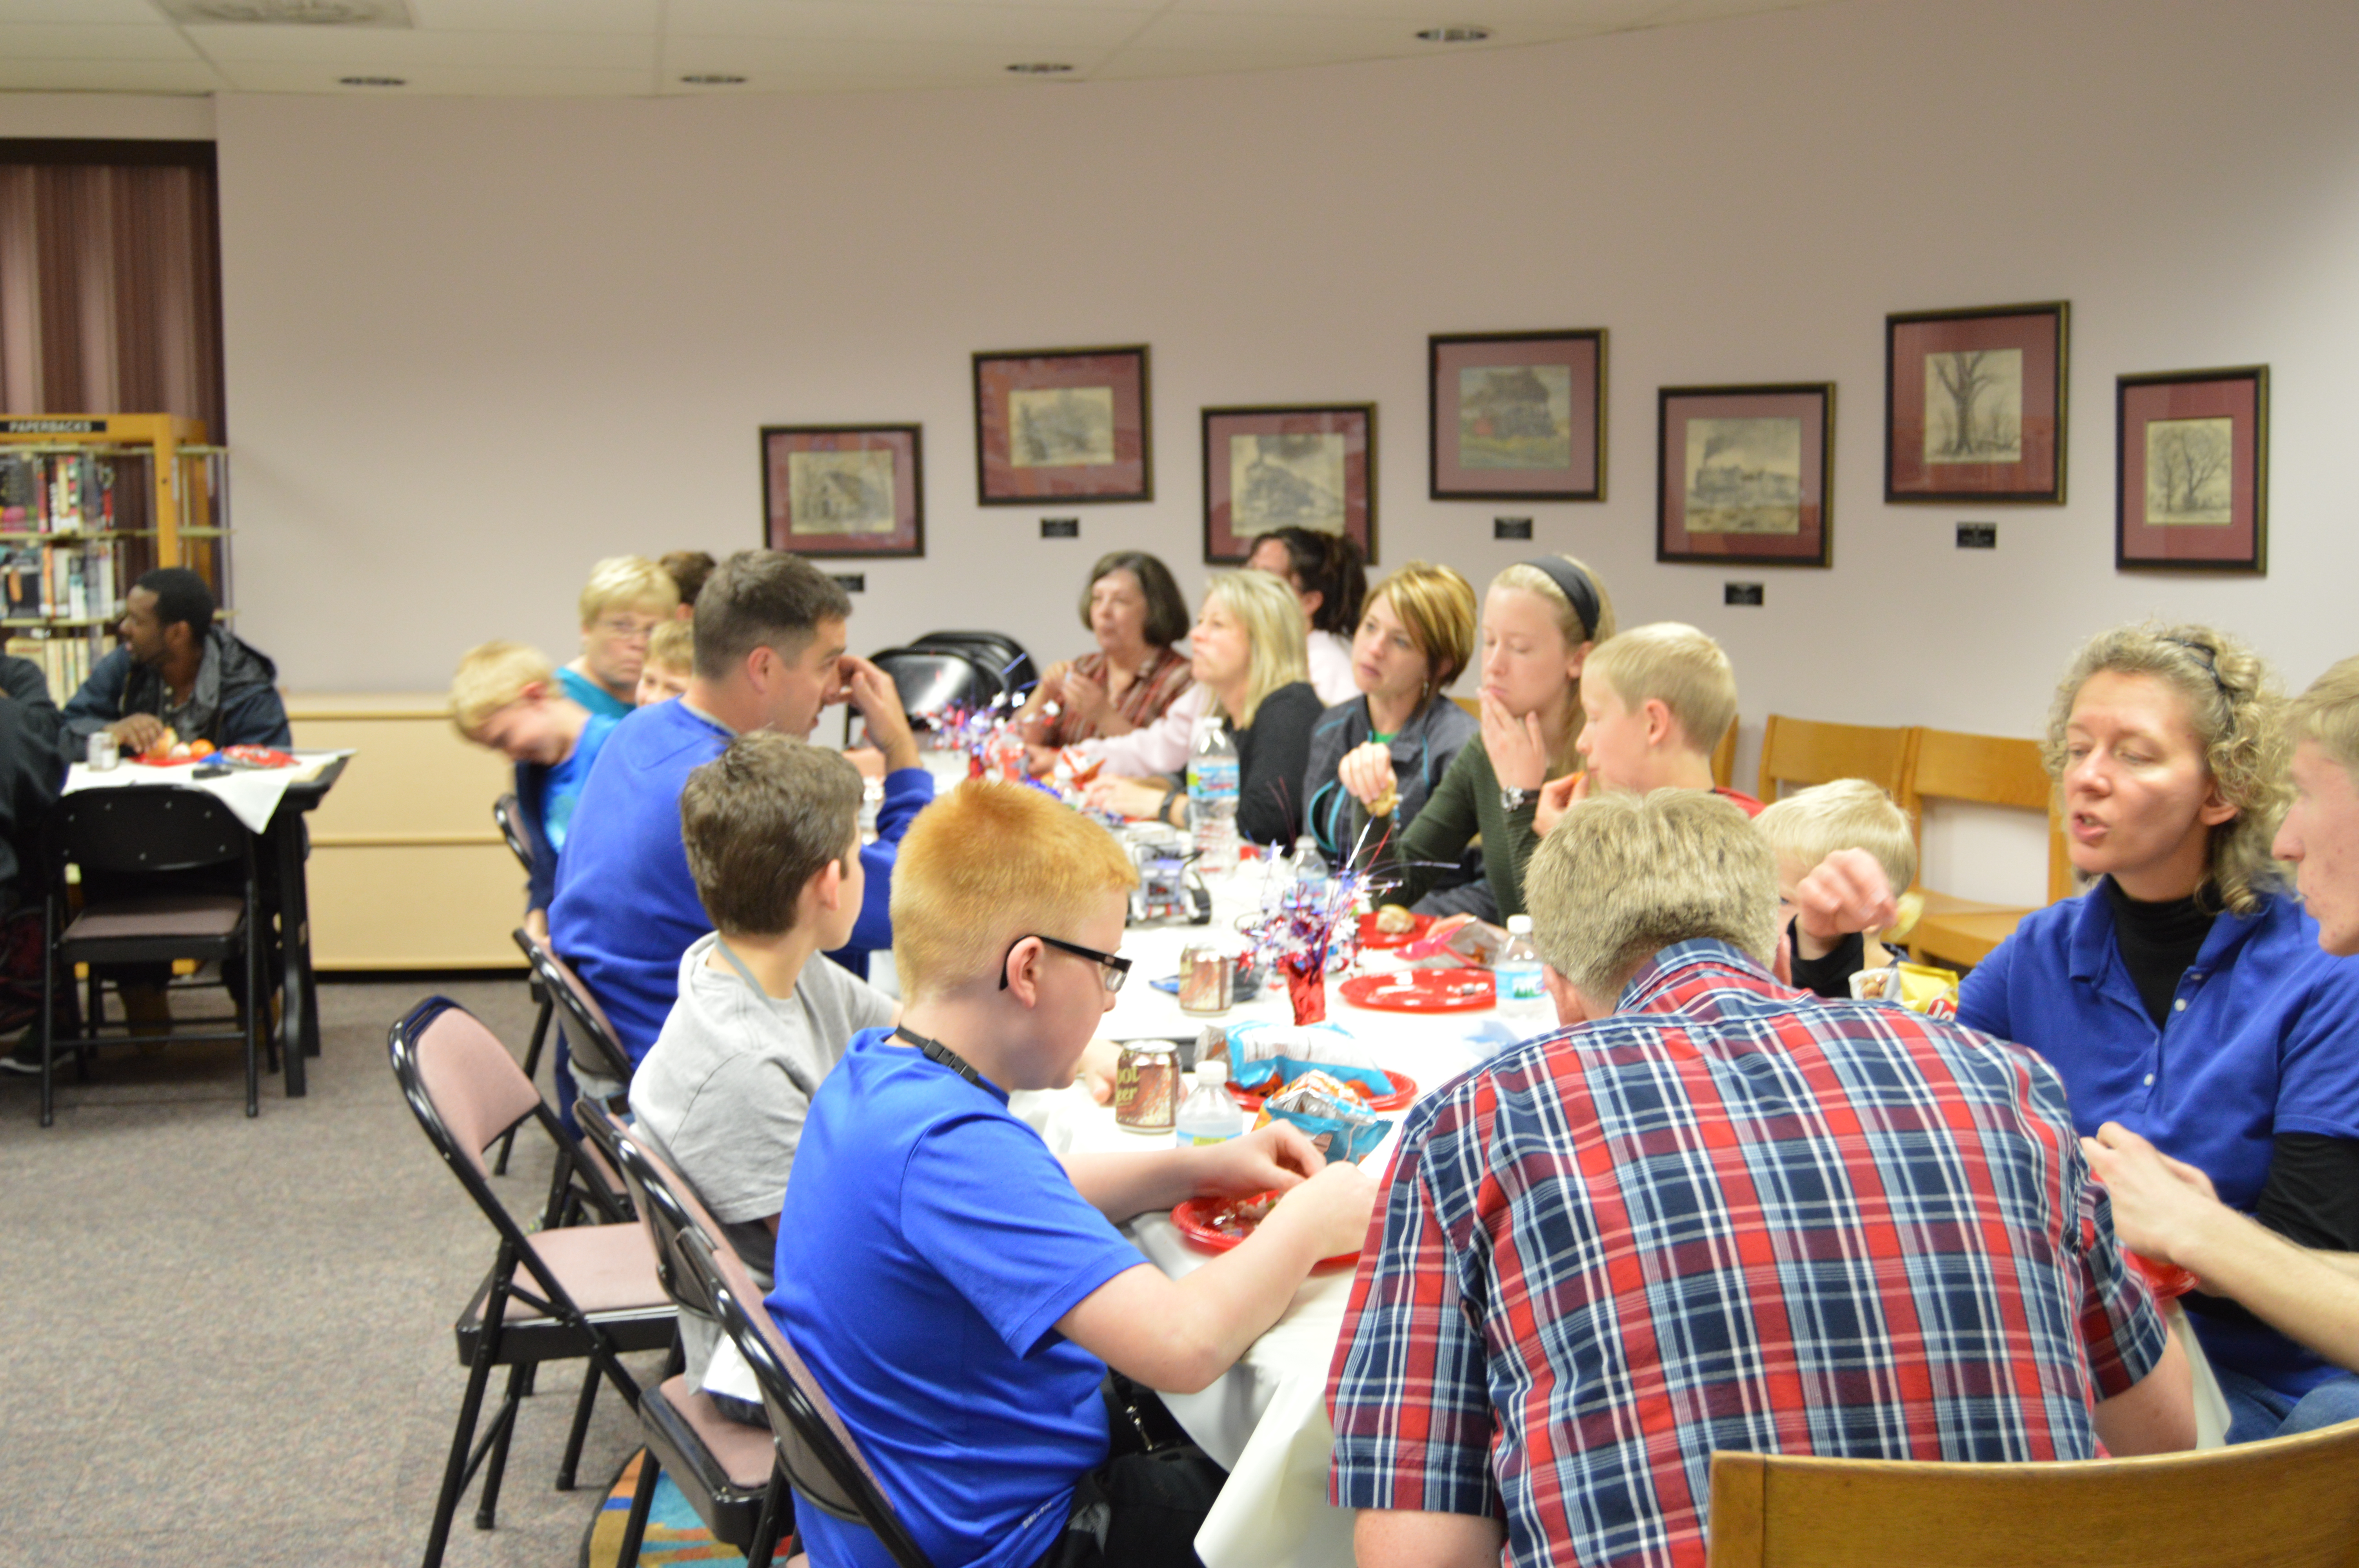
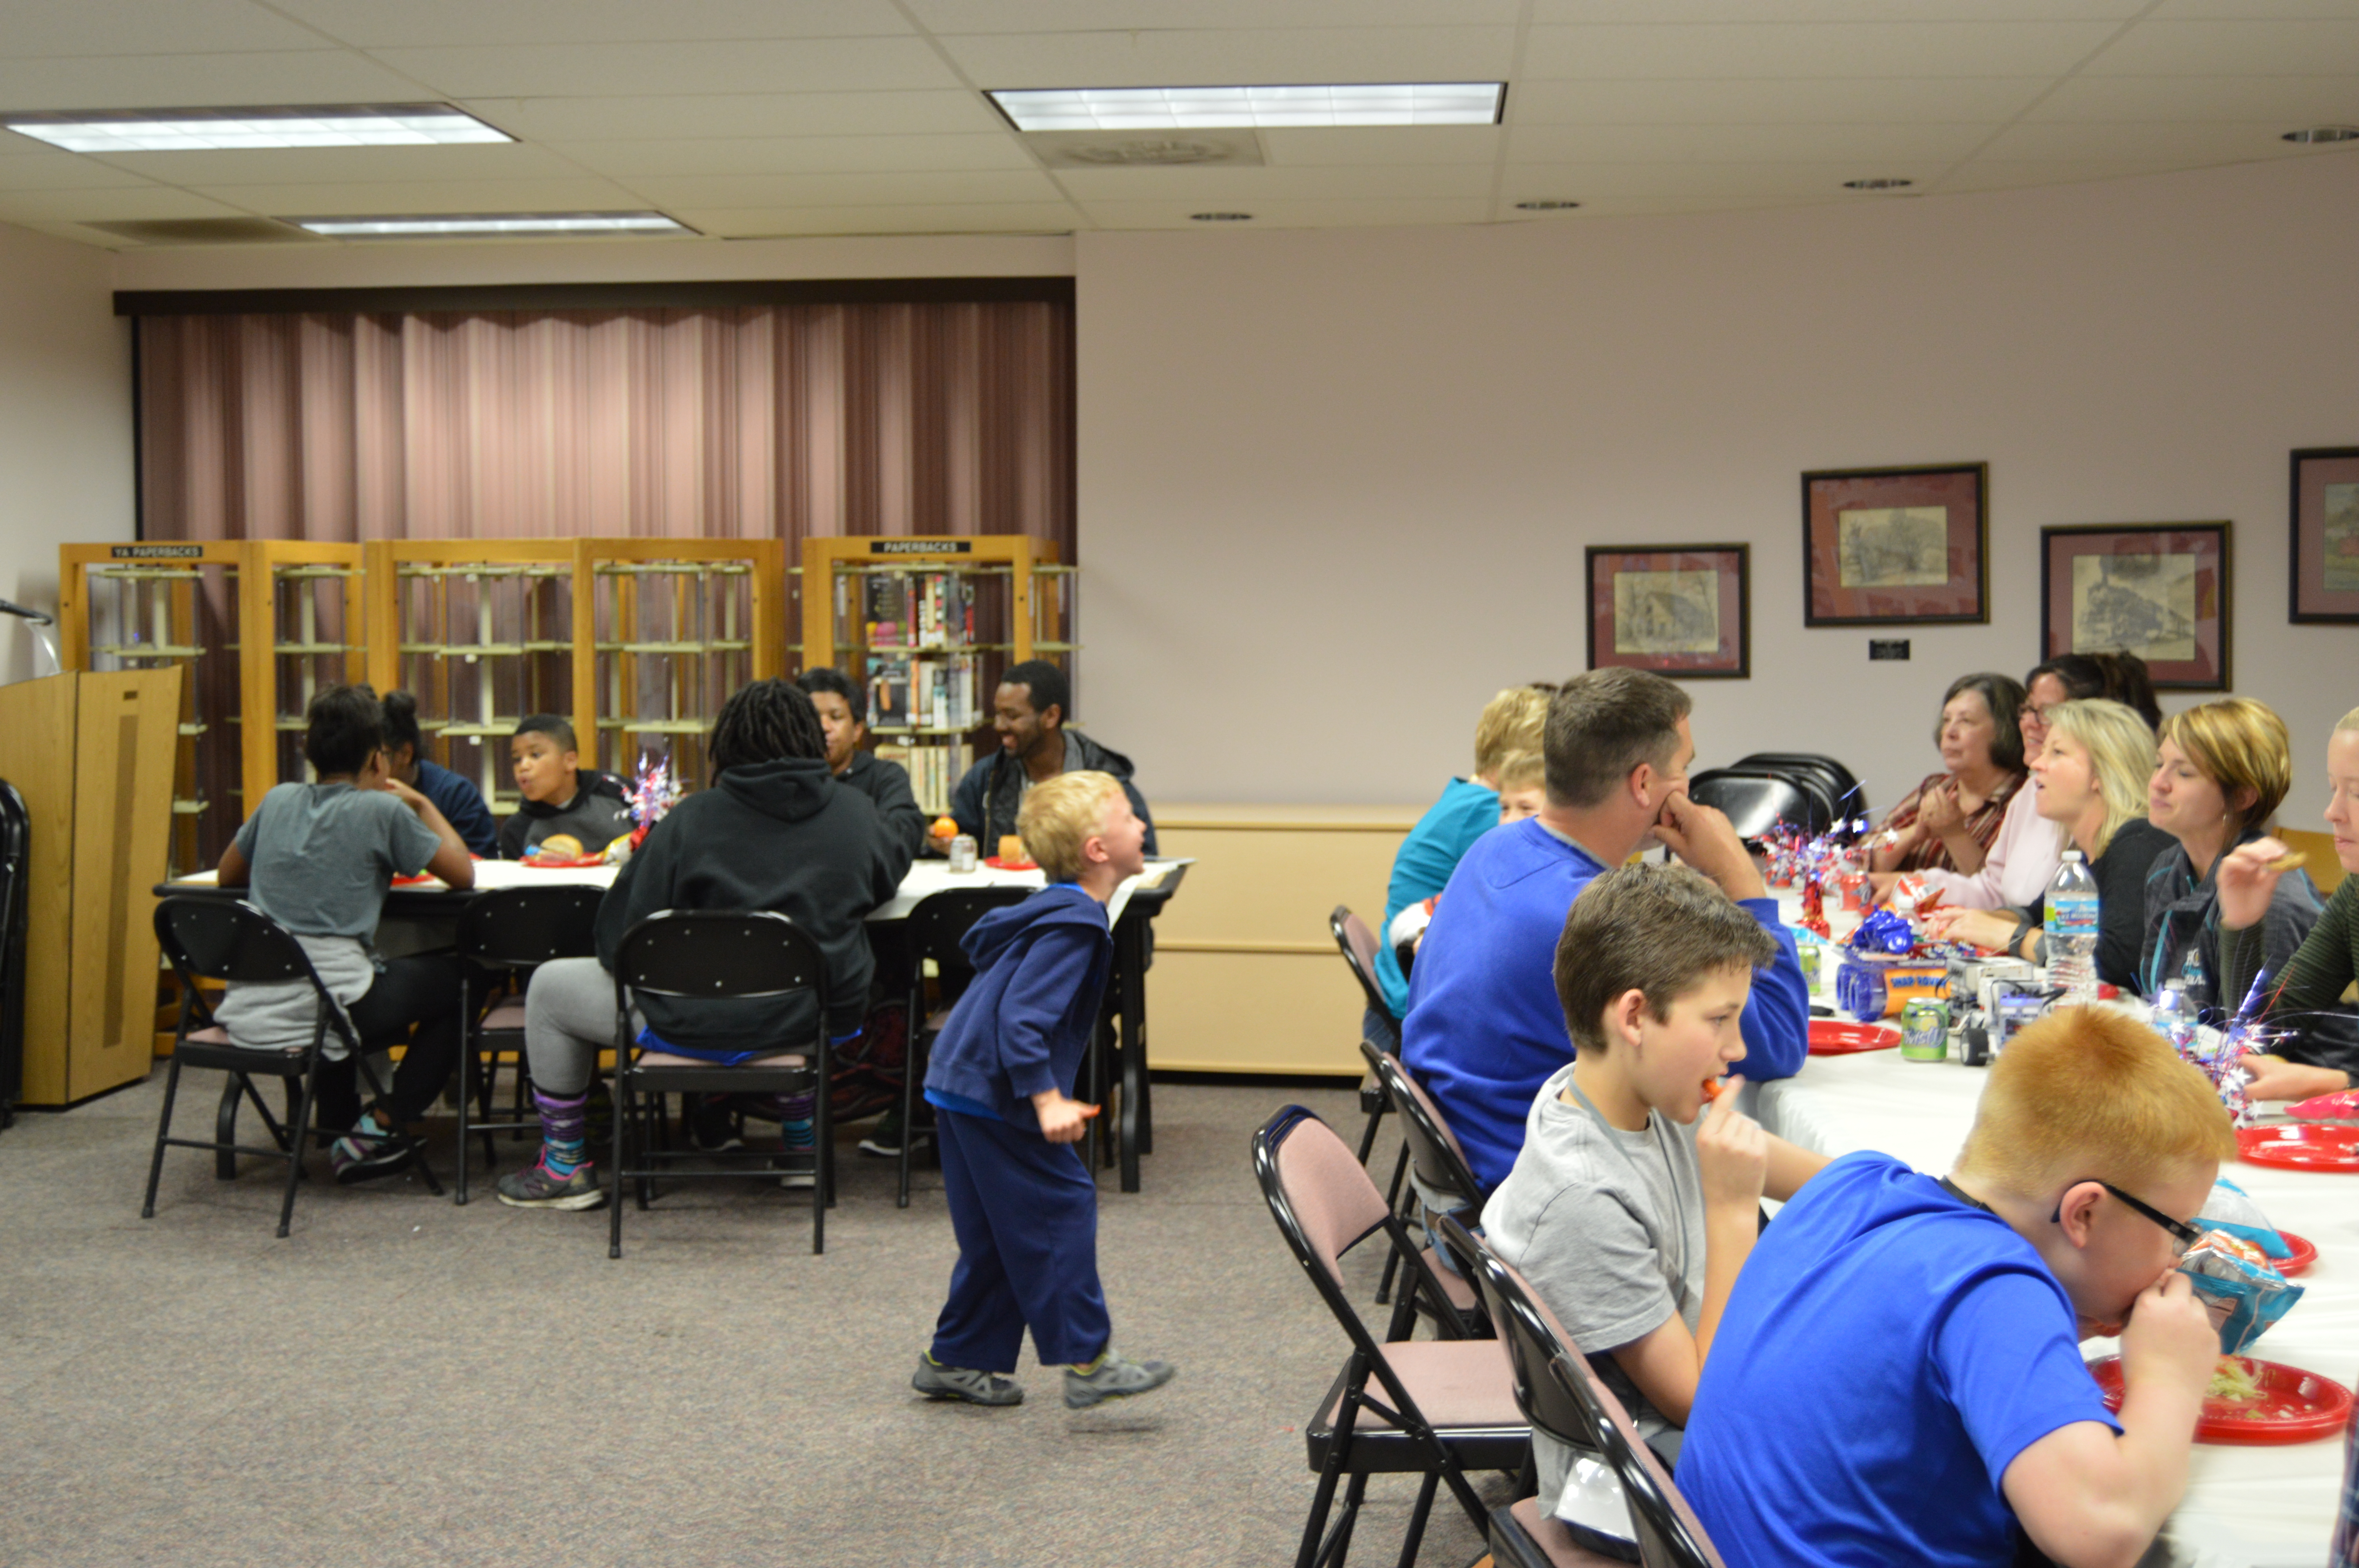
On the 17th we met for our last PNG Robotics University class. For the first part of the class we continued working on our robots and preparing them for demonstration. Then in the second part of the class, we had a small graduation ceremony and party, which the students’ families were invited to.
When the students arrived we had them begin work on preparing their robots for demonstrating them to their parents and families during the graduation party. We also did some more coding practice with the mBots, and created more fun faces and messages for them to share.
We gave each student a certificate of achievement for attending the Robotics University class, as well as a screwdriver as a token of their work. Students got to show off their Snap Circuit rovers, mBots and the LEGO EV3 Mindstorms that they worked on throughout the class.